


flexible
test
fabric
nasa
chainmail
cool
display
Armor
chain
supportless
space
3D printing


57

10
Summary
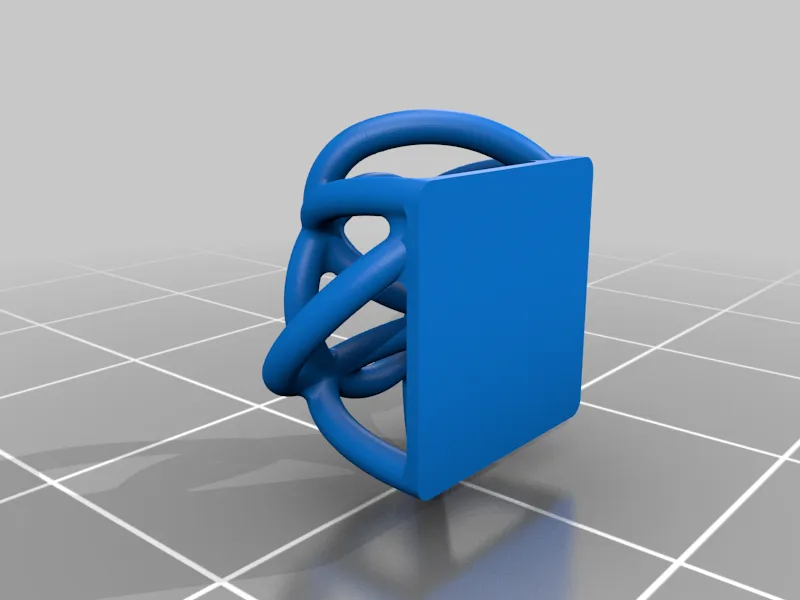
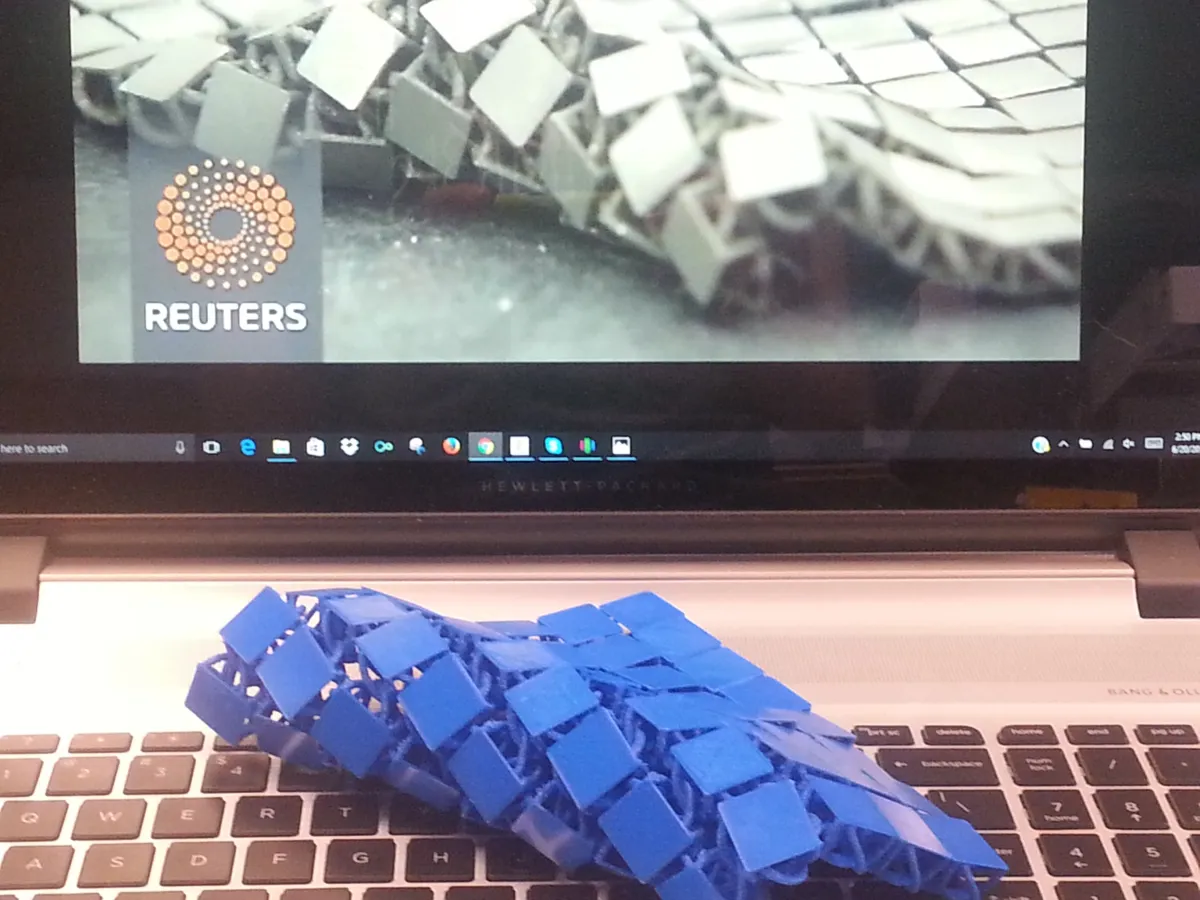
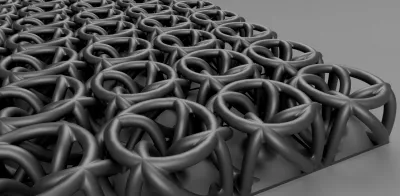
This is my attempt at recreating NASA's 3D printed chainmail fabric/armor. I could not find any STL files online that did not fail, so I made my own in Fusion 360! I hope that this can be a fun project for this community.
If you have not seen the article/video, check them out:
https://www.jpl.nasa.gov/news/news.php?feature=6816
https://www.youtube.com/watch?v=W4bZIf3B3gc
Enjoy!
Print Settings
Printer Brand:
Type A Machines
Printer:
Type A Machines 2015 Series 1
Rafts:
No
Supports:
No
Resolution:
0.15 mm
Infill:
100%
Notes:
Do NOT print with supports! It is a pain to take out and is unnecessary. rnrnI recommend calibrating your printer's retraction settings before attempting this print as the majority of the middle section are many small circles.rnrnWhen first stating the print, watch the first layer adhesion. If you do not get a good first layer, the print will fail. Restart and try again.rnrnI have printed at 140% scale through 85% scale successfully, but the larger scales were stronger and looked better. Hopefully I will be able to print this on the Form 2 soon and test out how small this print can go!
Post-Printing
Overview:
The base layers like to ooze together, but is easily broken by a craft knife.rnrnWorking/moving the print around will loosen up any small stinging that may occur during printing, but larger strings may need a craft knife.rnrnGenerally, the print will be stiff after removal, but will ease up during use.
How I Designed This
Intro:
I was reading an article by NASA on their 3D printed fabric that they created on an SLS machine and wanted to make some for my own. This is the process if you would want to make changes or improvements:
Step 1:
Start with a 10x10mm rectangle and extrude 0.45mm (3 layers)

Step 2:
Make a sketch on the side of the previous extrusion. Draw a 45u00b0 line 1.7mm from the right and 5mm from the left. Next make a plane perpendicular to the line.


Step 3:
On the previously created plane, draw a 1.2mm circle 1.115mm from the line horizontally. Also add a line 5mm from the edge to revolve around. Using two sided revolve: 20u00b0 up, 70u00b0 down.


Step 4:
After creating a plane on from the revolve trajectory, make a sketch on that plane. First, make a perpendicular line from the end of the previous revolve. Now, draw a 5mm circle tangent to and connected to the endpoint of the line. Then trim off the circle after 30u00b0 from vertical and sweep the previous circle through the sketch.


Step 5:
Create another plane by offsetting from the end circle and project the center point from the circle before. Draw a sketch on the underside of the rectangle and make a center point of the rectangle. Using the three points just made ( center point of rectangle, center point of circle, and projected center point of circle) make a plane.

Step 6:
Draw on the plane just created. Draw a perpendicular line from the circle in Step 4 and vertical line from the center point of the rectangle; then connect the two lines end to end. Using these two lines, make a conic curve at 50%. Next, sweep the circle along this arc.

Step 7:
Circle Pattern the revolution and sweeps around the center.

Step 8:
Cut away the tails from the revolutions.

Step 9:
Make a 7.5mm diameter torus with a 1.2mm circle profile such that the torus is tangent to the first sweep.

Step 10:
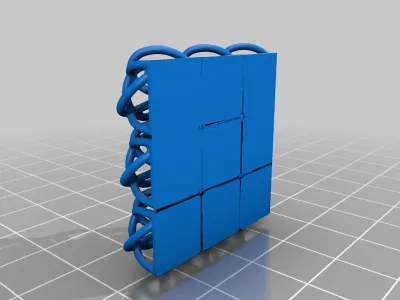
Sketch on the top of the rectangle, make a 1x1mm rectangle and fill in the gap from the circular pattern.

Step 11:
Similar to Steps 5 and 6, make a plane using the intersection between the first sweep and the torus, the center point of a 1.2mm circle tangent to both edges and the projected center point of the circle. Next, on the plane draw a vertical line from the center point just created and a line from the endpoint to the intersection point from before. Using these two lines, make a conic curve at 50%. Next, sweep the circle along this arc.

Step 12:
Circle pattern Step 11 around the center of the rectangle.

Step 13:
Filet the edges of the rectangle by 0.6mm.

Step 14:
Cut away the middle by 1.5mm. This adds strength to the individual link.

Step 15:
Extrude the 1.5mm back using the created profile from Step 14.

Step 16:
Filet the edge between the corner sections by 0.5mm.

Step 17:
Cut away a small sections in the base to break the edge between the corner sections and the base on all four sides. This will be added back in later

Step 18:
Filet the longer edge by 0.3mm.

Step 19:
Add the base back from Step 17.

Step 20:
Smooth out the remaining edges on the top and sides using the filet tool.

Step 21:
Smooth out the remaining edges on the column using the filet tool.

Step 22:
Rectangular array the body using a spacing of 10.5mm.

Step 23:
Sketch on the underside of one of the links and make a rectangle that contains all of the links and extrude by 0.0001mm. This will allow the chainlink fabric to be one STL file, but this last extrusion will not be printed.

Final:
When exporting as an STL: the more chainlinks there are, the chances of your modeling software crashing increases exponentially. So, reduce the resolution in higher numbers of links.rnrnHappy printing!
Originality of the Model
The author declares that this work is their personally shared model

This model is licensed under the following terms:
Credit must be given to the creator
Models(2)
 Nasa_Chainmail_1x1_-_High_Res.stl
7.80 MB

2025-03-18
- Nasa_Chainmail_1x1.step
1.48 MB
2025-03-18