




cyberwolf
wolfhead
wallmount
decor
mech
cyberpunk
futuristic
robot
animal
sculpture
noadhesives
precision
detail
alpha
warrior
collectible
minimalist

- 0.2 mm layer height, 3‑layer walls, 15% infill density

1-disc
PLA
Designer

21

5
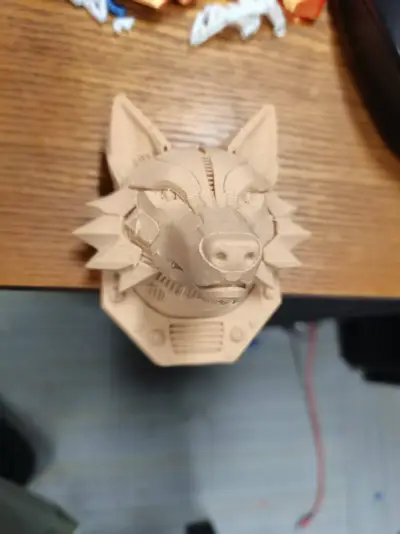
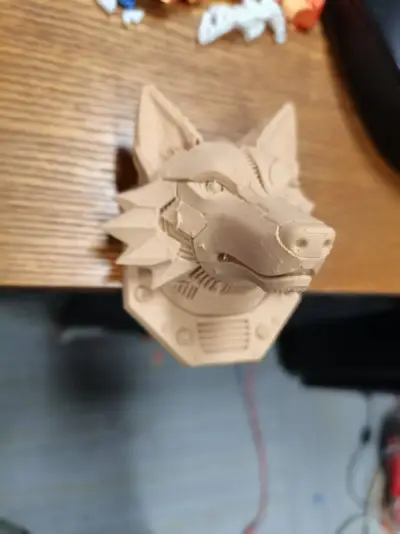
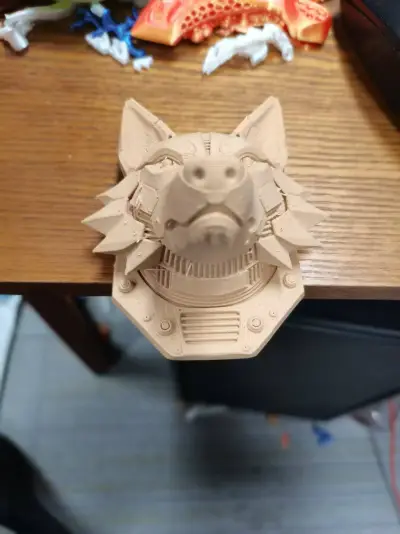
🐺 Cyber Wolf Head Wall Mount
1. Source of Inspiration
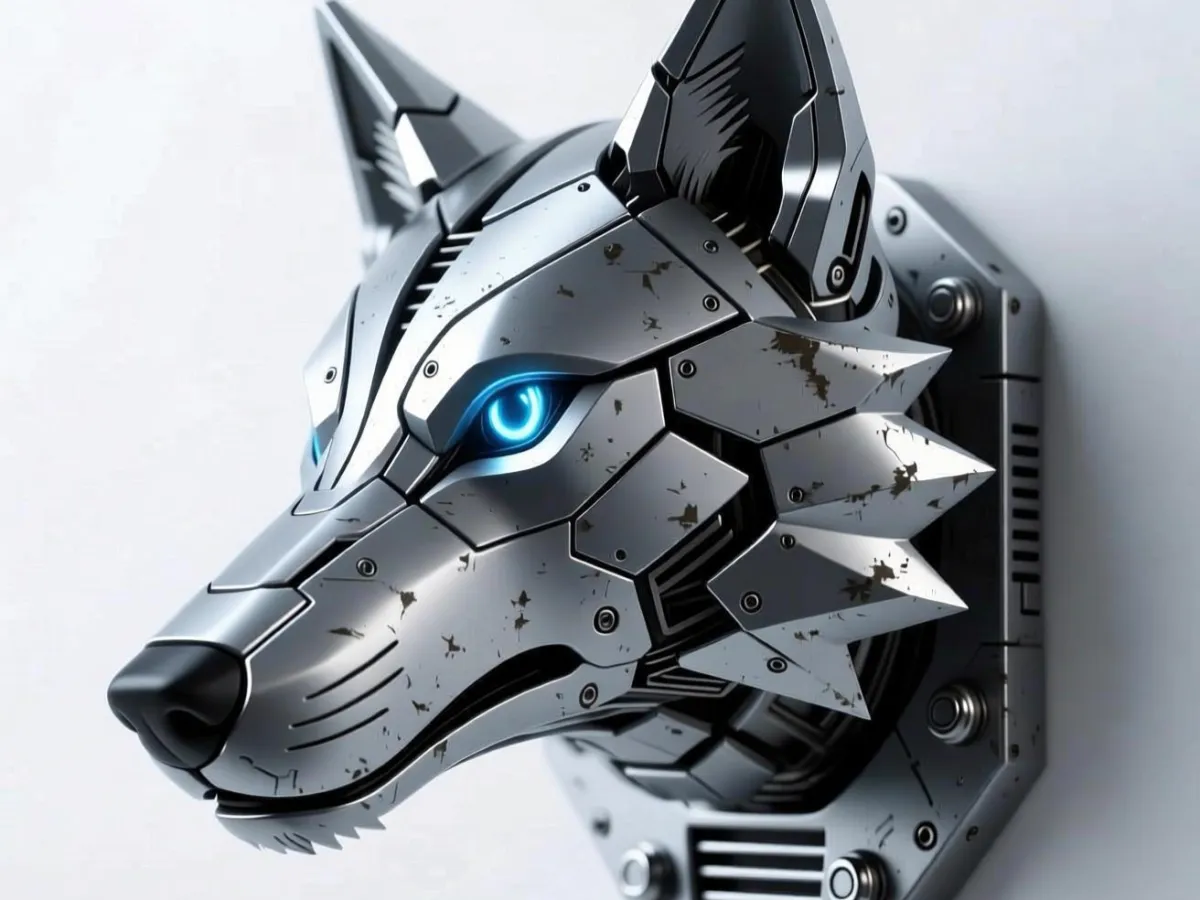
The design inspiration for this mechanical wolf head wall mount stems from a visionary fusion of cyberpunk aesthetics and futuristic biomechanical forms.
- Core Concept: By reimagining the wild, untamed essence and powerful presence of wolves found in nature—through intricate mechanical structures, geometrically styled fur tufts, and sleek heat‑dissipating grilles—this piece crafts a “cyber wolf” aesthetic that seamlessly blends organic biomorphic traits with cutting‑edge technological sophistication.
- Design Driver: The initial form was generated with AI assistance, then refined by hand to perfect its details, aiming to explore the boundaries between organic life and mechanical prosthetics—making it an ideal choice for futuristic wall decor or a striking collectible display piece.
2. Printing Requirements
- Do You Need Adhesive?
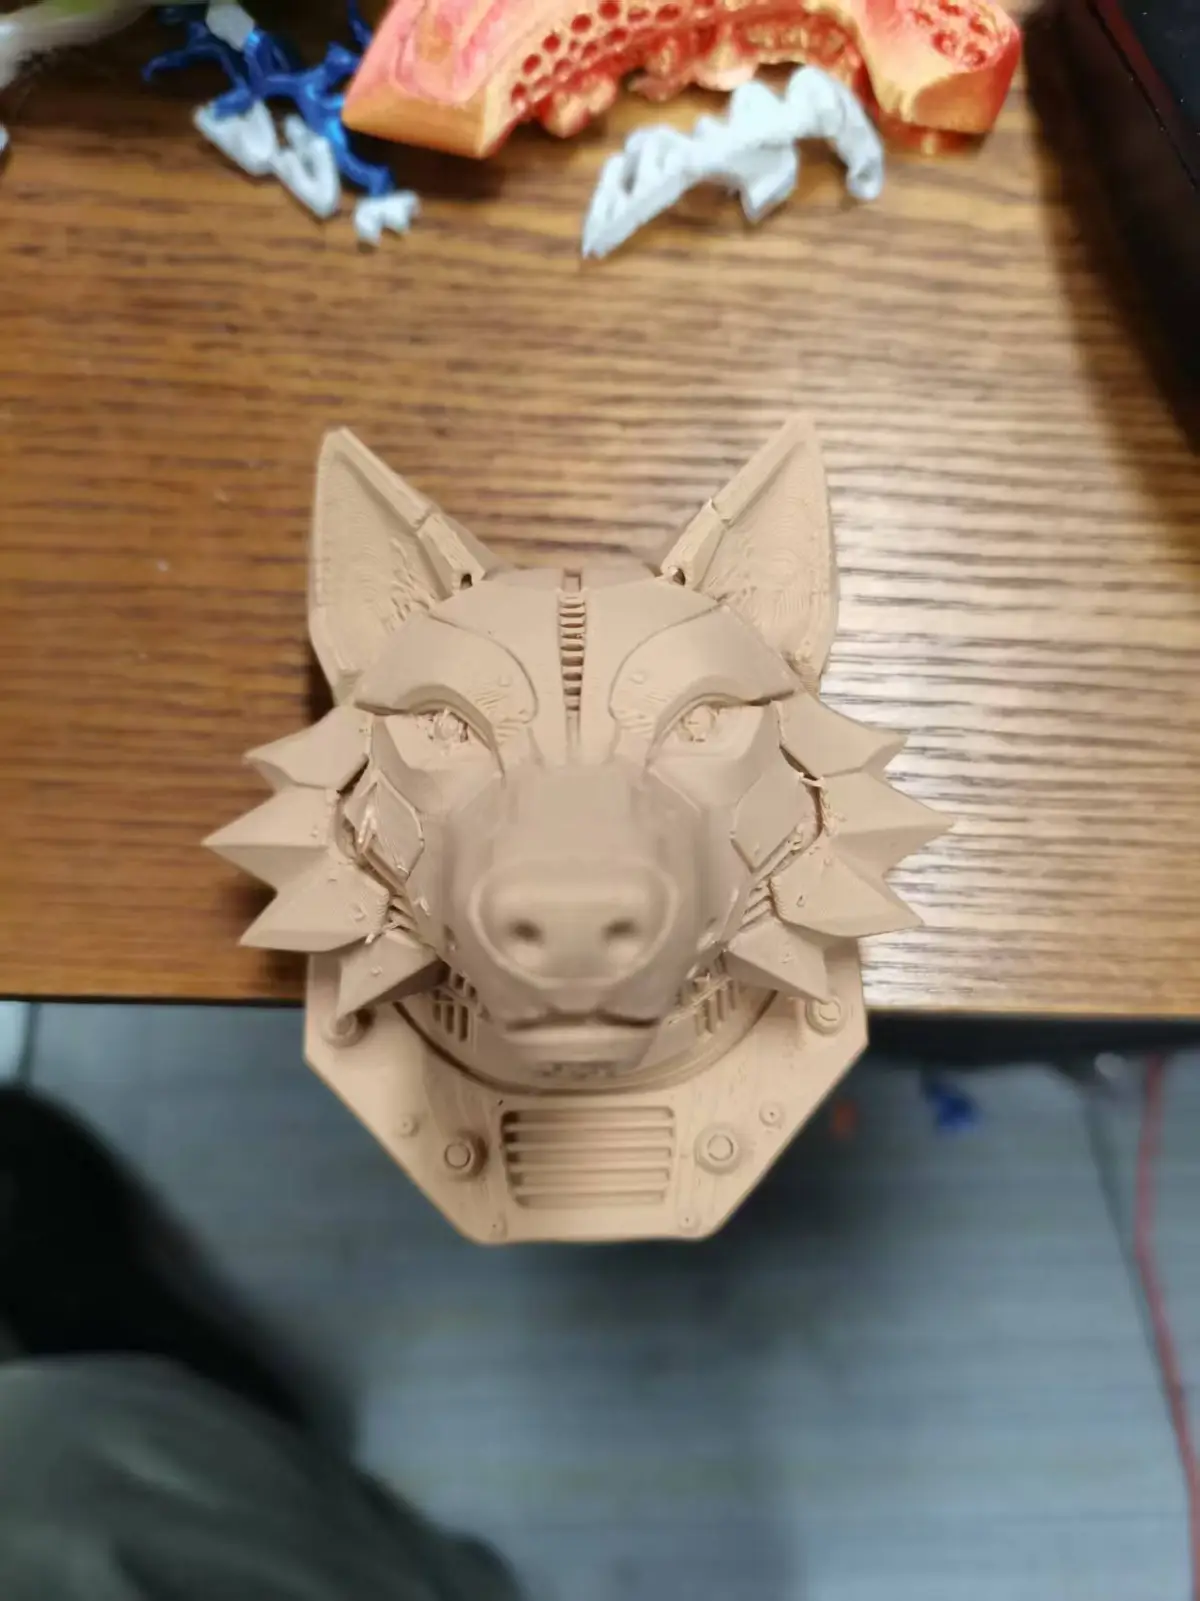
Adhesive is not required during printing; the model is designed as a single‑piece build with no interlocking joints, allowing it to be used straight out of the printer.
- Do You Need Support Structures?
Supports are necessary. Overhanging features such as the jaw, inner ear regions, and the neck’s heat‑dissipating grilles must be supported to preserve fine details. When removing supports, proceed with care—use a fine‑bladed knife and precision tweezers to avoid scratching the surface texture.
- Do You Need a Raft?
Whether a raft is needed depends on the print bed’s adhesion properties. If the bed has strong adhesion (e.g., coated with solid glue or a PEI sheet), you can skip the raft; however, if adhesion is moderate, adding a raft is recommended to enhance bottom‑surface grip and prevent warping or delamination at the base.
- Base Parameters:
- Layer Height: 0.2 mm—balancing detail fidelity with print speed.
- Infill Density: 20%—providing sufficient structural integrity while keeping weight low.
- Temperature Settings: Nozzle 200–210°C, heated bed 60–65°C (for PLA).
- Materials: Both PLA and PETG are suitable; PLA is easier to print, while PETG offers superior strength and durability.
3. Assembly Instructions
1. After Printing: Carefully remove support structures, then use sandpaper (400–800 grit) to smooth any residual support marks and refine the surface finish.
2. Cleaning & Coloring (Optional):
- Use a soft brush to gently clean debris from crevices and tight spaces within the model.
- Apply acrylic paints or model paints to accentuate the metallic质感 of the mechanical components.
3. Wall Mounting:
- The model does not come with pre‑drilled mounting holes; we recommend using high‑strength double‑sided adhesive or nail‑free mounting tape to affix the piece directly to the wall.
- Before adhering, ensure the wall is thoroughly cleaned, dry, smooth, and free of grease or oil to guarantee a secure bond.
- For heavier models, consider applying a small amount of nail‑free adhesive over the backing adhesive for added stability, then allow the piece to cure undisturbed for 24 hours before hanging.
Originality of the Model
The author declares that this work is their personally original model
This model is licensed under the following terms:
Credit must be given to the creator
Models(1)
- 狼墙面装饰.3mfDesigner

20.83 MB

2026-02-17


