




sport
f1
formula 1
formula
bmw
ferrari
audi
mercedes
leclerck
leclerc
charles
sf90
sf2025

- 0.2mm layer, 2 walls, 15% infill

16-disc
PETG/PLA
Designer

133

33
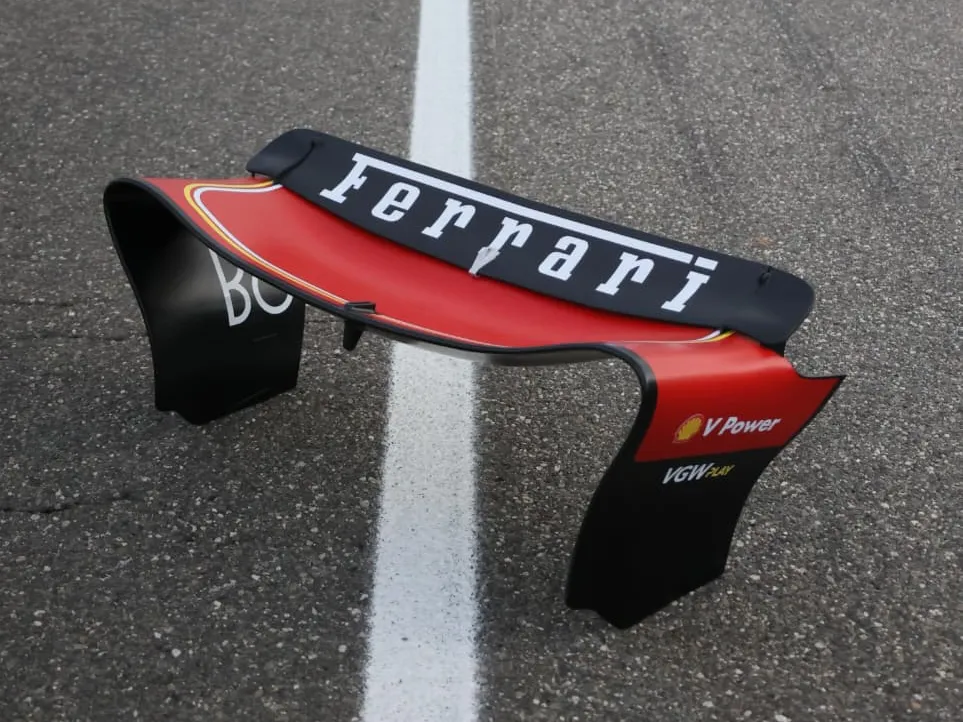
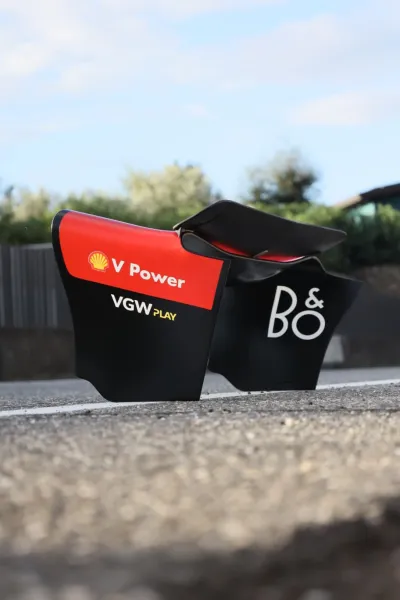
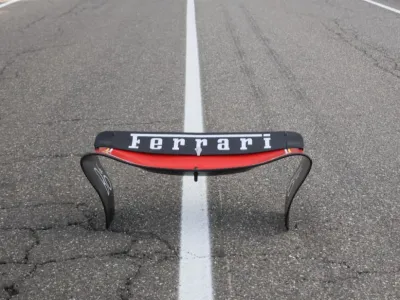
Ferrari SF-24 – Rear Wing
Project Overview
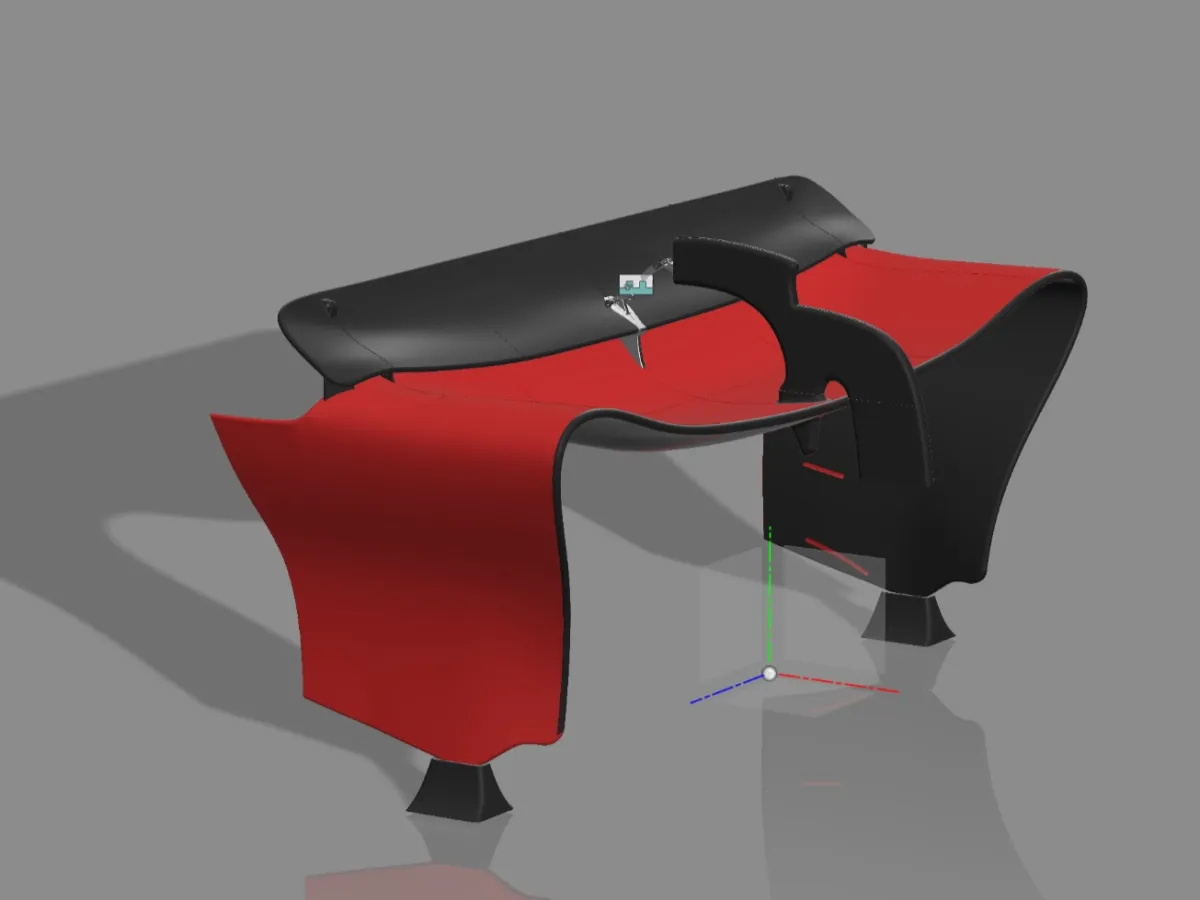
This 3D model of the Ferrari SF-24 Rear Wing was initiated in June 2025, and the entire production process—from prototyping and printing to post‑processing—spanned approximately 4–5 months. The model is now fully completed and ready for presentation, with all details and final finishes meticulously executed. The central fin, featuring a retractable mechanism that ensures the wing operates mechanically, showcases highly precise assembly details.
3D Model Specifications
- Materials Used:
The model was printed using PETG (though ABS can also be used), with a print resolution of 0.20 mm and a nozzle diameter of 0.4 mm. - Project Status:
The model is completely finished, with all components fully assembled and thoroughly refined.
Model Dimensions
- Width: 60 cm
- Length: 1.10 m
- Height: > 60 cm
- Weight: < 3 kg
Ferrari Rear Wing – Assembly Instructions and Printing Tips
Within the file, you’ll find all parts numbered, each labeled with the corresponding part names to simplify identification and assembly.
Before proceeding with gluing, it’s recommended to lightly clean and smooth the mating surfaces to ensure a precise fit. During assembly, use moderate amounts of two‑component adhesive: excess glue may squeeze out of the joints, requiring subsequent removal to restore surface flatness.
Join the rib components one by one, allowing each section to dry completely before moving on to the next. This approach helps prevent warping or misalignment as the adhesive cures.
Printing at a layer height of 0.20 mm strikes an ideal balance between print quality and production time.
For finishing, a light sanding with 400‑grit body filler paper is advised to remove any minor imperfections or residual adhesive, resulting in a clean, uniform surface.
Final Treatment and Painting
The next step involves blowing off and washing the parts with a soft cloth to prepare them for primer application. For primer, I recommend working with a skilled painter or opting for a DIY approach using an aerosol airbrush. After applying the primer, sand the surface with 400‑ and 500‑grit sandpaper to achieve a smooth finish. Applying two coats of primer is recommended for a solid, durable base.
For the paint job, I used PPG Scuderia Red 2023 (matte), which gives the model an authentic, high‑quality appearance. I can also provide the paint code for those who wish to replicate the color perfectly.
Final Details and Decals
To enhance the details, colors such as silver gray are applied, printed with a 0.4 mm nozzle—though a 0.2 mm nozzle can also be used if desired.
To request the decals’ profile needed to complete the model, feel free to reach out via Instagram at @xrev_design or by email at [email protected].
Conclusion
Thank you for following this project. I invite you to enjoy the printing and assembly process—and to contact me with any questions or for further details about the components. Happy printing, and have fun bringing your creation to life!
Contact Information & Social Media
If you’d like to stay updated on our work, you can find us on Instagram at @xrev_design.
Alternatively, don’t hesitate to reach out via email for any inquiries or requests: [email protected].
Originality of the Model
The author declares that this work is their personally original model
This model is licensed under the following terms:
Credit must be given to the creator
Only noncommercial uses of the work are permitted
Models(1)
- ALA POSTERIORE FERRARI .3mfDesigner

6.78 MB

2025-11-16


