




magnet
balance
zelda
Zelda
link
fantasy
glow
float
levitate
physics
crystal
stone
time
magic
illusion
desk accessories
desk
sculpture
ancient
levitation
toy
art
mystical
energy
science
luminescent
hyrule
sheikah

 Timeshift Stone - PETG / no-AMS version
6-disc
PETG/PLA
Designer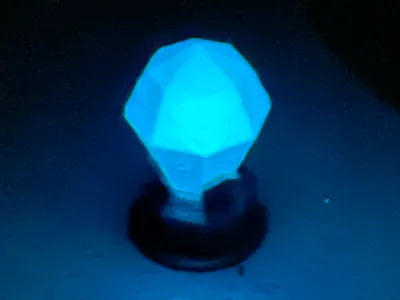 Timeshift Stone - PLA / no-AMS version
6-disc
PLA
Designer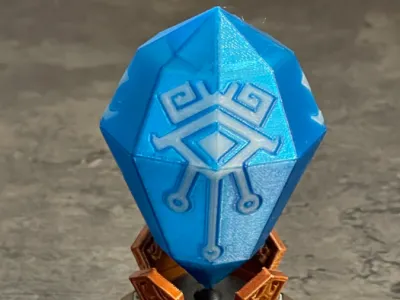 Timeshift Stone - PETG / AMS version
6-disc
PETG/PLA
Designer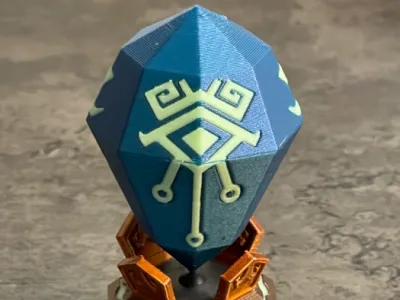 Timeshift Stone - PLA / AMS version
6-disc
PLA
Designer

31

1
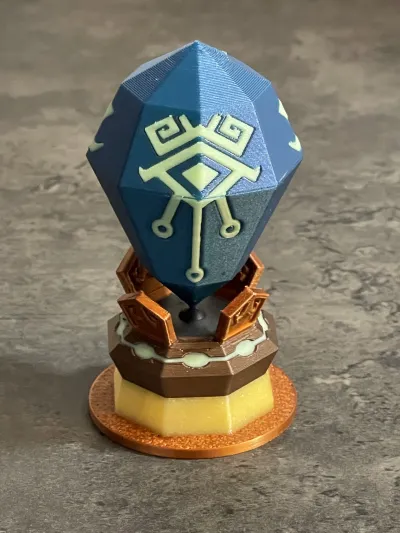
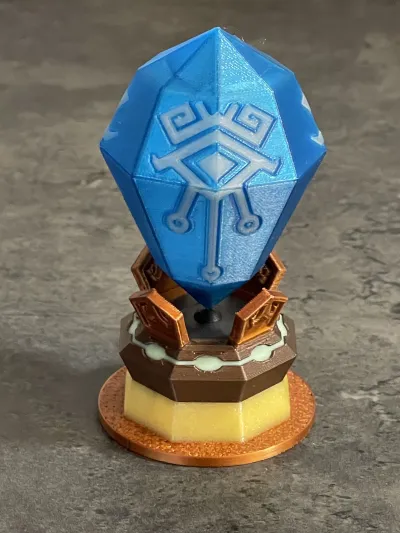
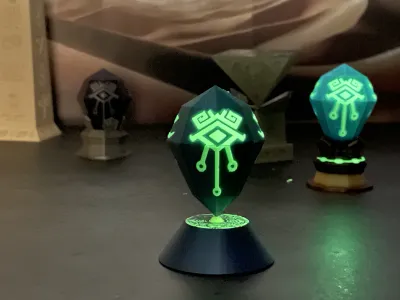
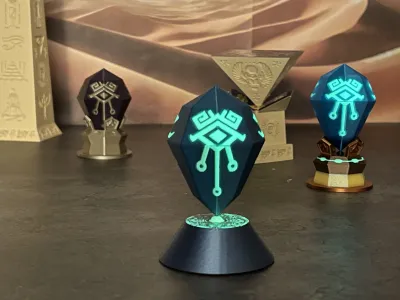
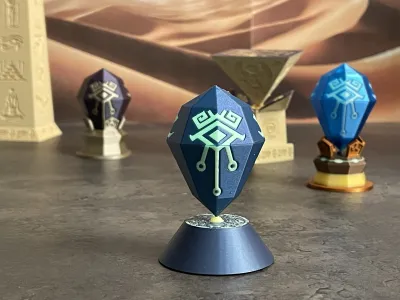
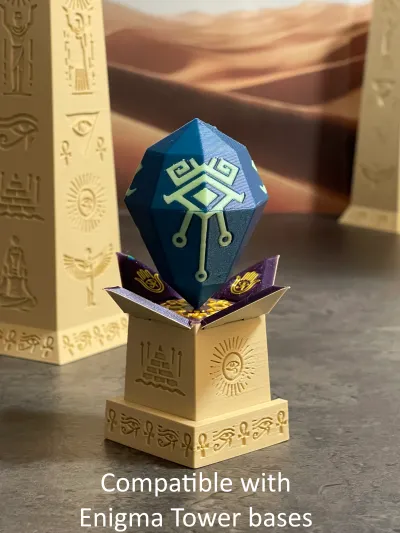
In the Zelda universe, the Timeshift Stone is a legendary artifact of timeless magic. This guide will lead you through the creation of a glowing replica that captivates with its ethereal luminescence and seemingly impossible balance made possible by passive magnetic stabilization. Following up on my popular Enigma Tower, this unique fan art allows you to hold a piece of Hyrule’s magic in your hands.
For this project, it's important to carefully follow all directions, especially the safety instructions. Otherwise, rather than deal with poor results, I suggest moving on to a different project. Commercial print sales are NOT allowed.
Unleash your inner child!
(parody of this cut scene)
Required Materials
Most generic magnets are unlikely to have the precise strength required to achieve proper balance - I've tried and had comically bad outcomes!
- Ten (10) 4×2 mm round neodymium magnets from Maker’s Supply (see Bill of Materials – 1 pack is sufficient). If you don’t already have a magnet insertion tool, you’ll need two additional 4x2 mm magnets (total of 12) to create one, but either way 1 Maker’s Supply pack is sufficient unless you want to print more than 1 timeshift stone.
- Five (5) 25×3 mm round neodymium magnets from Maker’s Supply (see Bill of Materials – 1 pack is sufficient).
- Super glue – The tight ring of magnets in the timeshift stone can eject its magnets while you’re inserting them. A drop of super glue prevents this, even if dried only briefly. You’ll also need glue to combine both halves of the stone.
- A magnet insertion tool - the simple magnet on a stick style.
- (Optional) Stainless steel nozzle – this type of nozzle doesn't attract magnets, whereas a hardened steel nozzle can yank magnets out if the glue doesn’t hold. But if you monitor the print for the next few layers after inserting the magnets, and are ready to take prompt action if needed, hardened steel should be fine (it’s what I used).
- (Optional) Acetone – You’ll probably get super glue on your fingers. Acetone can help remove it.
- (Optional) UV flashlight – A fun and quick way to charge up glow PLA or PETG to max brightness.
Check that all magnets are in good condition, free of chips, to ensure maximum potency.
Consistency of Magnet Strength
Magnet strength (and size) varies drastically by manufacturer. Using neodymium magnets from Maker’s Supply is critical since this model is calibrated to them. If they switch suppliers in the future, results could change. In any case, these are inexpensive parts. Just add them to your next filament order to save on shipping!
If you decide to use other magnet suppliers and are ok tinkering with calibration yourself, note that size also varies significantly among brands. For example, the Maker’s Supply “4×2” magnets are just under 2 mm thick, but the cheap generics I had were about 1.65 mm thick. I expect some magnets could exceed the thickness of the Maker’s Supply ones, and if they protrude above your printed surface, they could damage your nozzle.
Safety First
Neodymium magnets are not toys.
- Keep them away from pets and young children. Swallowing two magnets can clamp them together inside the digestive tract, leading to severe injury or death if not surgically removed.
- The 25×3 mm magnets are relatively strong. Keep away from pacemakers, and avoid handling them near other magnets or ferrous metals. If they freely collide, they can break or cause finger injuries, and shards can fly off and injure your eyes. They typically ship with spacers which will need to be carefully removed. A good technique is to stack them one at a time, carefully sliding the next magnet onto the stack from the side and then releasing once it begins to slide into place.
How to Print
Profiles & Filaments
Each of the main print profiles contains an activated stone, a dormant stone, and a variety of bases. The bases are all configured for PLA, regardless of the profile, but the stones are configured for either PLA or PETG depending on which profile you pick.
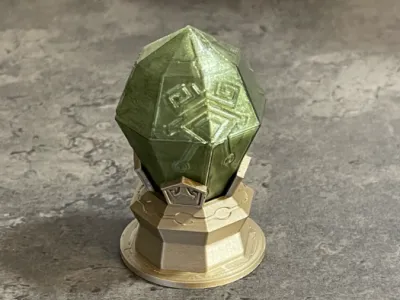
For a result which is most true to the game, I suggest translucent PETG + glow PETG (using the PETG profile I provided), but you’re probably going to have to play around with speed and cooling settings to dial it in for whatever brand you’re using. The steep internal overhangs, combined with no infill (to reduce weight and improve clarity) are a brutal combination. Even after several iterations, I didn’t achieve perfect results, but I’m still happy with how it turned out.
That said, I think most folks will be happier printing the PLA version of the activated stone. This model is much more forgiving when using PLA, so you shouldn’t have to spend much (if any) time dialing in the cooling/speed settings if you go that route. Even though you can’t get the same translucent effect as PETG, there’s a great variety of PLA out there, including ones that are sparkly and prismatic. And don’t try to mix PETG & PLA in a single print since they don’t stick well to each other.
Here are the specific filaments I used. In many cases, it was more about what I had on hand.
- Activated timeshift stone (PLA AMS version)
- Polymaker PLA Starlight – Neptune
- Bambu PLA Glow – Glow Green
- Activated timeshift stone (PLA no-AMS version)
- Bambu PLA Glow – Glow Blue
- Activated timeshift stone (PETG version)
- Sunlu PETG Glow – White to Green
- Eryone PETG Transparent - Blue
- Dormant timeshift stone (PLA version)
- Bambu PLA Galaxy – Purple
- Bambu PLA Metal – Iridium Gold Metallic
- Activated base
- Bambu PLA Silk - Copper
- Bambu PLA Metal – Copper Brown Metallic
- Bambu PLA Glow – Glow Green
- Bambu PLA Matte – Matte Charcoal
- Ambrosia PLA Dolos – Banana Rama
- Dormant base
- Bambu PLA Metal – Iridium Gold Metallic
- Futuristic base
- Bambu PLA Metal – Cobalt Blue Metallic
- Bambu PLA Glow – Glow Green (though in the pics it’s the Glow Yellow color)
Base
Just print the ones you want. While the activated base is most true to the game, the futuristic base better highlights the semi-flotation effect of the activated stone.
The dormant base doesn’t have a slot for magnets since it’s intended to display the dormant stone. For the other two bases, you’ll insert magnets afterward (see “How to Assemble”), and they’re not secured in place so that you can adjust them if needed. If printing the activated base, don’t forget to print the stopper. I couldn’t include them on the same plate due to variable layer heights.
Dormant Timeshift Stone
Another easy print – it doesn’t have any magnets.
Activated Timeshift Stone
Tip: If using one of the AMS versions, it’s worth printing multiple activated stones simultaneously. Just copy/paste both halves as many times as you want. Most of the filament consumption for this model is from color swaps, so printing additional copies won’t have a big effect on the total used. Even if you only want one stone in the end, printing multiple gives you wiggle room in case you mess up anything during the magnet insertion process. You can always choose to put magnets into whichever turns out best, as there can be variance especially when dealing with finicky PETG.
First pause:
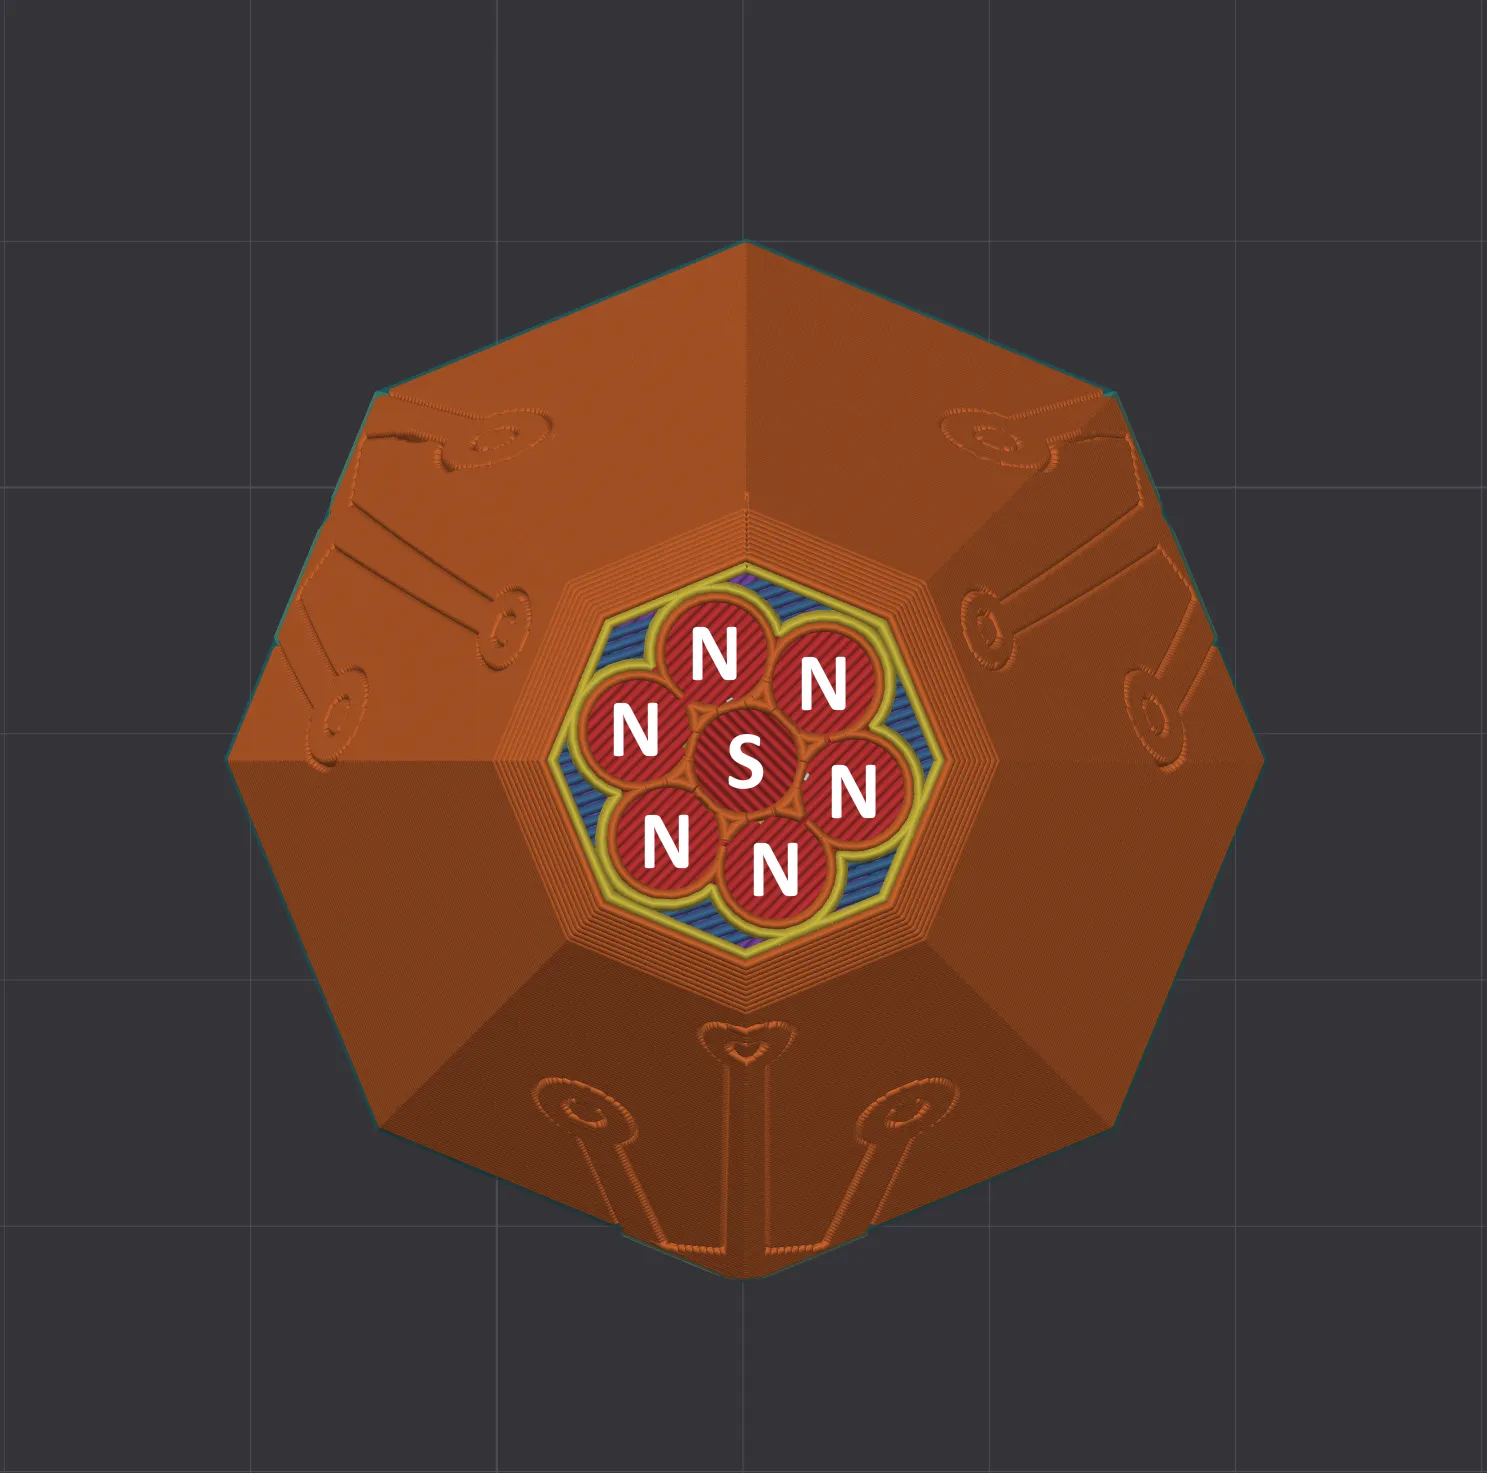
- Ring of magnets:
- Put a tiny drop of super glue in each of the six ring slots.
- Insert one 4×2 mm magnet into each ring slot. To reduce the chance of them popping out, place magnets in alternating slots first. The N side of each magnet should face up, so use the S side of the insertion tool to position them.
- Inserting the last few magnets of the ring can be tricky because neighboring magnets attract them. Pin the magnet between the tool and the ring rim, just above the slot, and slide it in. Cover neighboring magnets with your fingers if needed (yes, you’ll likely get glue on your hands!).
- After inserting these magnets, verify proper orientation (polarity) by confirming the N side of the insertion tool is repelled by each inserted magnet. Don’t use the S side of the tool since you might pull the magnets back out.
- Insert one 4x2 mm magnet into the center hole. The S side of this magnet should face up, so use the N side of the insertion tool to position it.
- Do not put glue in this hole – it isn’t needed and it can cause problems since this magnet must later get pushed down (during the second pause).
- It might seem odd to split up the magnet insertions for this hole into 2 steps, but in my experience it goes more smoothly this way.
- Ensure that none of the magnets extend above the print surface (to avoid damaging your nozzle), wipe off any excess glue and resume printing.
Second pause:
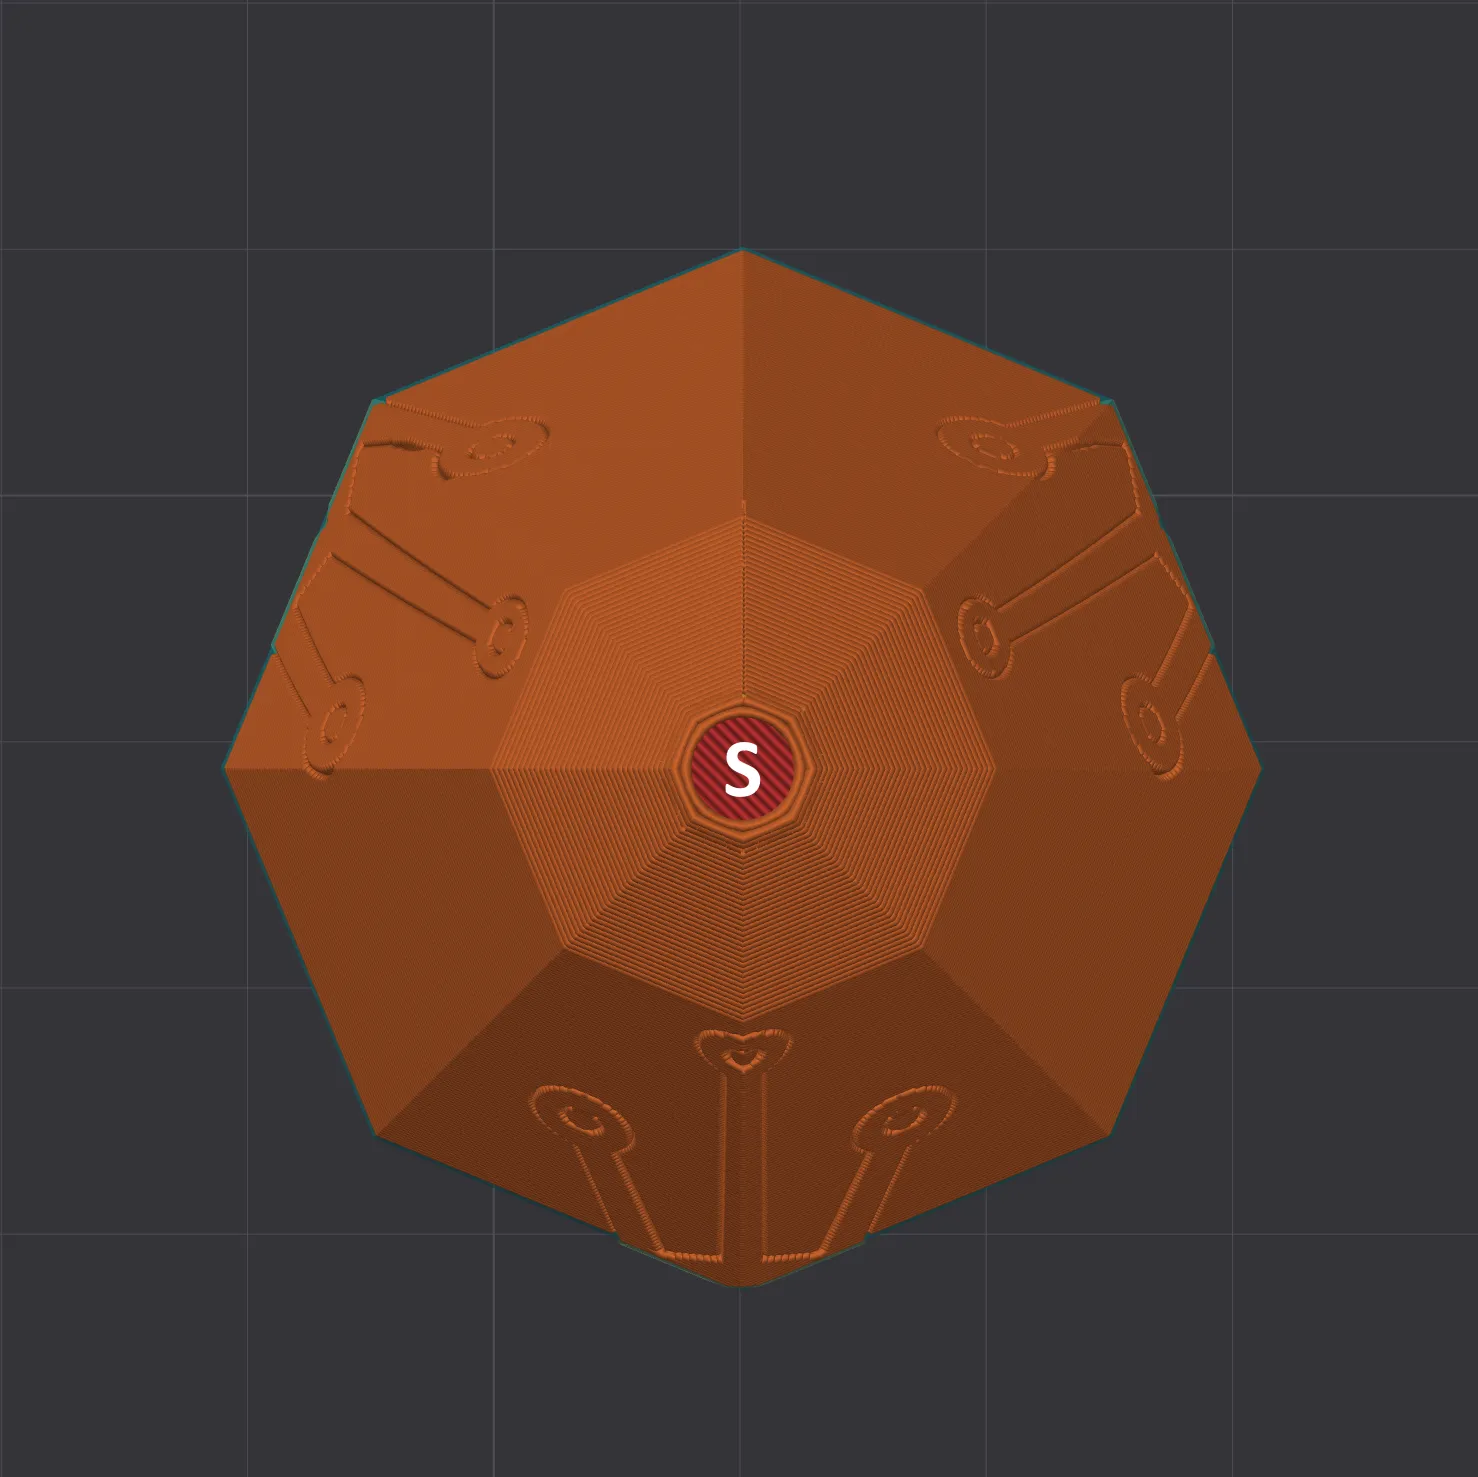
- Insert a stack of three additional 4×2 mm magnets into the center hole (this hole will now have 4 total magnets). The stack’s S side should face up, so use the N side of the tool to insert it. Use a toothpick or anything non-magnetic to gently push the stack down, below the top of the hole. This is why you didn’t glue the first center magnet during the first pause.
- Once again verify polarity, ensure the magnets don’t protrude and resume printing.
How to Assemble & Display
- Glue both halves of the timeshift stone together, taking care to align the pattern.
- Stack five 25×3 mm magnets, removing manufacturer’s spacers carefully. Refer to “Safety First” above for important handling tips.
- Pack the base. Remove any supports from inside the base. Then insert the magnet stack with the N side facing up. If using the activated base, insert the stopper afterwards.
- Balance the Timeshift stone by resting its tip in the small divot atop the base. If the stone is pulled down too strongly, you probably inserted the 25×3 mm magnet stack upside down. Flip it and try again.
Bill of materials
- NameQuantityNotes
- 1D4x2mm Round Magnet (20PCS) - CA0011see description above for details
- 2D25x3mm Round Magnet (10PCS) - CA0211see description above for details
Originality of the Model
The author declares that this work is their personally original model
This model is licensed under the following terms:
This work is licensed under a Standard Digital File License. Digital files have a strict non-commercial, personal use only license.
You shall not share, sub-license, sell, rent, host, transfer, or distribute in any way the digital file or 3D printed versions of this object, nor any other derivative work of this object in its digital or physical format (including remixes of this object). You can not host these files on other digital platforms, web stores or cloud repositories. The objects may not be used in any way whatsoever in which you charge money, collect fees.
Models(4)
- Timeshift stone - PLA - AMS.3mfDesigner

1.40 MB

2025-06-17
- Timeshift stone - PETG - AMS.3mfDesigner
1.59 MB
2025-06-17
- Timeshift stone - PLA - no AMS.3mfDesigner
1.37 MB
2025-06-17
- Timeshift stone - PETG - no AMS.3mfDesigner
1.37 MB
2025-06-18
View all(4)


