




skateboard
rollers
bribro12


53

6
Summary
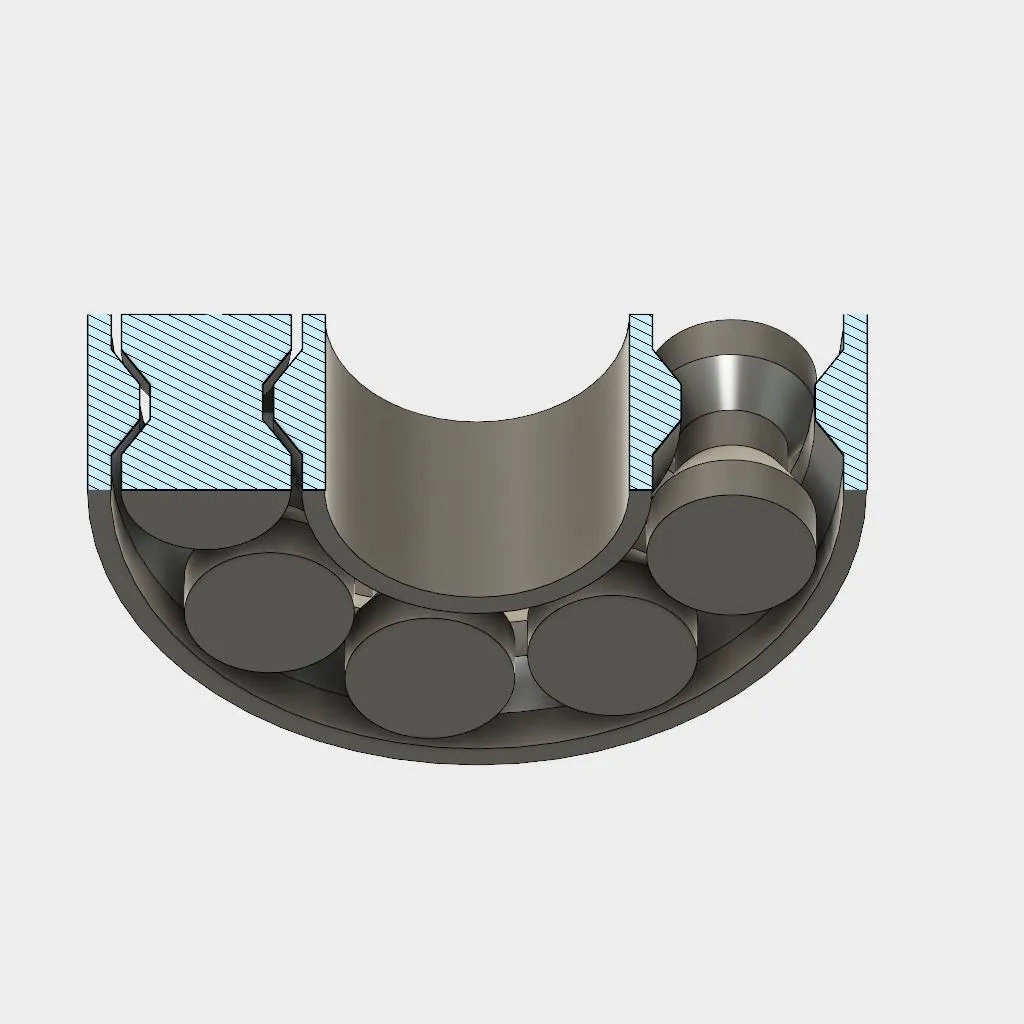
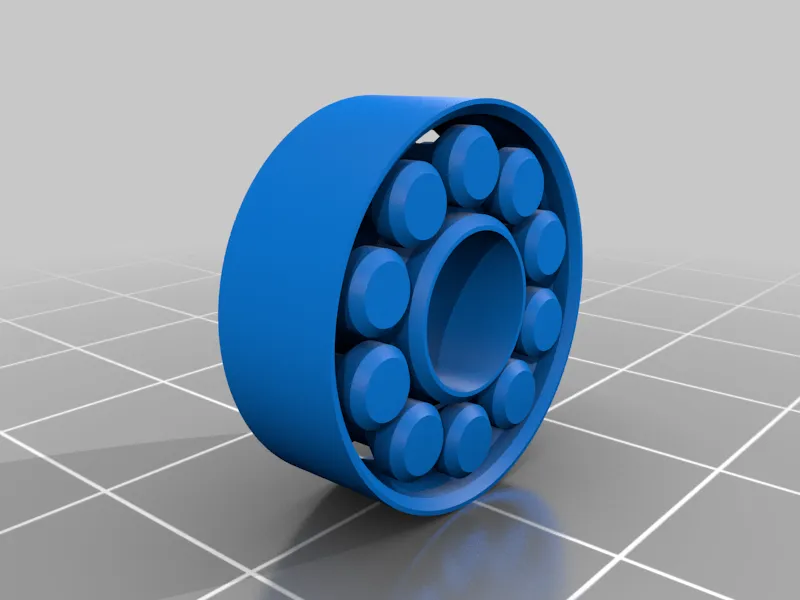
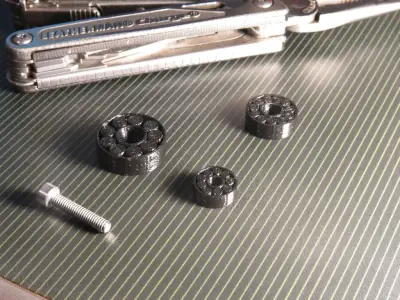
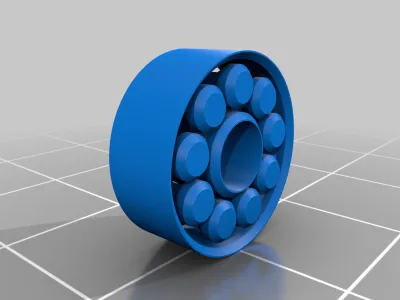
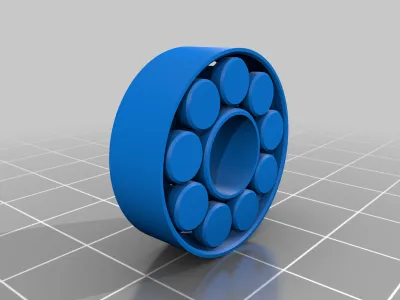
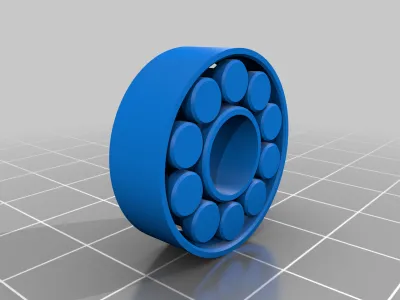
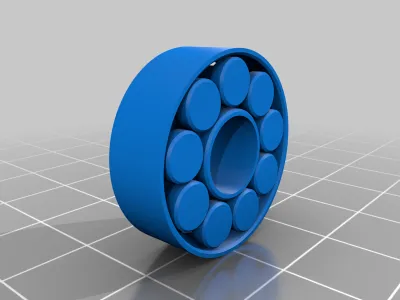
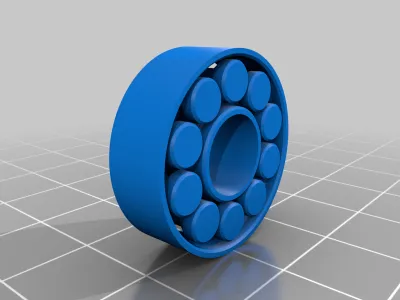
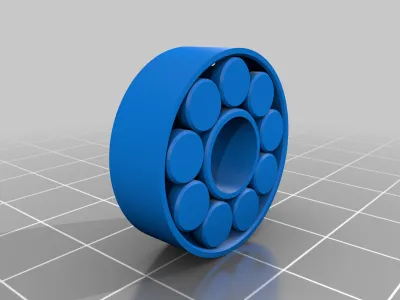
I tried the print in place bearing from bribro12 (https://www.thingiverse.com/thing:2349065), but on smaller bearings like skateboard size, I found the rollers twisted out of place and jammed up. Instead I moved the fat parts to the outside and that keeps them in line.This also seems to make them easier to free up after printing.
I uploaded 3 popular sizes. The larger two print pretty cleanly from me. The small one needs a little care to work in after printing. Don't expect these to be a replacement for real bearings, but they are good enough for mission critical components such as a gimbal stabilized beer holder (https://www.thingiverse.com/thing:2727133)
Update 1/19/18: So I uploaded this because I thought a few people would have a passing curiosity. It got more hits in the first few hours than all of my useful things put together. I tweaked a few dimensions, put a chamfer on the outside so you don't usually need a raft to print and provided more clearance in the center of the rollers so they ride on the outside. I added these as mk2 designs. Their motion is a little sloppier, but they are easier to print and get working. Also see a filament spool holder using these I added here: https://www.thingiverse.com/thing:2763126
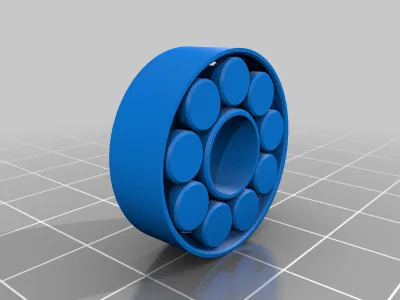
Update 1/26/18: This silly thing continues to be rather popular. Since people are starting to make remixes with the 608zz bearing, while others are having trouble printing it (either falling apart or coming out frozen up), I added a series of 608s. Loose (0.35mm clearance), Standard (0.30mm), Tight (0.25) and Extra Tight (0.20mm). Also a Standard with more rollers that helps with thrust loads. I can print all of these in PLA; the loose one come off the print bed working but can fall apart, the extra tight one needs a tool to be broken free but then works the best. Printing in ABS or PETG won't work with the loose one, it will fall right apart. If you want to tinker more, the Fusion 360 source as well as a dozen CAD formats are available here: https://a360.co/2xC4QOp. In Fusion 360, open the sketch and fill in the inner/outer diameter and height for the bearing you need; set a starting race thickness of about 1.5mm; add as many rollers as will fit (with the parameter page or by editing the pattern tool on the main page); finally fine tune the clearance between rollers by adjusting the race thickness.
Update 3/31/2018: Found out that my design is almost identical to one from Qube3Bot already posted. Added a re-mix link back.
Print Settings
Printer brand:
Prusa
Printer:
Prusa Clone
Rafts:
Yes
Supports:
No
Resolution:
I used 0.2 with a 0.3mm nozzle
Infill:
100%
Notes:
On these smaller units, I needed to use a raft to prevent "Elephant Foot" on the first layer from jamming things up.
NOTE: You must print these flat (so they look like a circle on the base plate). Sorry the Z axis is wrong when importing into most slicers such as Cura.
How I Designed This
Design was done with Fusion 360 in a semi-parameterized way.

Originality of the Model
The author declares that this work is their personally shared model

This model is licensed under the following terms:
Credit must be given to the creator
Models(8)
 606zz_mk2.stl
1.77 MB

2025-03-18
- 624zz_mk2.stl
1.70 MB
2025-03-18
- 608zz_mk2_Loose.stl
1.93 MB
2025-03-18
- 608zz_mk2_Standard.stl
1.52 MB
2025-03-18
- 608zz_mk2_Standard-10.stl
1.89 MB
2025-03-18
- 608zz_mk2_Tight.stl
1.98 MB
2025-03-18
- 608zz_mk2_ExTight.stl
1.79 MB
2025-03-18
- 608zz_mk2_HardCore.stl
1.79 MB
2025-03-18
View all(8)


