




bag
tote
tote bag
fashion
printable fashion
wearable
fabric
flexible
flexi
articulating
fidget
fully printable

- PLA Version

4-disc
PLA
Designer - PETG Version
4-disc
PETG
Designer

14

0
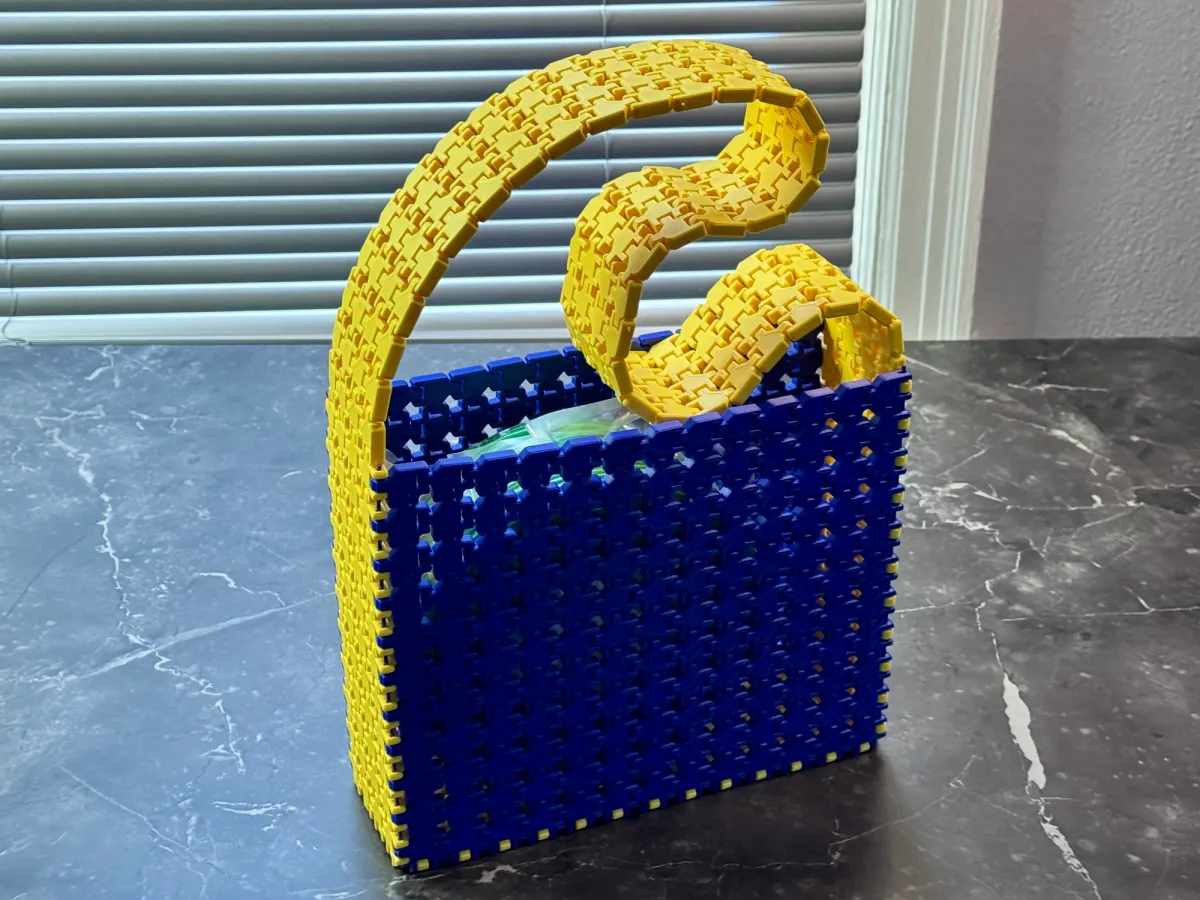
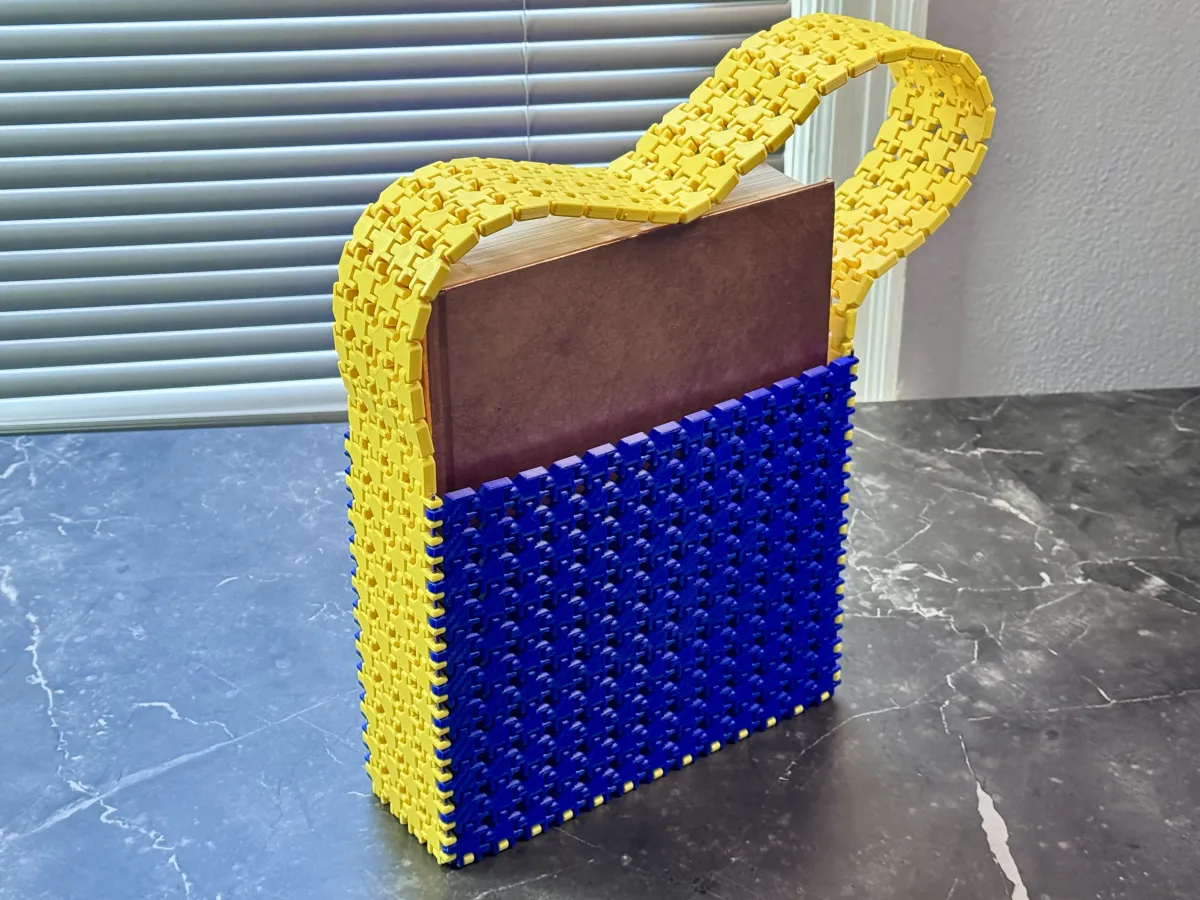
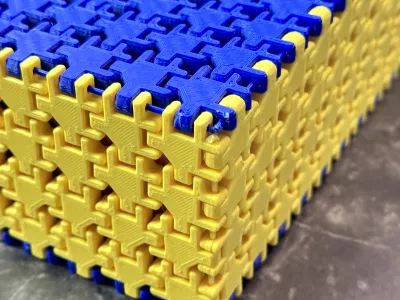
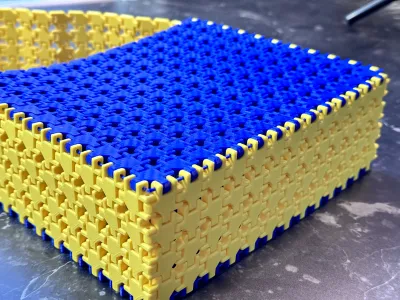
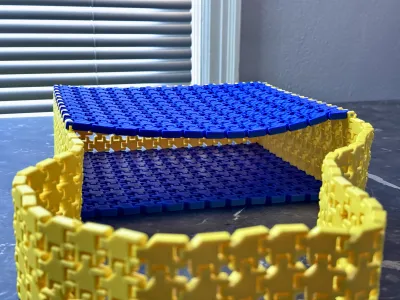
There's so many ways to 3D Print fabric these days. It's hard to pick one! But I noticed there was a significant gap for fully printable rigid body cloths which could be assembled into 3D forms and even used in the day to day.
Thus, Cloth was born. Originally the thinnest fully 3D printed rigid body cloth in the world. I wish it gained as much popularity as the fidgets cloth which don't incorporate utilitarian principles. So I am pushing forward and evolving the concept, this is my second iteration of the vision.
What is different between this and V1?
V1 used my prototype modular rigid body units. These are super fun to play with, and make great pen holders, sculptures, and light duty work. But they faced significant design challenges.
- They were too small to be strong. This one was obvious in hindsight, but has been solved with V2.
- Every unit was the same. The new tote bag I have unlocked what I am calling “Unique units.” This allows me to have smooth edges and a more cohesive design.
- It was easy to assemble incorrectly. V2 only goes together one way, and is immediately obvious if assembled incorrectly. Instead of snapping together and risking damage, you use a piece of filament to join two pieces.
Assembly Instructions
I won't lie to you, this one is a lot easier if you have experience assembling sewing patterns.
- Lay one large flat portion on a table. Arrange all the sides/bottom around it to make sure they will go together in the final assembly.
- Start inserting filament through the joints. PETG/HF is best for this task.
Trim excess filament using snippers. Use needle nose pliers to move filament through the gaps if it's a tight fit.
Things to keep in mind: When you join the sides, they should be at 90 degree angles. They will not flex into place if you assemble them flat. I actually designed it so it won't go together flat. Additionally, you want to keep in mind the cloth is flexing while you are pushing the filament through. Use your hands to keep it steady and everything will go smooth.
I personally did not use any glue, or secure the filament in any way, and have not had any issues. But if you want to be extra safe, a small dab of glue at both sides of the end of the filament, or securing it using a 3D pen, would be sufficient.
Printing Instructions
- 0.100 or 0.200 layer height depending on your preference
- PETG is strongly, strongly suggested if you plan on using this.
- 25mms first layer speed
Originality of the Model
The author declares that this work is their personally original model
This model is licensed under the following terms:
This work is licensed under a Standard Digital File License. Digital files have a strict non-commercial, personal use only license.
You shall not share, sub-license, sell, rent, host, transfer, or distribute in any way the digital file or 3D printed versions of this object, nor any other derivative work of this object in its digital or physical format (including remixes of this object). You can not host these files on other digital platforms, web stores or cloud repositories. The objects may not be used in any way whatsoever in which you charge money, collect fees.
Models(2)
- Printable Tote Bag V2 PETG Elegoo.3mfDesigner

24.16 MB

2026-05-22
- Printable Tote Bag V2 PLA Elegoo.3mfDesigner
24.16 MB
2026-05-22


