




filter
cat
diy
arduino
electronics
litterbox
fan
universal
customizable
hepa
hepafilter
filtration
automated
filtration system

 [PLA + PETG] 0.2mm layer, 2 walls, 30% infill
3-disc
PETG/PLA
Designer

33

1
Automated Air Filtration System for Cat Litter Boxes - Universal Fit - Customizable
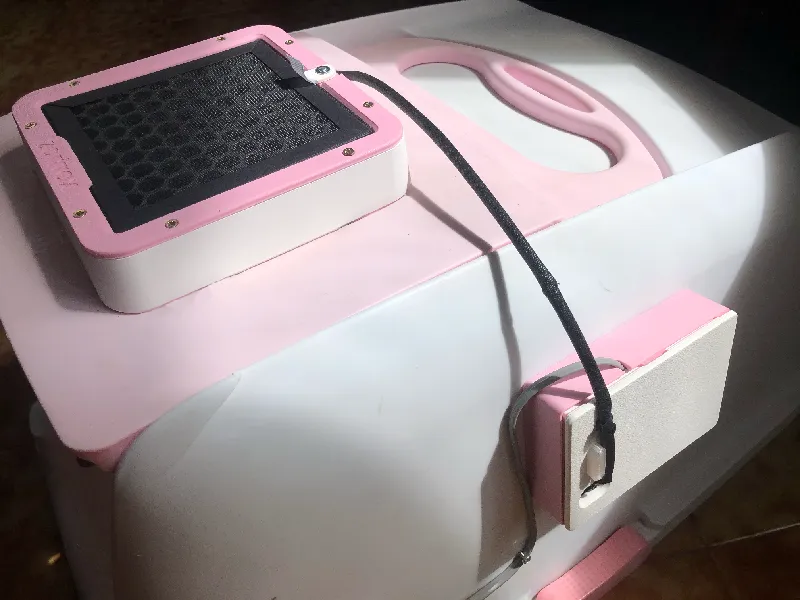
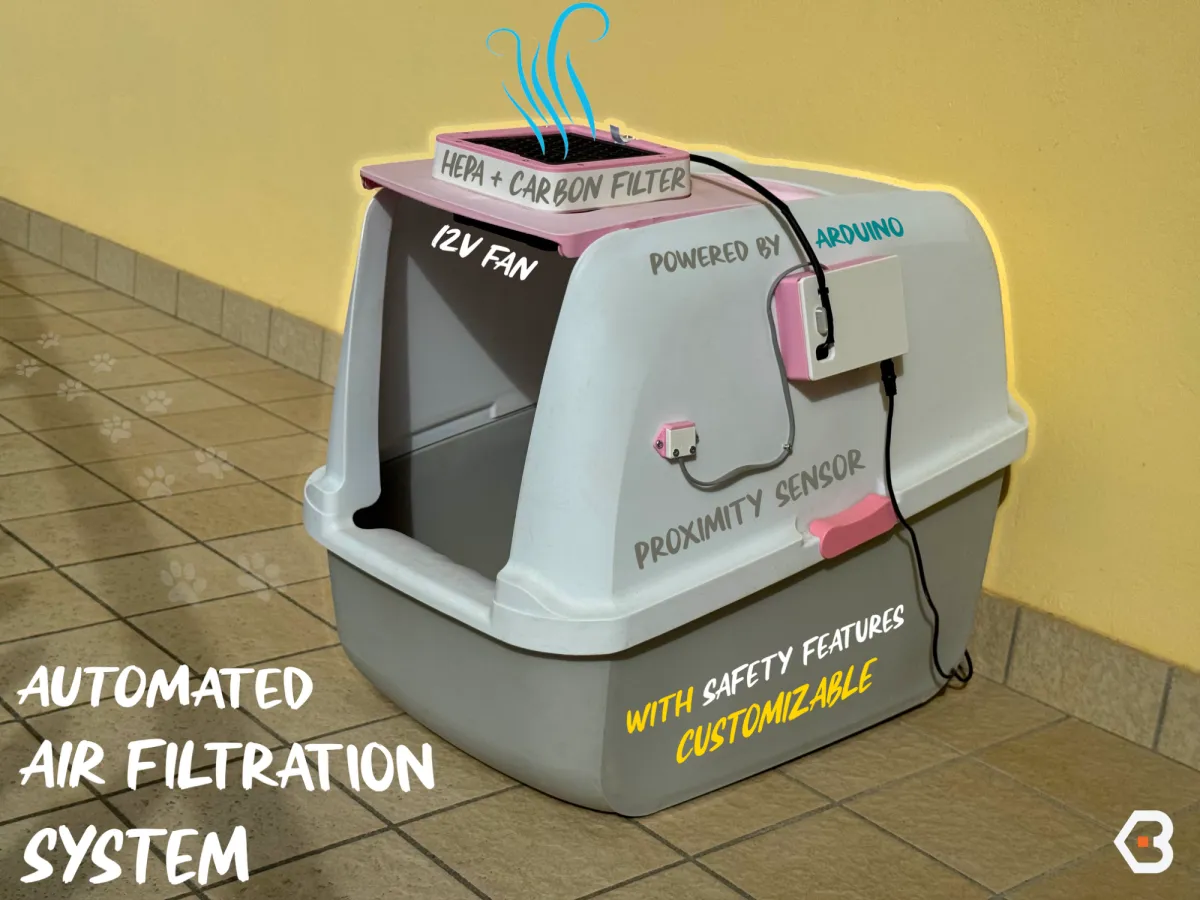
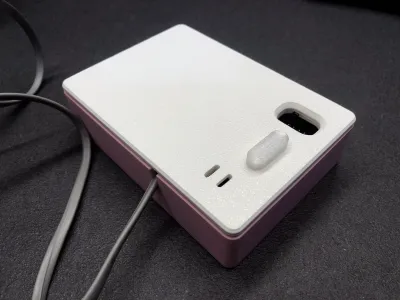
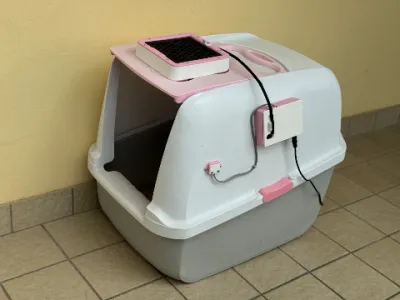
This is a universal, Arduino-powered air filtration system designed to be mounted on virtually any cat litter box. The goal of the project is simple: automatically remove odors after your cat uses the litter, all while ensuring maximum safety and minimal disturbance.


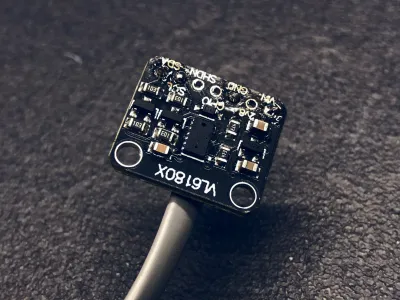
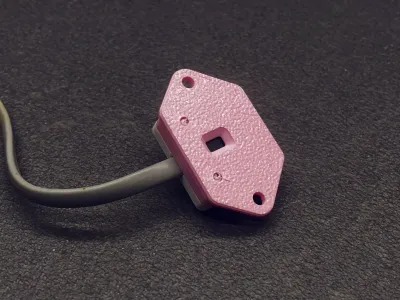
At its core, the system is powered by an Arduino UNO and a VL6180X proximity sensor. When your cat enters the litter box, the sensor detects its presence and activates an orange LED to indicate the box is in use. Once your cat exits, the system waits 15 seconds for safety, then activates a 12V fan via a 5V relay, extracting air for 2.5 minutes. If the cat returns during this time, the fan immediately shuts off, and the cycle restarts once the litter is vacated again.
The waiting and extracting times can be customized in the Arduino code
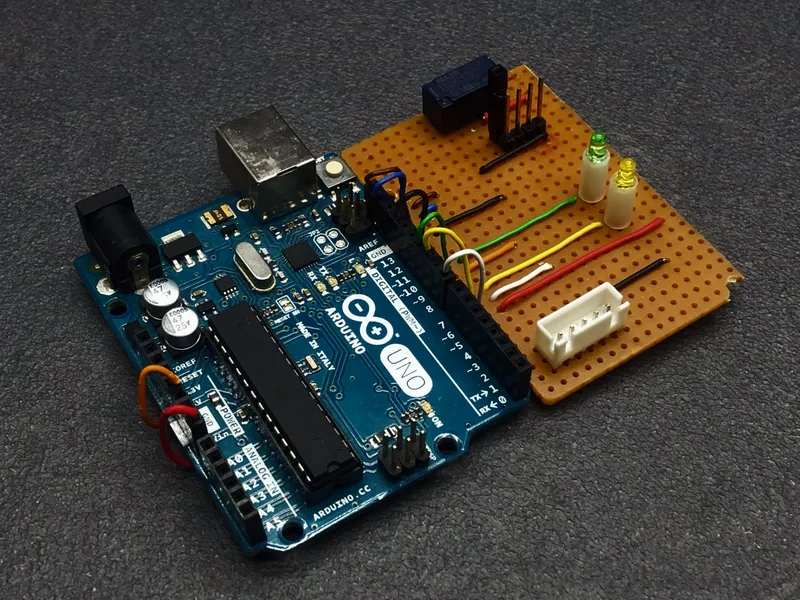
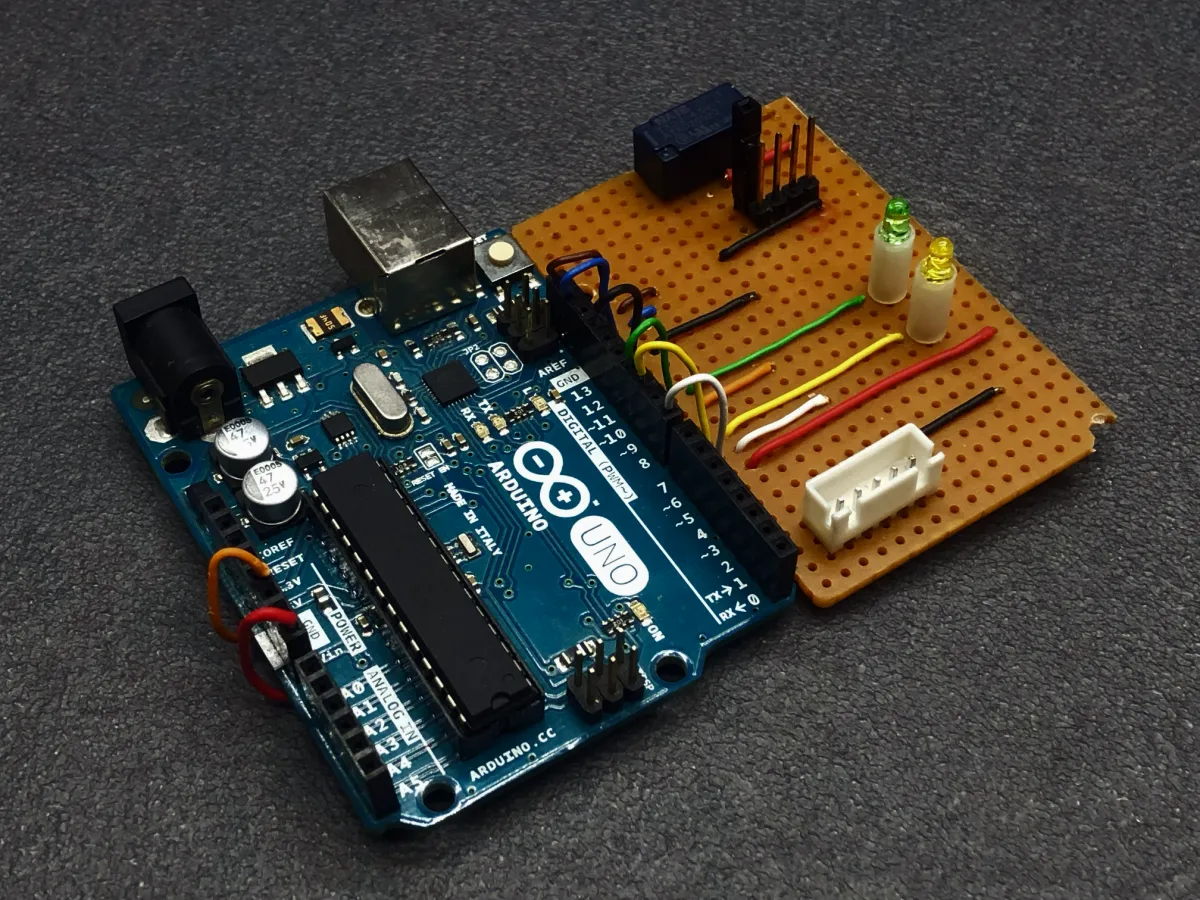
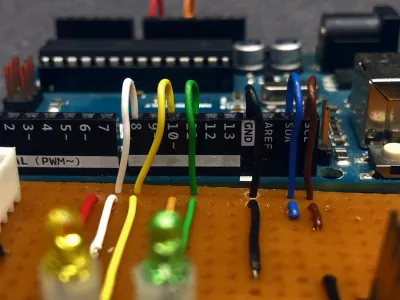
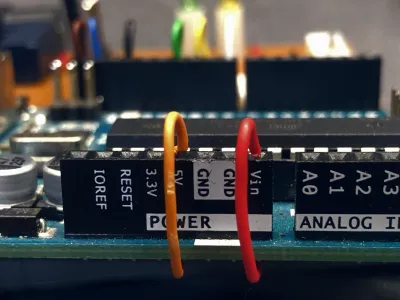
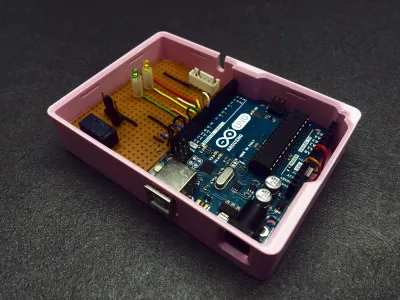
The electronics are built on a perfboard, with all component connections manually soldered. Power is supplied through a 12V PSU connected directly to the Arduino, but it also supports 12V battery power. When running on battery, the corresponding code includes a voltage monitoring system: if the battery drops below a safe threshold, the system automatically shuts down to prevent over-discharge and the orange LED flashes three times quickly to indicate that the battery needs to be recharged.
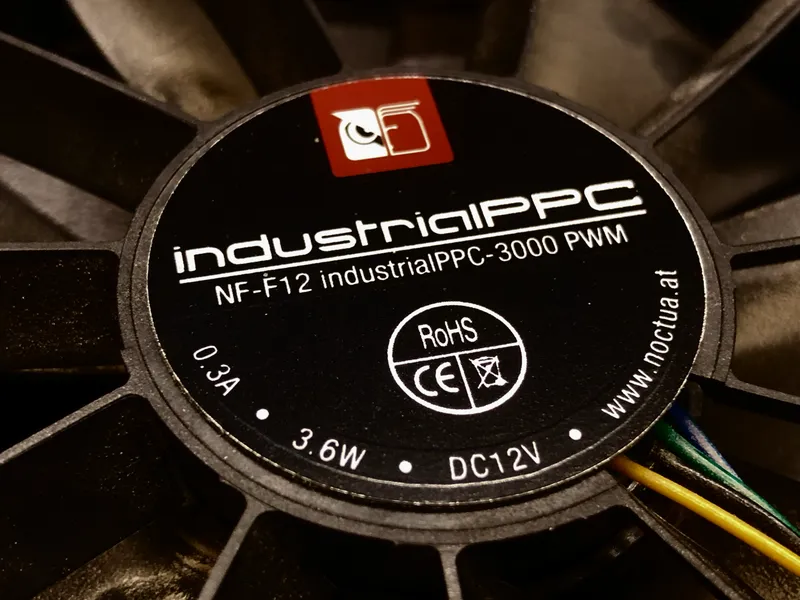
🌬 PWM Fan Control – A Challenge
During early development, I attempted to use PWM (Pulse Width Modulation) to smoothly ramp up the fan speed, hoping to avoid startling the cat. However, with my Noctua 12V fan, even using the manufacturer-recommended PWM frequency, the fan would never fully turn off it always stayed at minimum speed. For this reason, I switched to relay control, but if anyone has tips for making PWM work reliably with Noctua fans and Arduino UNO, I’d love your input!
🌫 Filter Compatibility
The filter housing is designed to fit Zortrax HEPA + Carbon filters, which I already had available. If you’re using different filters, feel free to remix the filter case to match your specific dimensions.
PROGRAM SETUP - ARDUINO IDE
#include <Wire.h>
#include <Adafruit_VL6180X.h>

const int fanRelay = 8;         // Relay pin to turn fan ON/OFF
const int ledRed = 10;          // Red LED (blinking when fan is ON)
const int ledGreen = 11;        // Green LED (litter available)

const int minDistance = 200;  // Detection threshold for cat presence(mm)
const int waitTime = 15000; // Safety Waiting Time after cat exit (ms)
const int fanRunTime = 150000; // Air Extraction Time (ms)

Adafruit_VL6180X vl6180x = Adafruit_VL6180X(); // Create a sensor object

// State variables
bool isCatInside = false;      // True if a cat is currently detected
bool isWaitingExit = false; // True if waiting to confirm cat has left
unsigned long exitTimerStart = 0; // Time when exit wait started


// Initialization function
void setup() {
    // Set up pins
    pinMode(fanRelay, OUTPUT);
    pinMode(ledRed, OUTPUT);
    pinMode(ledGreen, OUTPUT);
    digitalWrite(fanRelay, LOW);  // Ensure fan is OFF initially

    // Start serial communication
    Serial.begin(115200);
    if (!vl6180x.begin()) {
        Serial.println("Failed to detect VL6180X sensor!");
        while (1);  // Stop if sensor is not found
    }

 // Initial LED status: green ON (litter available), red OFF
    digitalWrite(ledRed, LOW);
    digitalWrite(ledGreen, HIGH);
}

// Main loop function
void loop() {
    int distance = vl6180x.readRange(); // Read current distance from sensor

    // If a cat is detected (closer than threshold)
    if (distance < minDistance) {
        if (!isCatInside) {
            isCatInside = true; // Update state
            Serial.println("Cat is inside the litter box");
            digitalWrite(ledRed, HIGH); // Turn on red LED
            digitalWrite(ledGreen, LOW);// Turn off green LED
            isWaitingExit = false;     // Reset exit check
        }
    } else {
    // If cat was inside and is now possibly gone, start exit confirmation
        if (isCatInside && !isWaitingExit) {
            Serial.println("Waiting to confirm cat exit...");
            isWaitingExit = true;
            exitTimerStart = millis();// Start timer
        }
 // If in exit waiting state
        if (isWaitingExit) {
            unsigned long currentMillis = millis();
            // Monitor distance for the full wait time
            while (millis() - exitTimerStart < waitTime) {
                distance = vl6180x.readRange();
                // If cat comes back during wait, abort exit
                if (distance < minDistance) {
                    Serial.println("Cat is still inside");
                    isCatInside = true;
                    isWaitingExit = false;
                    digitalWrite(ledRed, HIGH);
                    digitalWrite(ledGreen, LOW);
                    return;
                }
                delay(500); // Check every 500ms
            }
 // Exit confirmed: turn OFF red LED, turn ON green LED
            Serial.println("Cat has exited");
            isCatInside = false;
            isWaitingExit = false;
            digitalWrite(ledRed, LOW);
            digitalWrite(ledGreen, HIGH);

     // Start fan and blinking red LED
            Serial.println("Starting air filtering...");
            digitalWrite(fanRelay, HIGH); // Turn fan ON

            unsigned long fanStartTime = millis();
            bool ledState = false;
            unsigned long lastBlink = millis();

 // Fan will run for a fixed duration unless interrupted
            while (millis() - fanStartTime < fanRunTime) {
            // If cat returns, immediately stop fan
                if (vl6180x.readRange() < minDistance) {
                    Serial.println("Cat detected again, turning OFF fan...");
                    digitalWrite(fanRelay, LOW);
                    digitalWrite(ledRed, HIGH);
                    isCatInside = true;
                    digitalWrite(ledGreen, LOW);
                    return;
                }

                // Blink red LED every 500ms
                if (millis() - lastBlink >= 500) {
                    ledState = !ledState;
                    digitalWrite(ledRed, ledState);
                    lastBlink = millis();
                }

                delay(10); // Small delay for responsiveness
            }

       // Fan time completed, turn OFF fan and red LED
            Serial.println("Stopping fan...");
            digitalWrite(fanRelay, LOW);
            digitalWrite(ledRed, LOW);
        }
    }

    delay(500); // Wait before next sensor check
}
To change the waiting and fan operation time you can easily change the value in millisecond of const unsigned long waitTime and const unsigned long fanRunTime in the first potion of the code.
This is the code for power supply operation, but in the download section, you can also find the one for battery use.
⚠ Note: The code for battery use requires an additional part in the circuit to read the voltage. This version, with battery monitoring implemented, can be used both with a battery or a power supply.
➡ More Schematic info in the Downloads section > Assembly Instruction!

🛠 Project Development with PCBWay’s Support
A massive thank you to PCBWay for helping bring this project to life.
PCBWay specializes in PCB, PCBA, CNC, and 3D Printing, and has (in my experience) the best support & the widest amount of options for manufacturing. 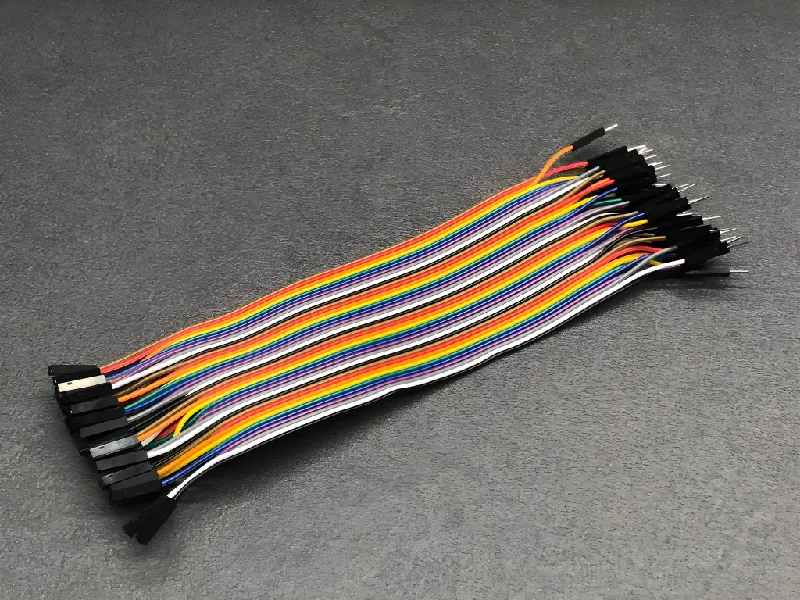
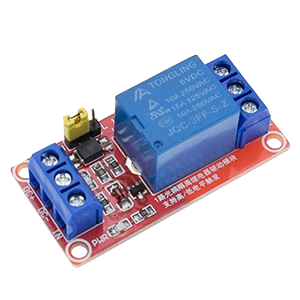
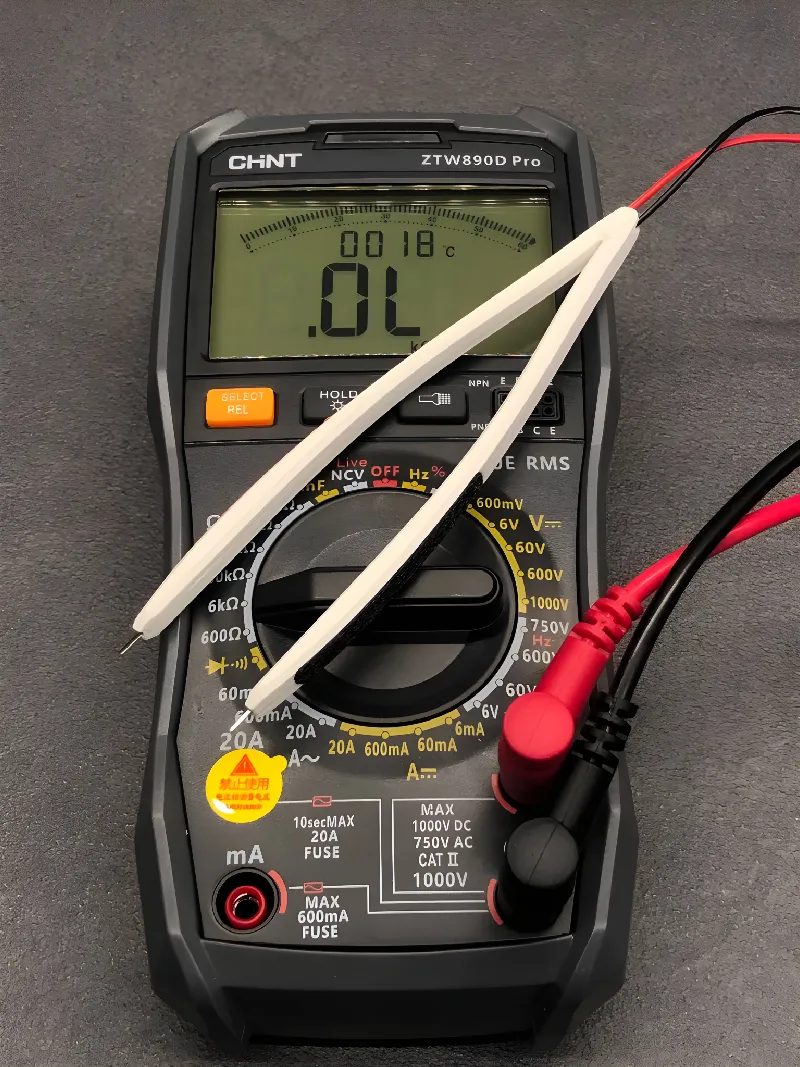
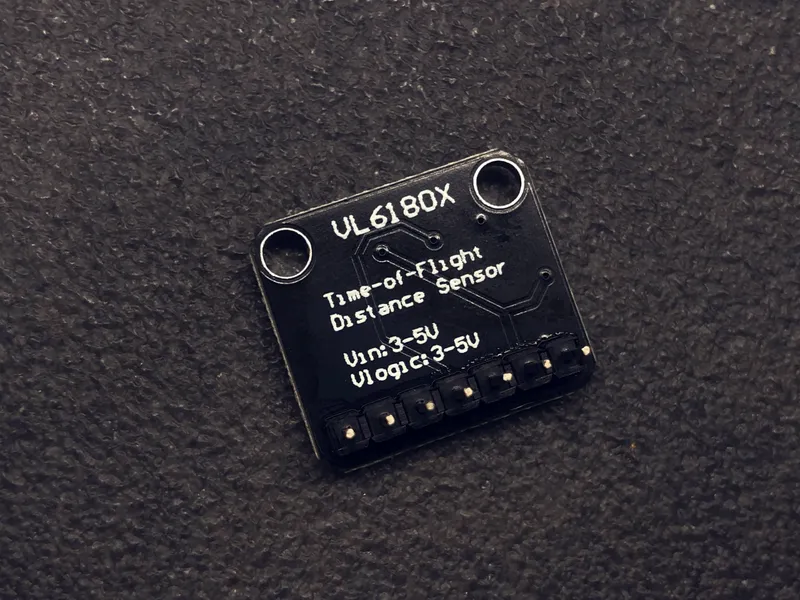

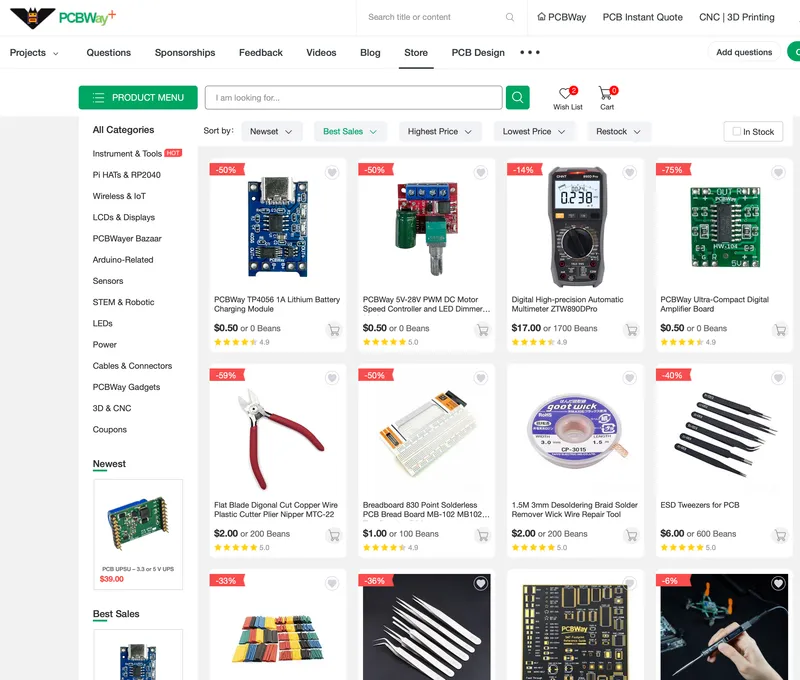
They also have a PCBWay+ Store where I purchased everything needed for this project, including the VL6180X proximity sensor, Jumper Wiresfor prototyping, and a Multimeter to test circuit connections. You’ll also find the Relay Module compatible with Arduino.
In addition to the essential components for this build, range of electronic parts and accessories at great prices, with an easy checkout process and fast, well-packaged shipping.
Check out this project on PCBWay+ Community.
🔧 Print Settings
Layer Height: 0.2mm
Infill: 30–50%
Perimeters: 2–3
Supports: Not required
Material: PLA or PETG recommended
🖨 Print Files & Quantities
1× Electronics Case
1× Electronics Case Lid
1× LED Diffuser (in transparent material)
1× Sensor Case (Bottom)
1× Sensor Case (Top)
1× Fan Mount & Filter Case
1× Filter Housing (Zortrax compatible)
1× Filter Safety Clip
🔩 Hardware Required
1× Arduino UNO
1× VL6180X sensor
1× 12V 120mm fan
1× 5V relay module (or compatible MOSFET switch)
⚠ Note: I used a basic relay controlled directly from a digital pin, but I highly recommend using a dedicated relay module to protect your Arduino from excessive current draw.
1× 3mm Green LED
1× 3mm Orange/Red LED
2× 220Ω Resistors
1× 12KΩ Resistor (optional)
1× 4.7KΩ Resistor (optional)
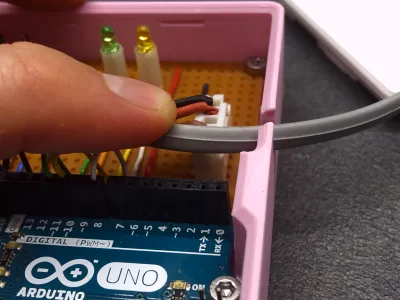
1× 4-pin JST XH Board Connector Set (or similar)
1× 4-pin Header Strip
1× 1-pin Header Strip
1× Perfboard (up to 6,9 x 4,5 cm)
1× 12V 1A DC Power Adapter
1× 12V Battery (optional)
1× Zortrax Hepa + Carbon Filter SET
1× Digital Multimeter
Screws and Zip Tie (type and quantity inside BOM)
22AWG Solid Core Wire for circuit wiring and connections to Arduino ports
A full Bill of Materials (BOM) and a step-by-step assembly guide are available in the Downloadssection.
📁 Software Used
Arduino IDE
Fusion360
🖥 Serial Monitoring for Smart Integrations
The Arduino code includes serial messages to indicate the system’s current state. This opens the door for remote monitoring, integration with smart dashboards, or logging battery performance over time, great for further development!
💡Expansions and Integrations
If your litter box is very large and you’re concerned that the cat might not be properly detected by the sensor, you can modify the project by adding one or more additional sensors to achieve full coverage inside the box. Alternatively, you can increase the waiting time as needed, to give your cat enough time to do its business even if it’s in a spot not covered by the sensor.
🐾 Follow for More
Don’t forget to follow 3D KIMBA for more projects, creative ideas, and helpful tools for makers!
Bill of materials
- NameQuantityNotes
- 1Check Bill of Material1
Originality of the Model
The author declares that this work is their personally original model
This model is licensed under the following terms:
This work is licensed under a Standard Digital File License. Digital files have a strict non-commercial, personal use only license.
You shall not share, sub-license, sell, rent, host, transfer, or distribute in any way the digital file or 3D printed versions of this object, nor any other derivative work of this object in its digital or physical format (including remixes of this object). You can not host these files on other digital platforms, web stores or cloud repositories. The objects may not be used in any way whatsoever in which you charge money, collect fees.
Models(1)
- Automated Air Filtration System for Cat Litter Boxes_C.3mfDesigner

381.55 KB

2026-03-15
Attachments(4)
pdf
Assembly Instruction_.pdf
20.22 MB
2026-03-15
pdf
Bill Of Materials.pdf
113.26 KB
2026-03-15
ino
Litter_Filtration_System.ino
0.02 KB
2026-03-15
ino
Litter_Filtration_System_Battery.ino
4.12 KB
2026-03-15
View all(4)


