


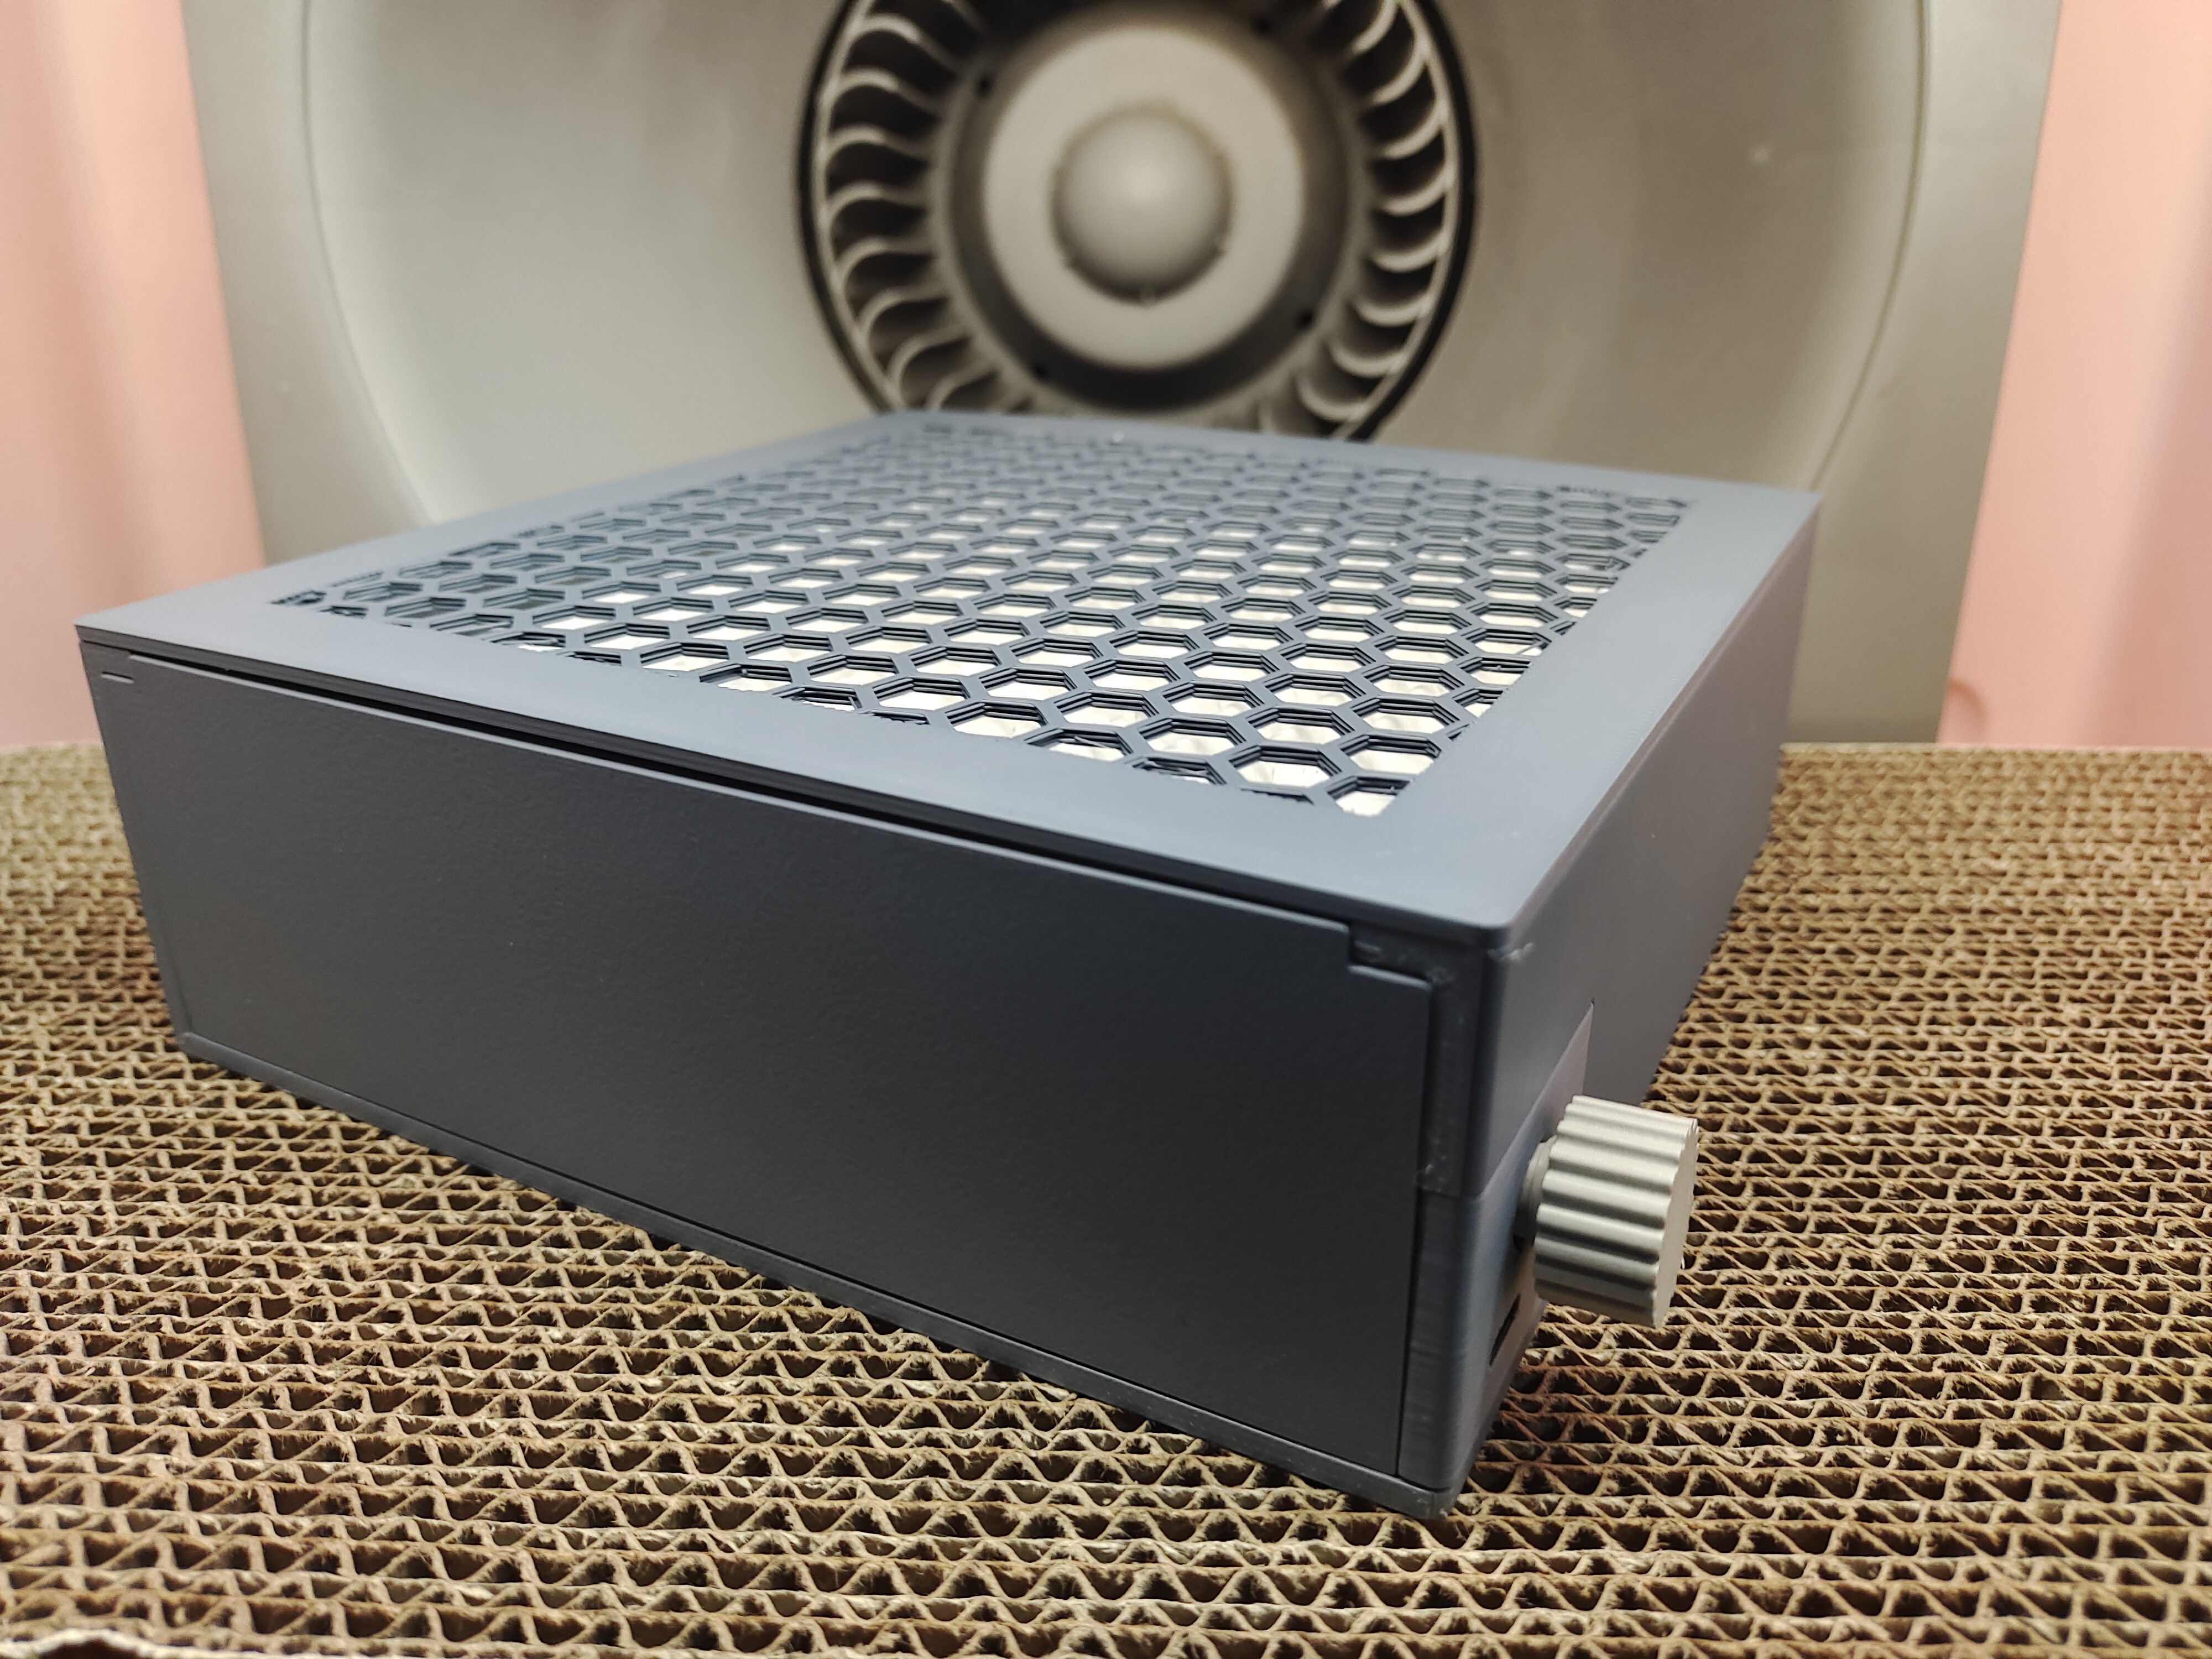
Surface Finishing
Polishing Vacuum Cleaner
Vacuum Cleaner
Nail Art Vacuum Cleaner

- 0.2 mm layer height, 2-wall structure, 8% infill density

6-disc
PLA
Designer

15

1
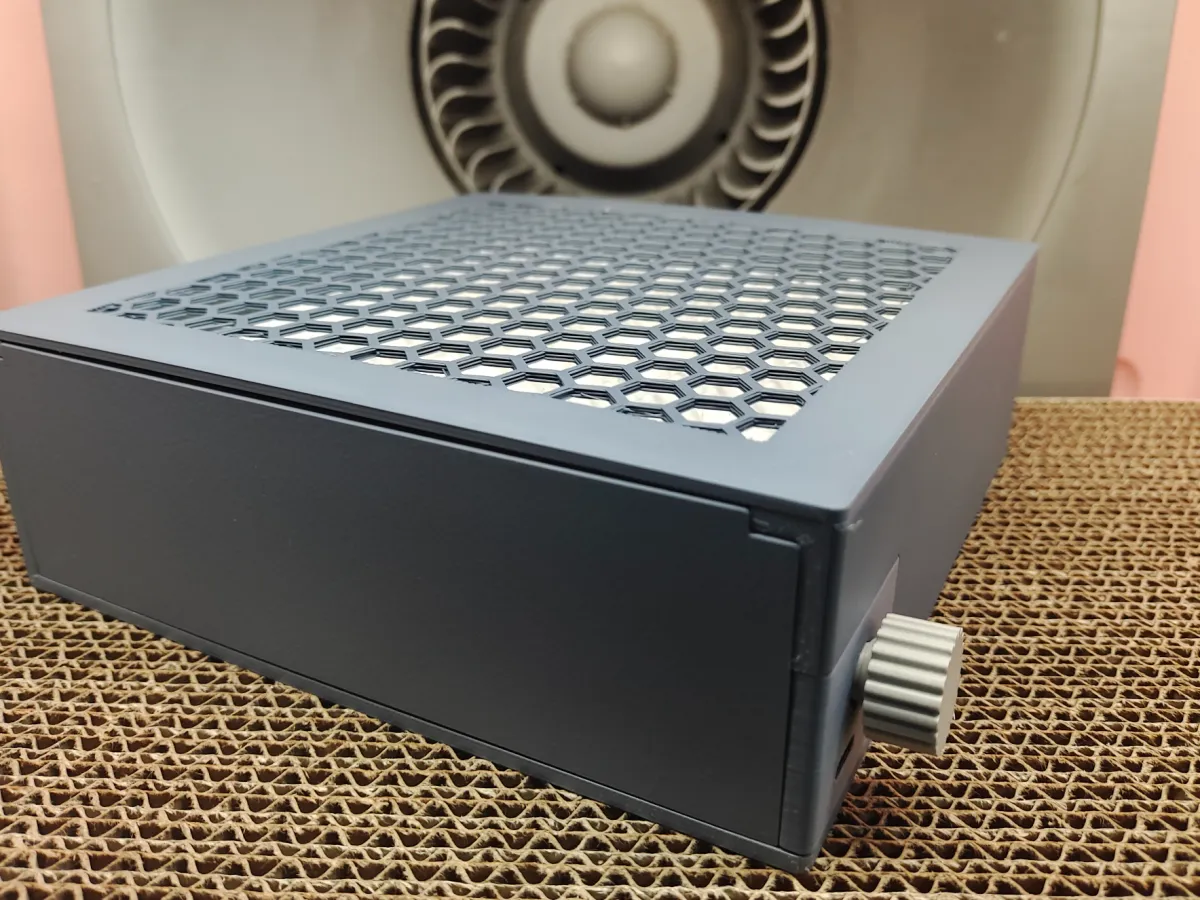
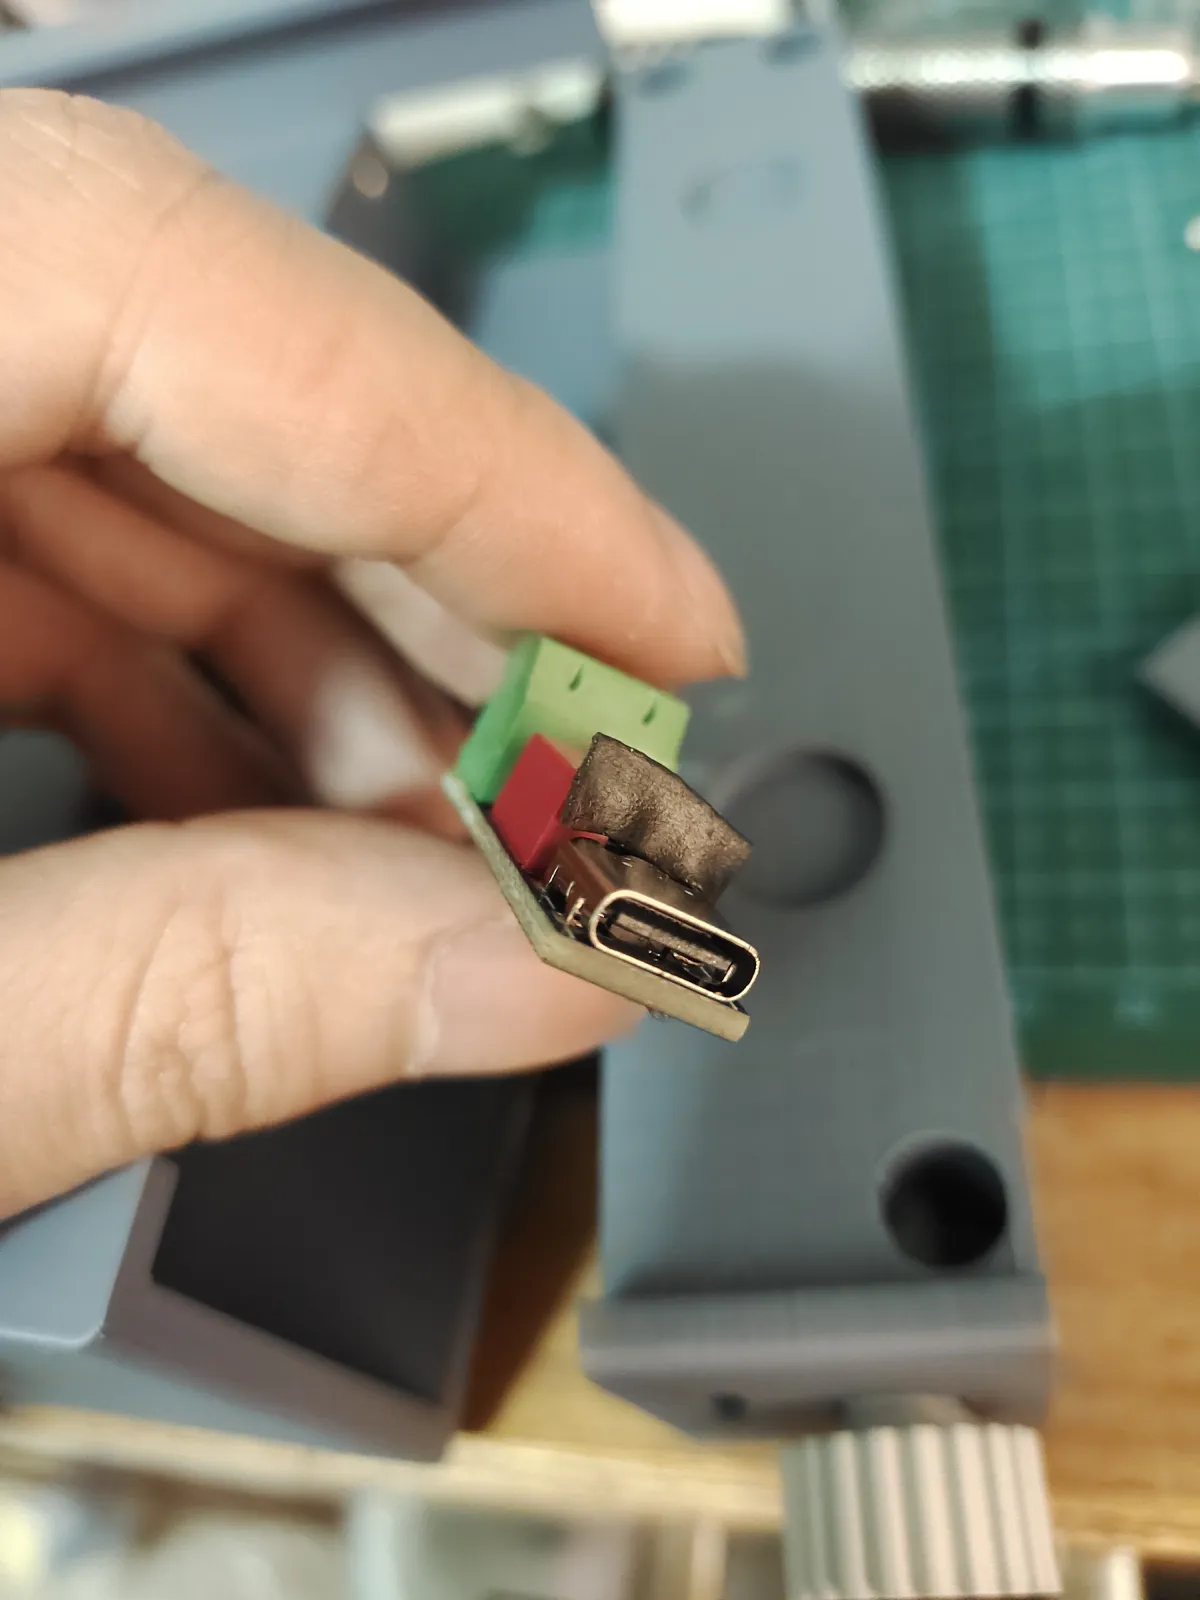
A simple dust-collecting and vacuuming device, with HEPA filter cotton used for filtration, incorporates the HEPA filter module from my Exhaust Air Filtration Box project. The fan is a 12V 1025 turbo fan, with its speed controlled via a PWM controller and powered through a Type-C port.
The electrical component mounting plate is secured using M4×8 flat-head screws, requiring either M4×6×5 or M4×5×5 hot-melt nuts embedded into the main body, or alternatively, M5 self-tapping screws can be used for fixation.
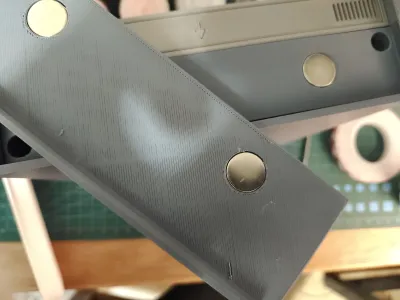
The front cover is held in place by four 14mm×2mm round magnets, which are glued into corresponding slots. Thanks to these magnets, the front panel can attract commonly used metal tools, such as files.
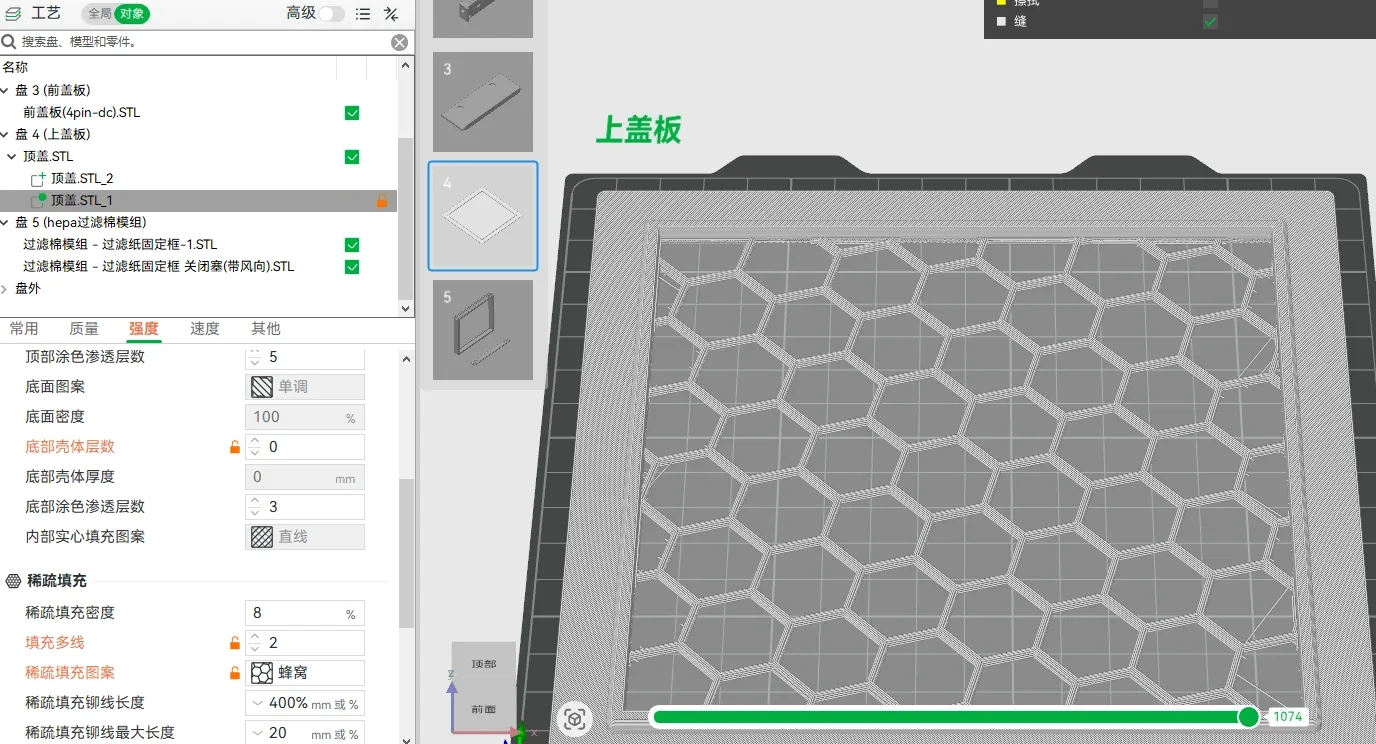
The pattern on the top cover is created using an internal infill design; you can modify the modifier parameters to customize the pattern.
For detailed information on the filter cotton module, please refer to the description in my Exhaust Air Filtration Box project.
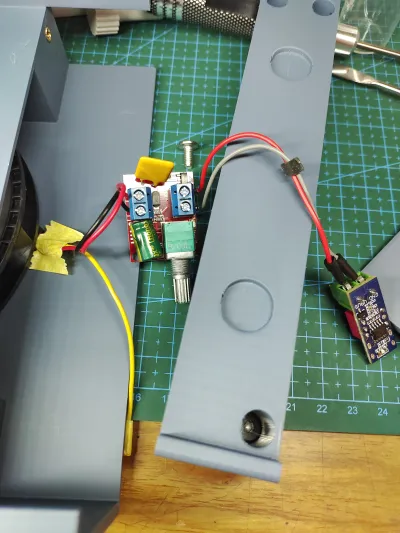
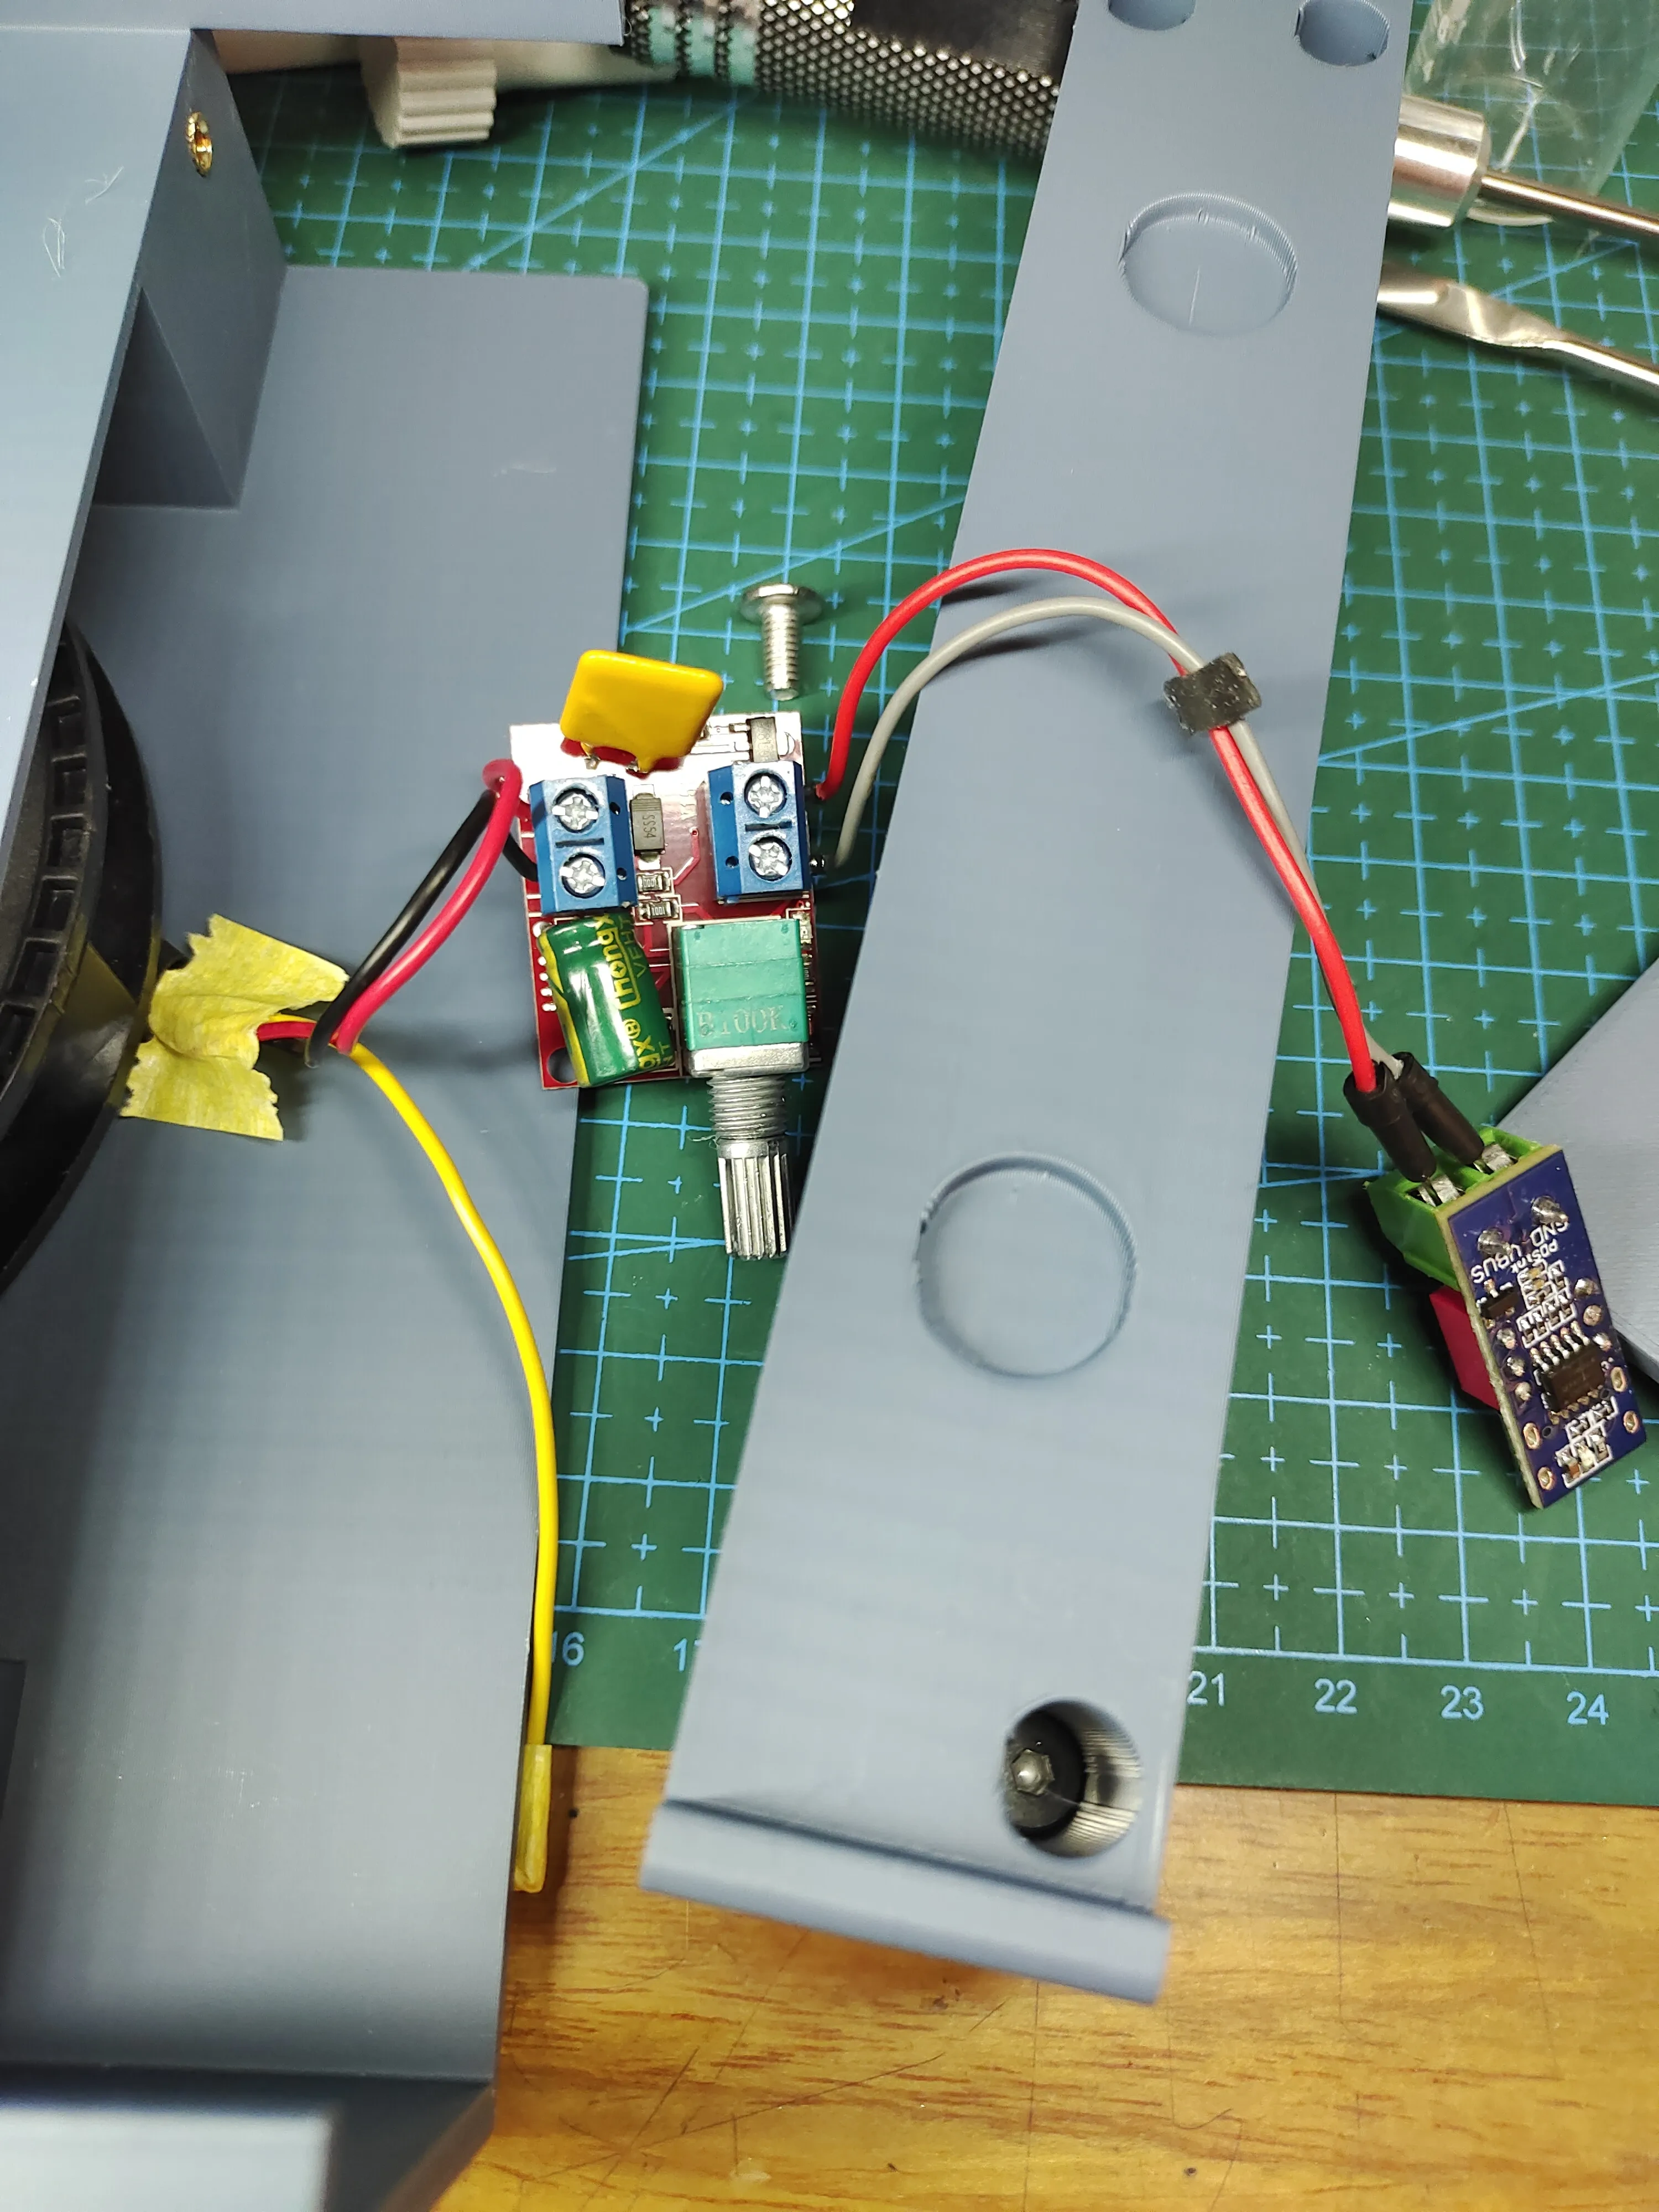
The speed regulator is a PWM DC motor speed controller.

The fan is a 1025 turbo fan purchased casually from PDD.
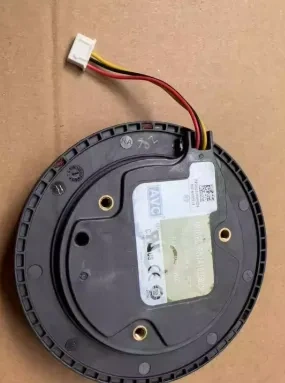
The inducer is this one:

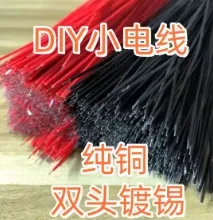
In addition, two small wires are needed to connect the inducer to the PWM speed controller—24 AWG or 22 AWG—depending on the operating current of the fan you’ve purchased.
3M adhesive tape is used to secure the components.

The magnets securing the front cover:

Installation procedure:
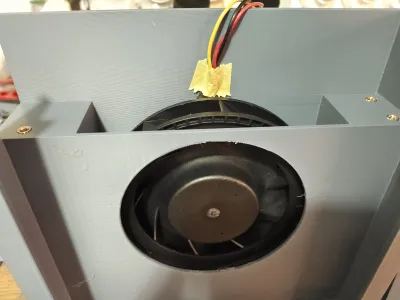
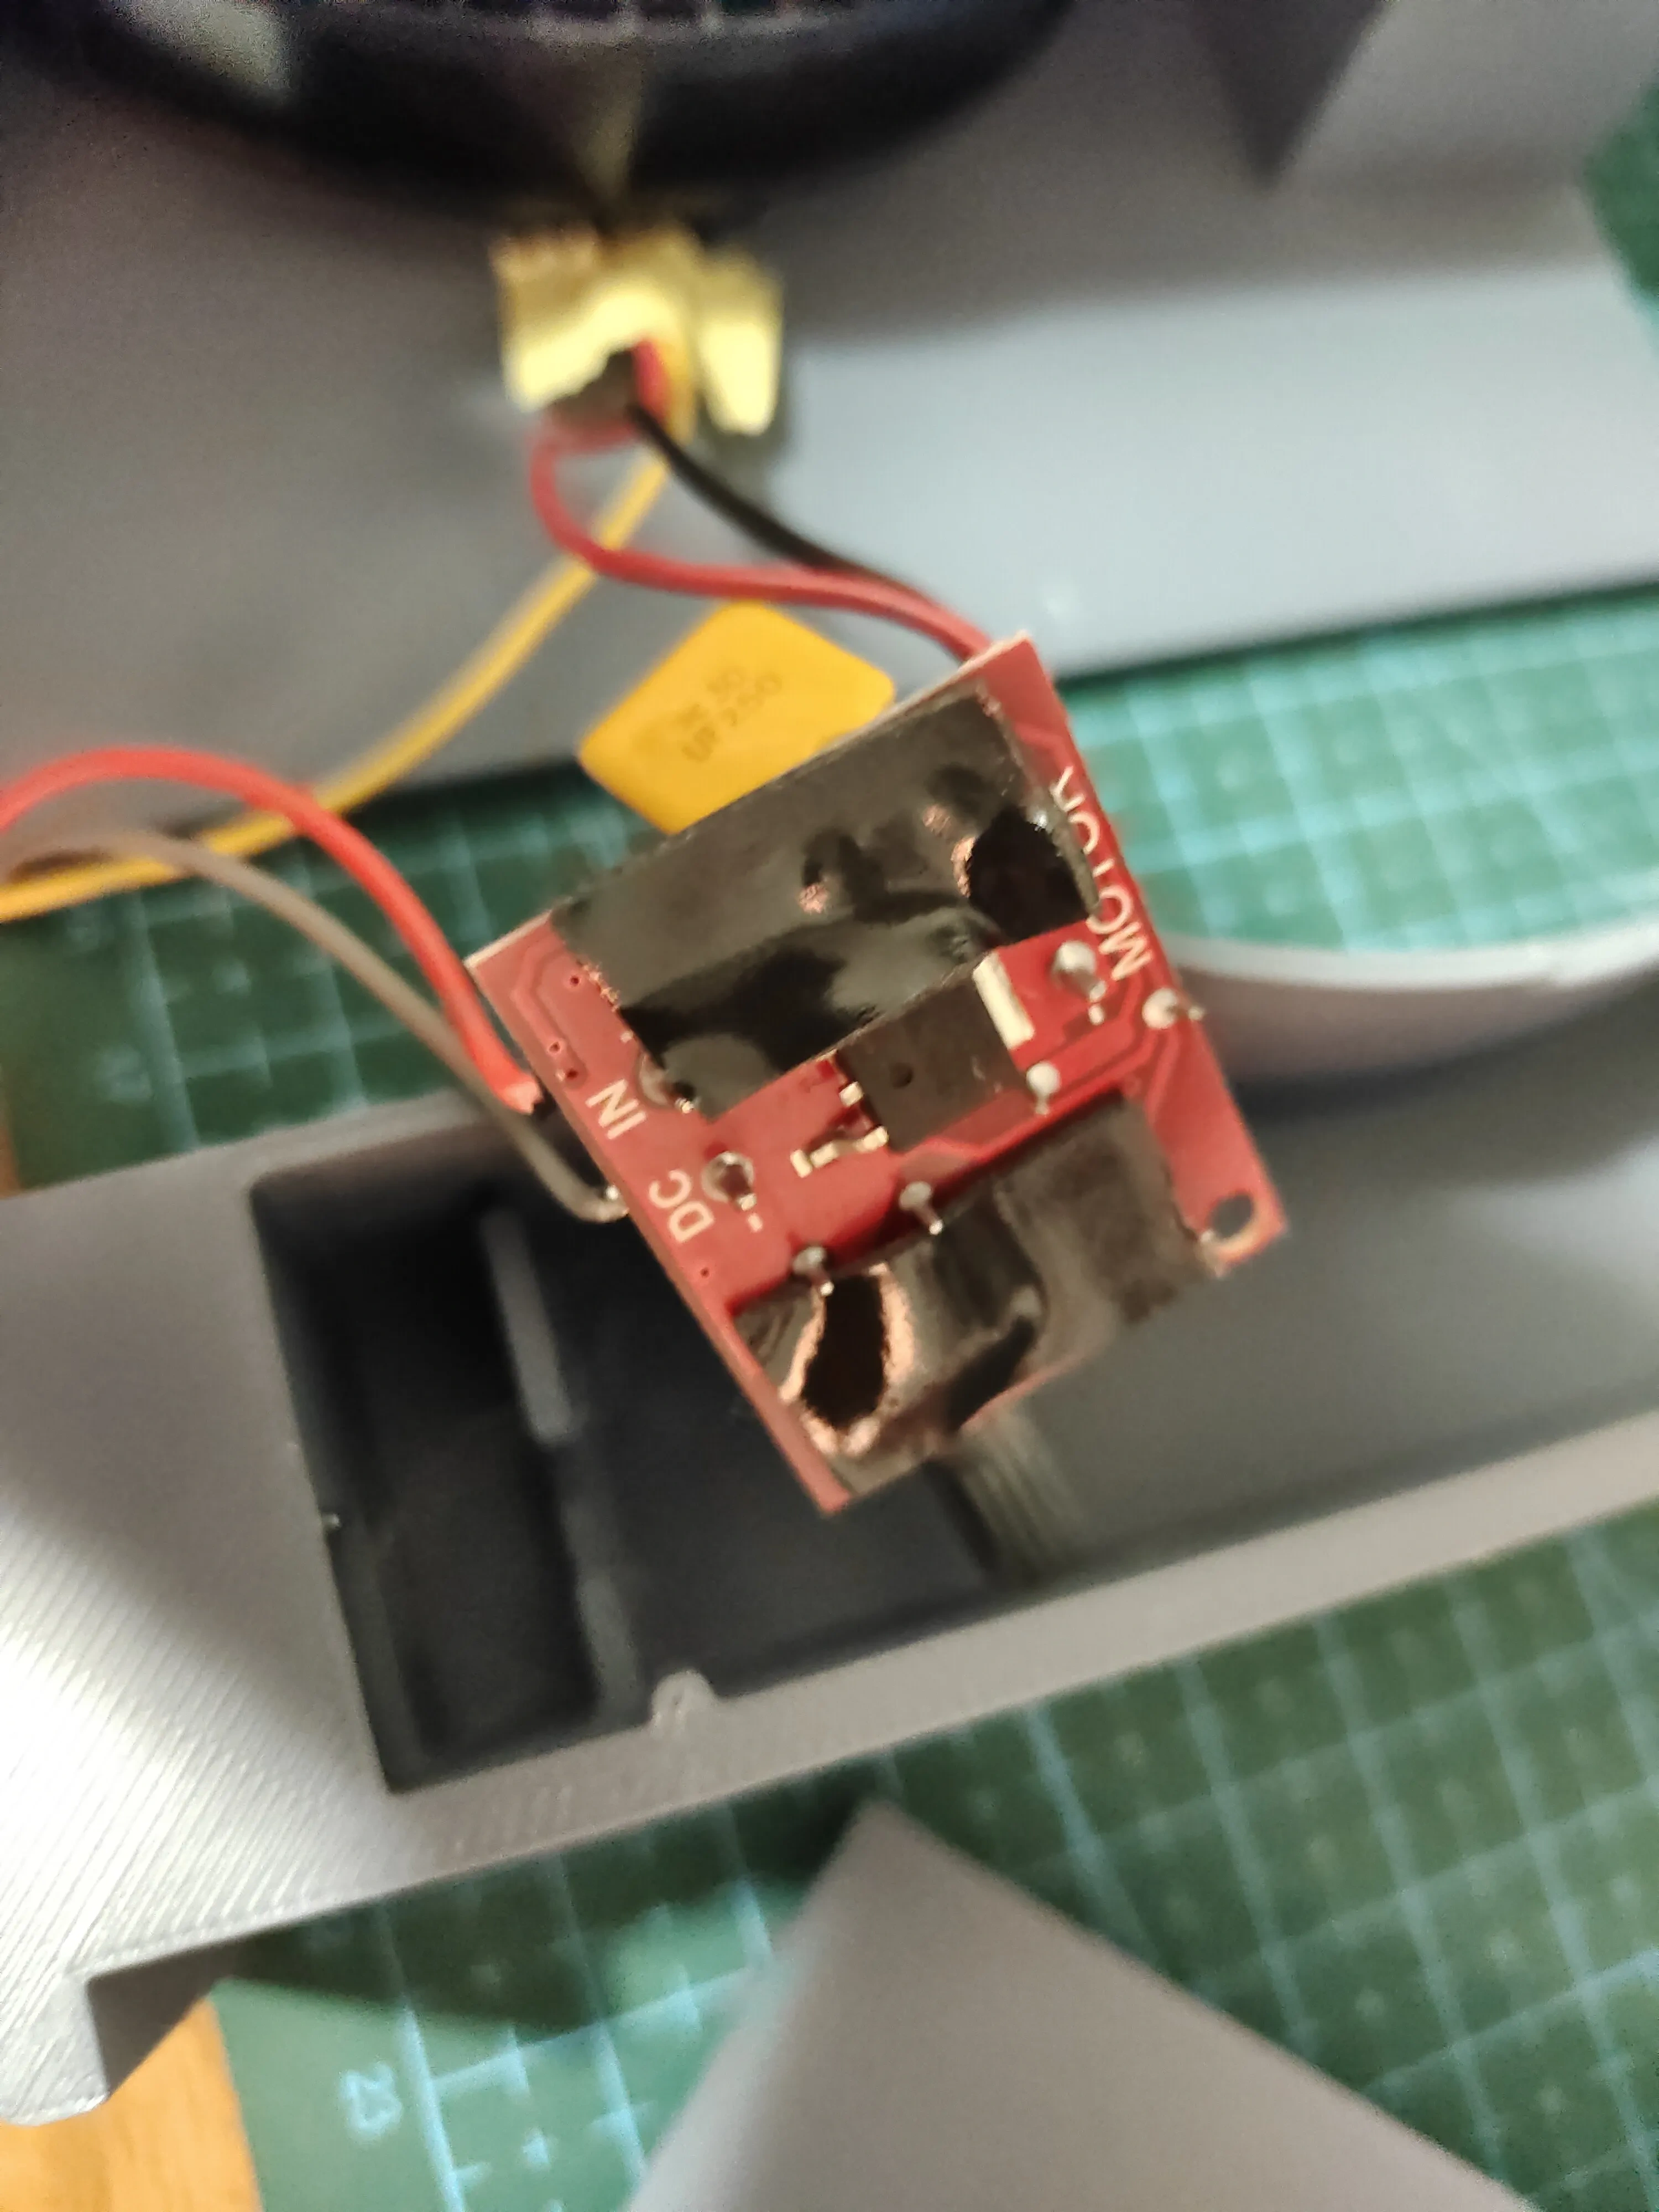
1. Press in the hot-melt nuts (no need to do so if using self-tapping screws), then install the fan as shown in the diagram. Use tape to secure the fan cable near the fan to prevent it from rubbing against the wire during operation.


2. Wire up as shown in the diagram; the single screw on the right can be inserted first, but it must be installed before the potentiometer knob. Additionally, the yellow tachometer wire from the fan can be cut off, or its metal portion can be wrapped with insulating material and then secured away from the electrical components. Two small wires are required to connect the PWM speed controller and the inducer; I took a shortcut and used DuPont wires, but you can easily buy ready-made small wires online.
3. Apply sponge tape to the PWM speed controller and the inducer.

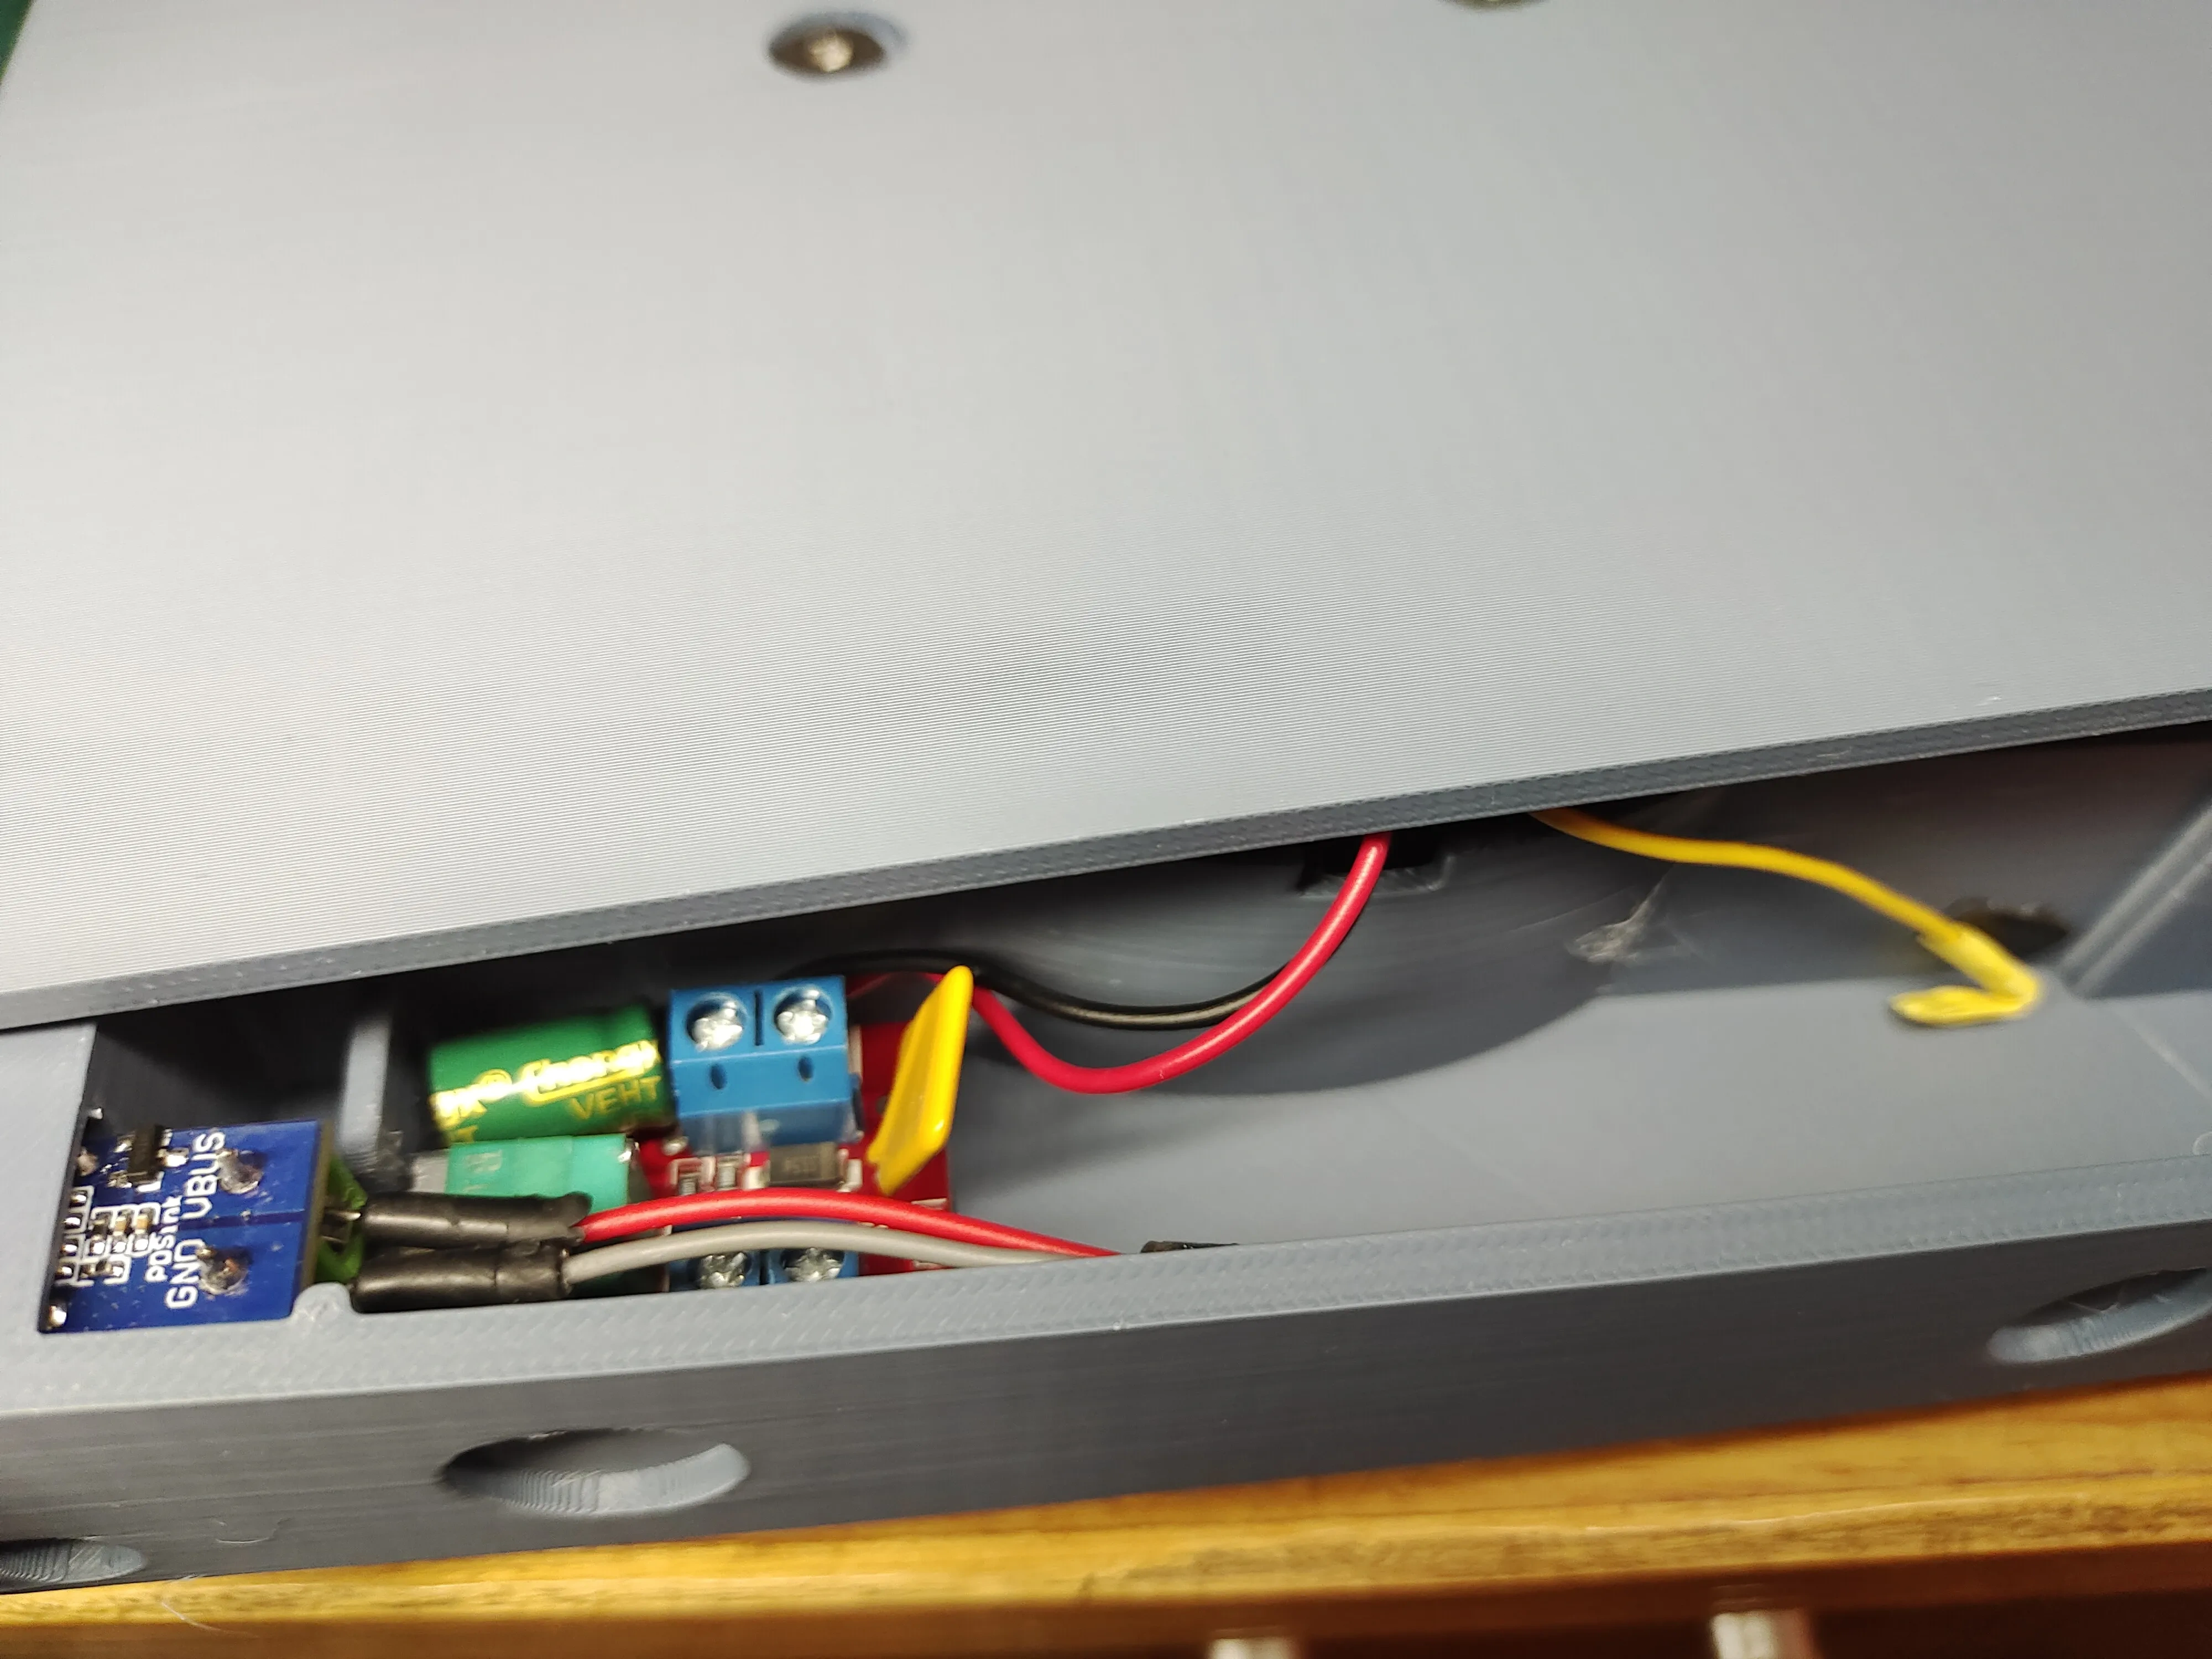
4. When closing the unit, make sure the fan cable isn’t touching the fan. Secure it with M4 screws or M5 self-tapping screws.


5. Install the magnets.

6. Install the filter module, the top cover, and the potentiometer knob.
Bill of materials
- NameQuantityNotes
- 114*2磁铁4
- 2m4*8平头螺丝6其中3颗螺丝用于固定风扇
- 3pwm调速器1带接线端子的
- 4typec诱骗器1
- 5m4*5*5热熔螺母3
- 6电线224awg或者22awg
- 71025涡轮风扇1
- 83m双面胶1
Originality of the Model
The author declares that this work is their personally original model
This model is licensed under the following terms:
This work is licensed under a Standard Digital File License. Digital files have a strict non-commercial, personal use only license.
You shall not share, sub-license, sell, rent, host, transfer, or distribute in any way the digital file or 3D printed versions of this object, nor any other derivative work of this object in its digital or physical format (including remixes of this object). You can not host these files on other digital platforms, web stores or cloud repositories. The objects may not be used in any way whatsoever in which you charge money, collect fees.
Models(1)
- 打磨吸尘器1025涡流扇(pwm+typec).3mfDesigner

732.87 KB

2026-04-12