


led
Lighting
Flashlight
Decorative Lighting

- Layer height: 0.16 mm, wall thickness: 2 layers, infill density: 15%

1-disc
PETG
Designer

3

0
During the club session, I provided students with electronic components (purchased at my own expense, so I took advantage of bargain deals) and asked them to design a custom 3D model for these parts—then I built one myself as well!
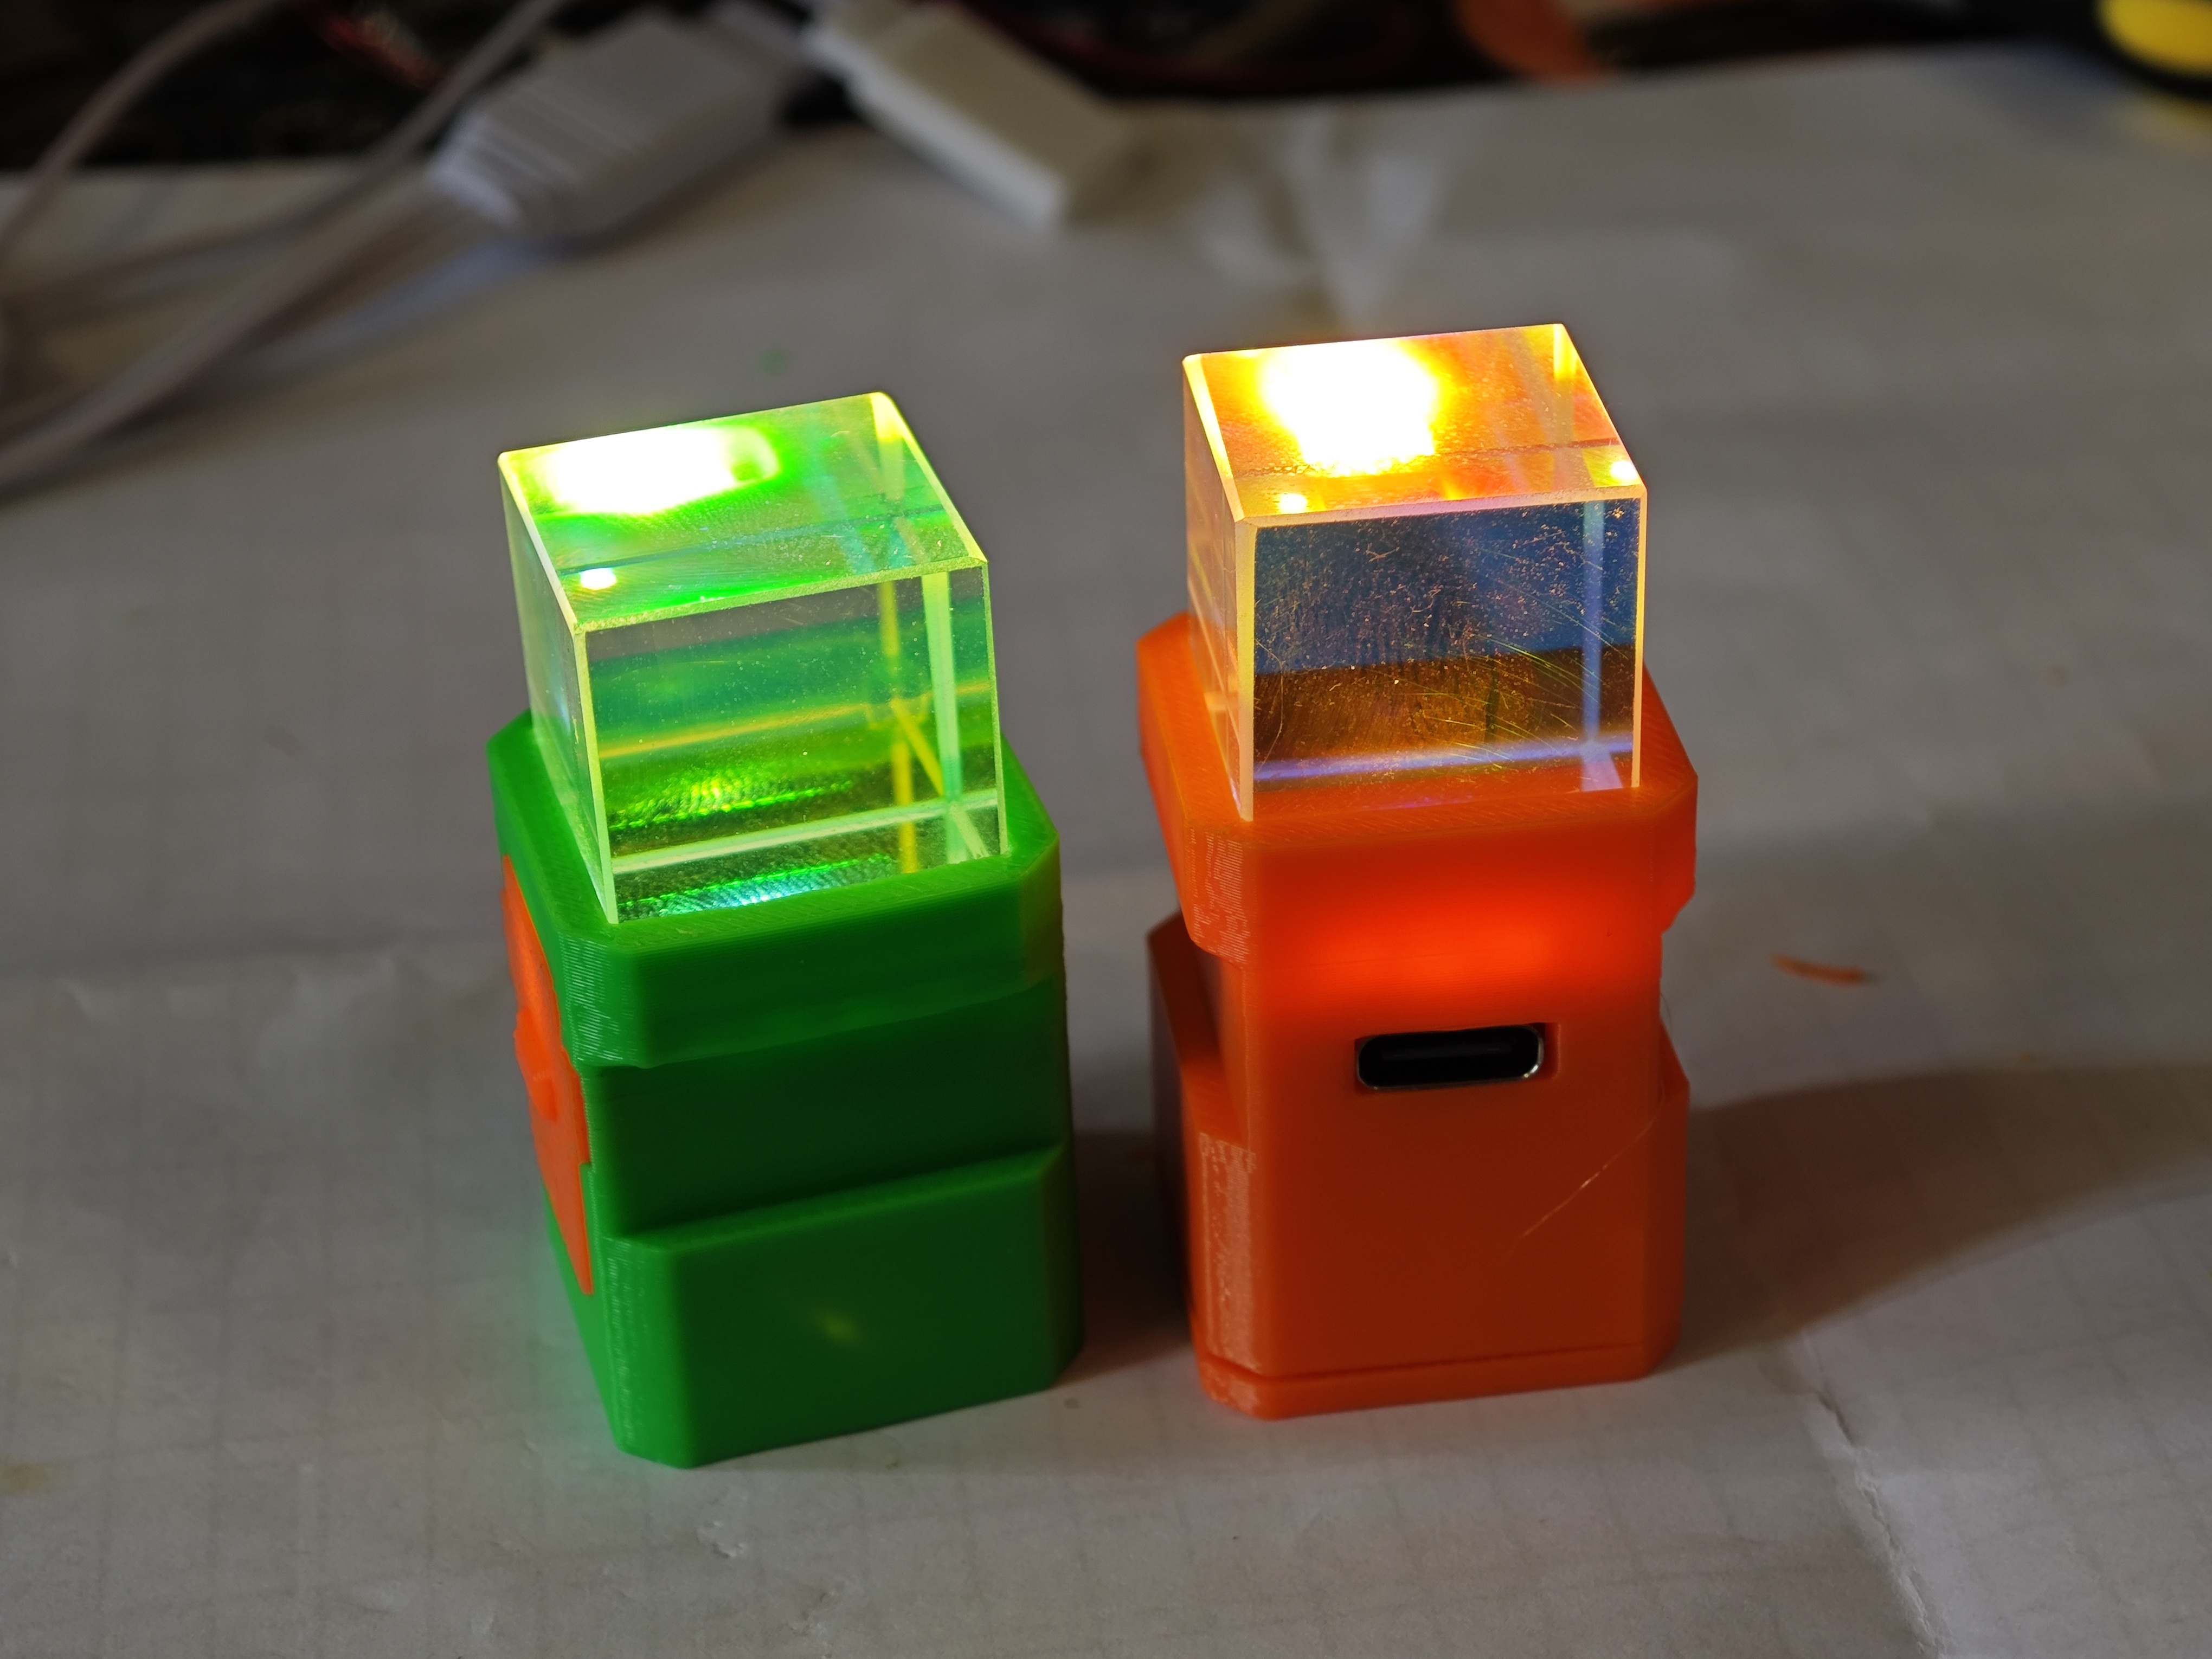
This design is especially suitable for beginners to practice with, such as creating enclosures or buttons for small projects (the glass parts can be printed using transparent filament).
BOM:
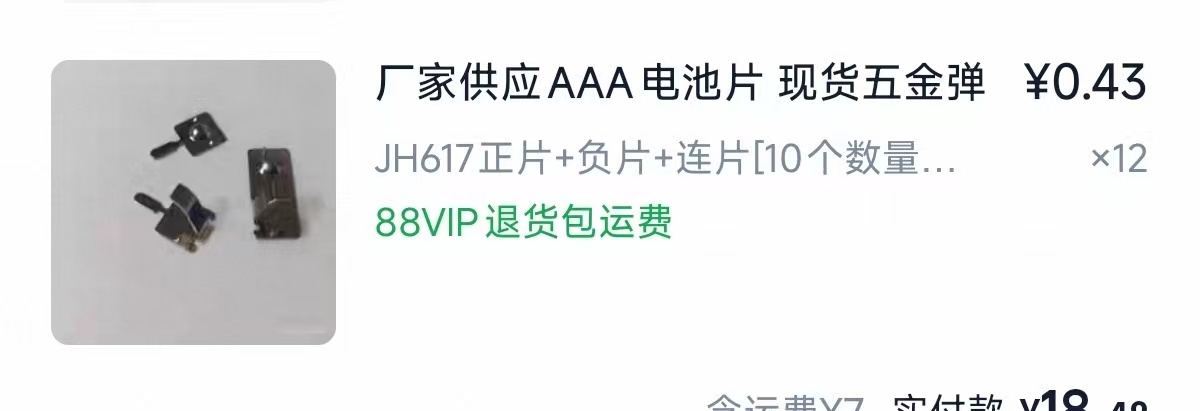
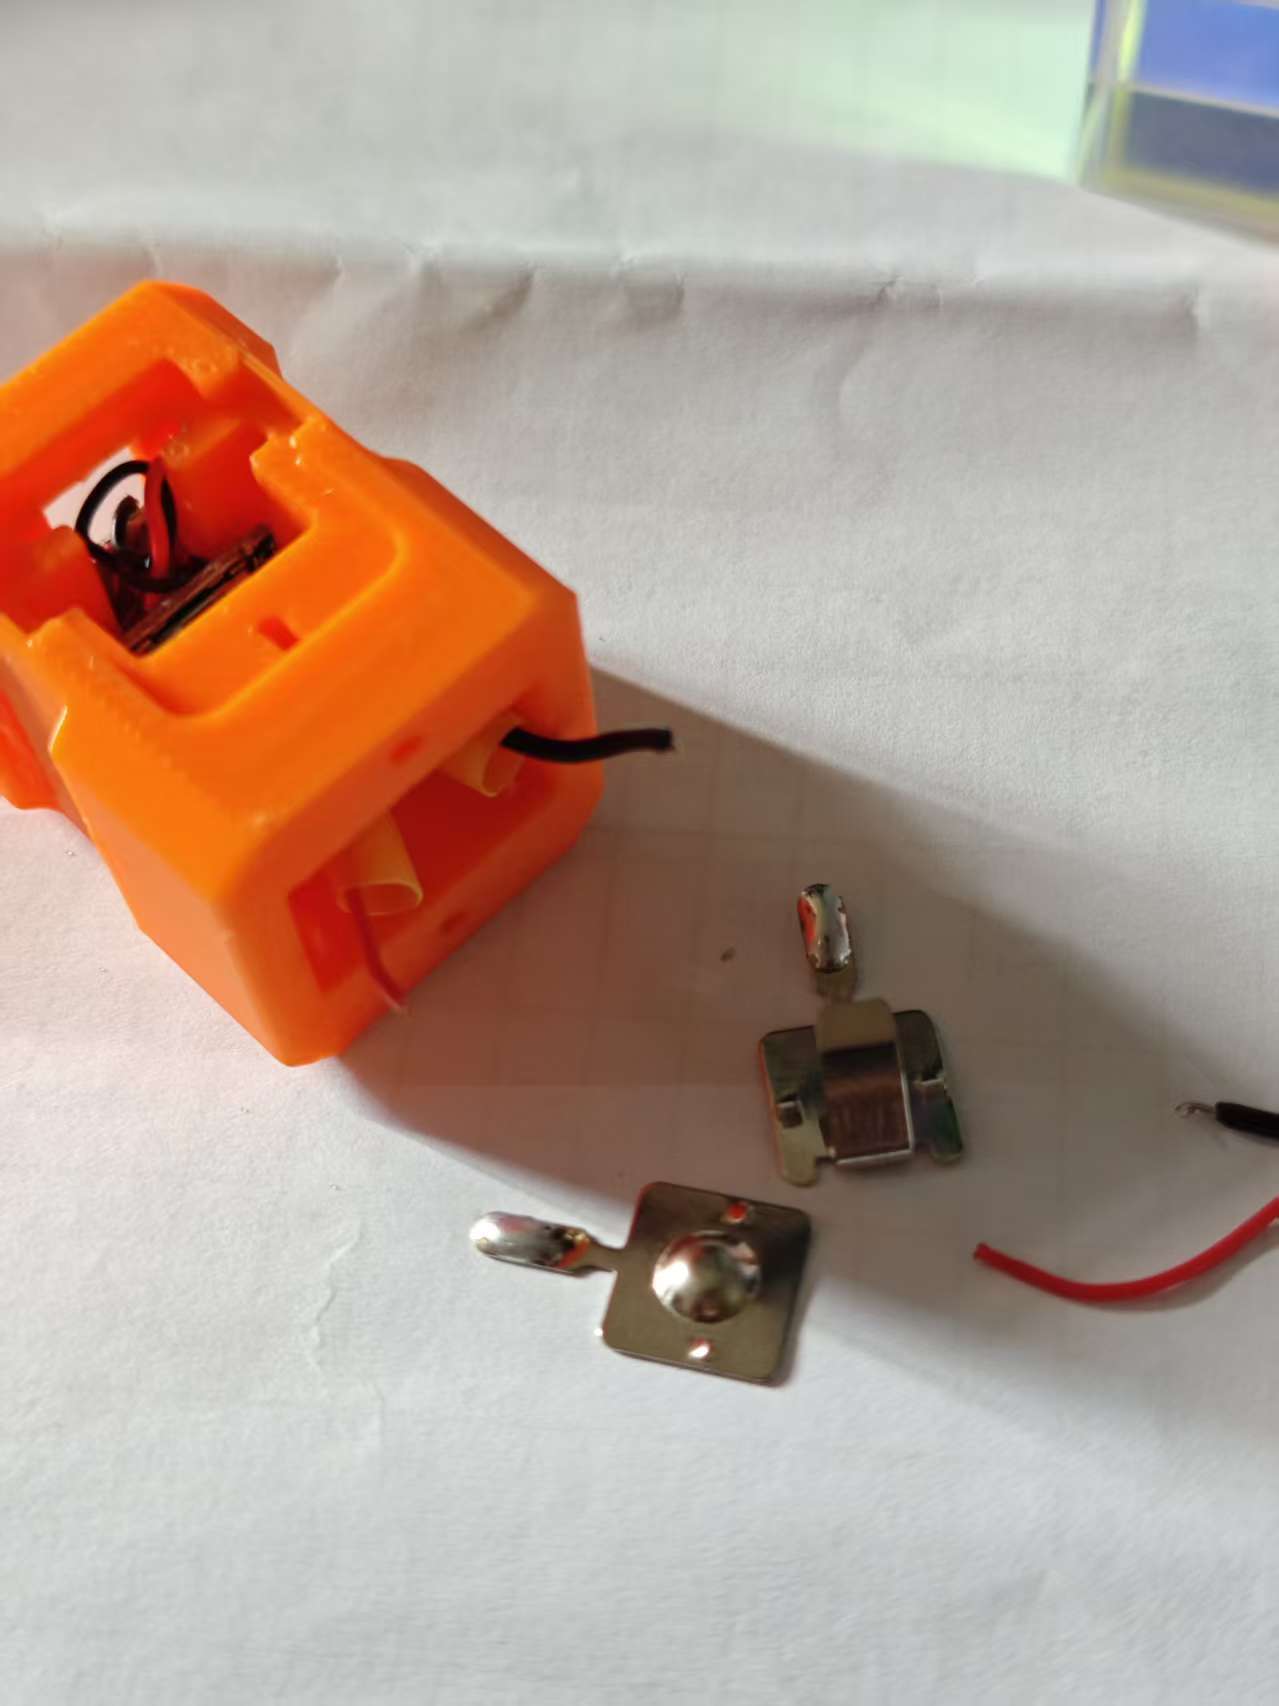
7th-cell battery spring clip (I previously bought a pair, but this time I only need a single clip)
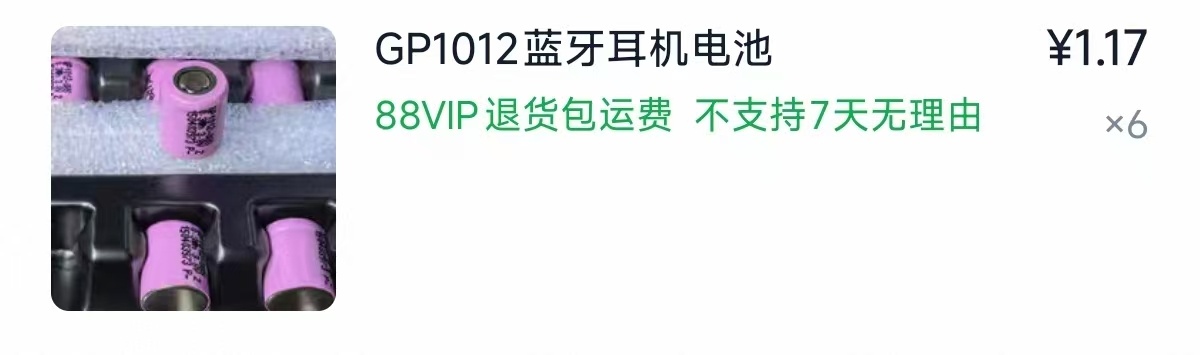
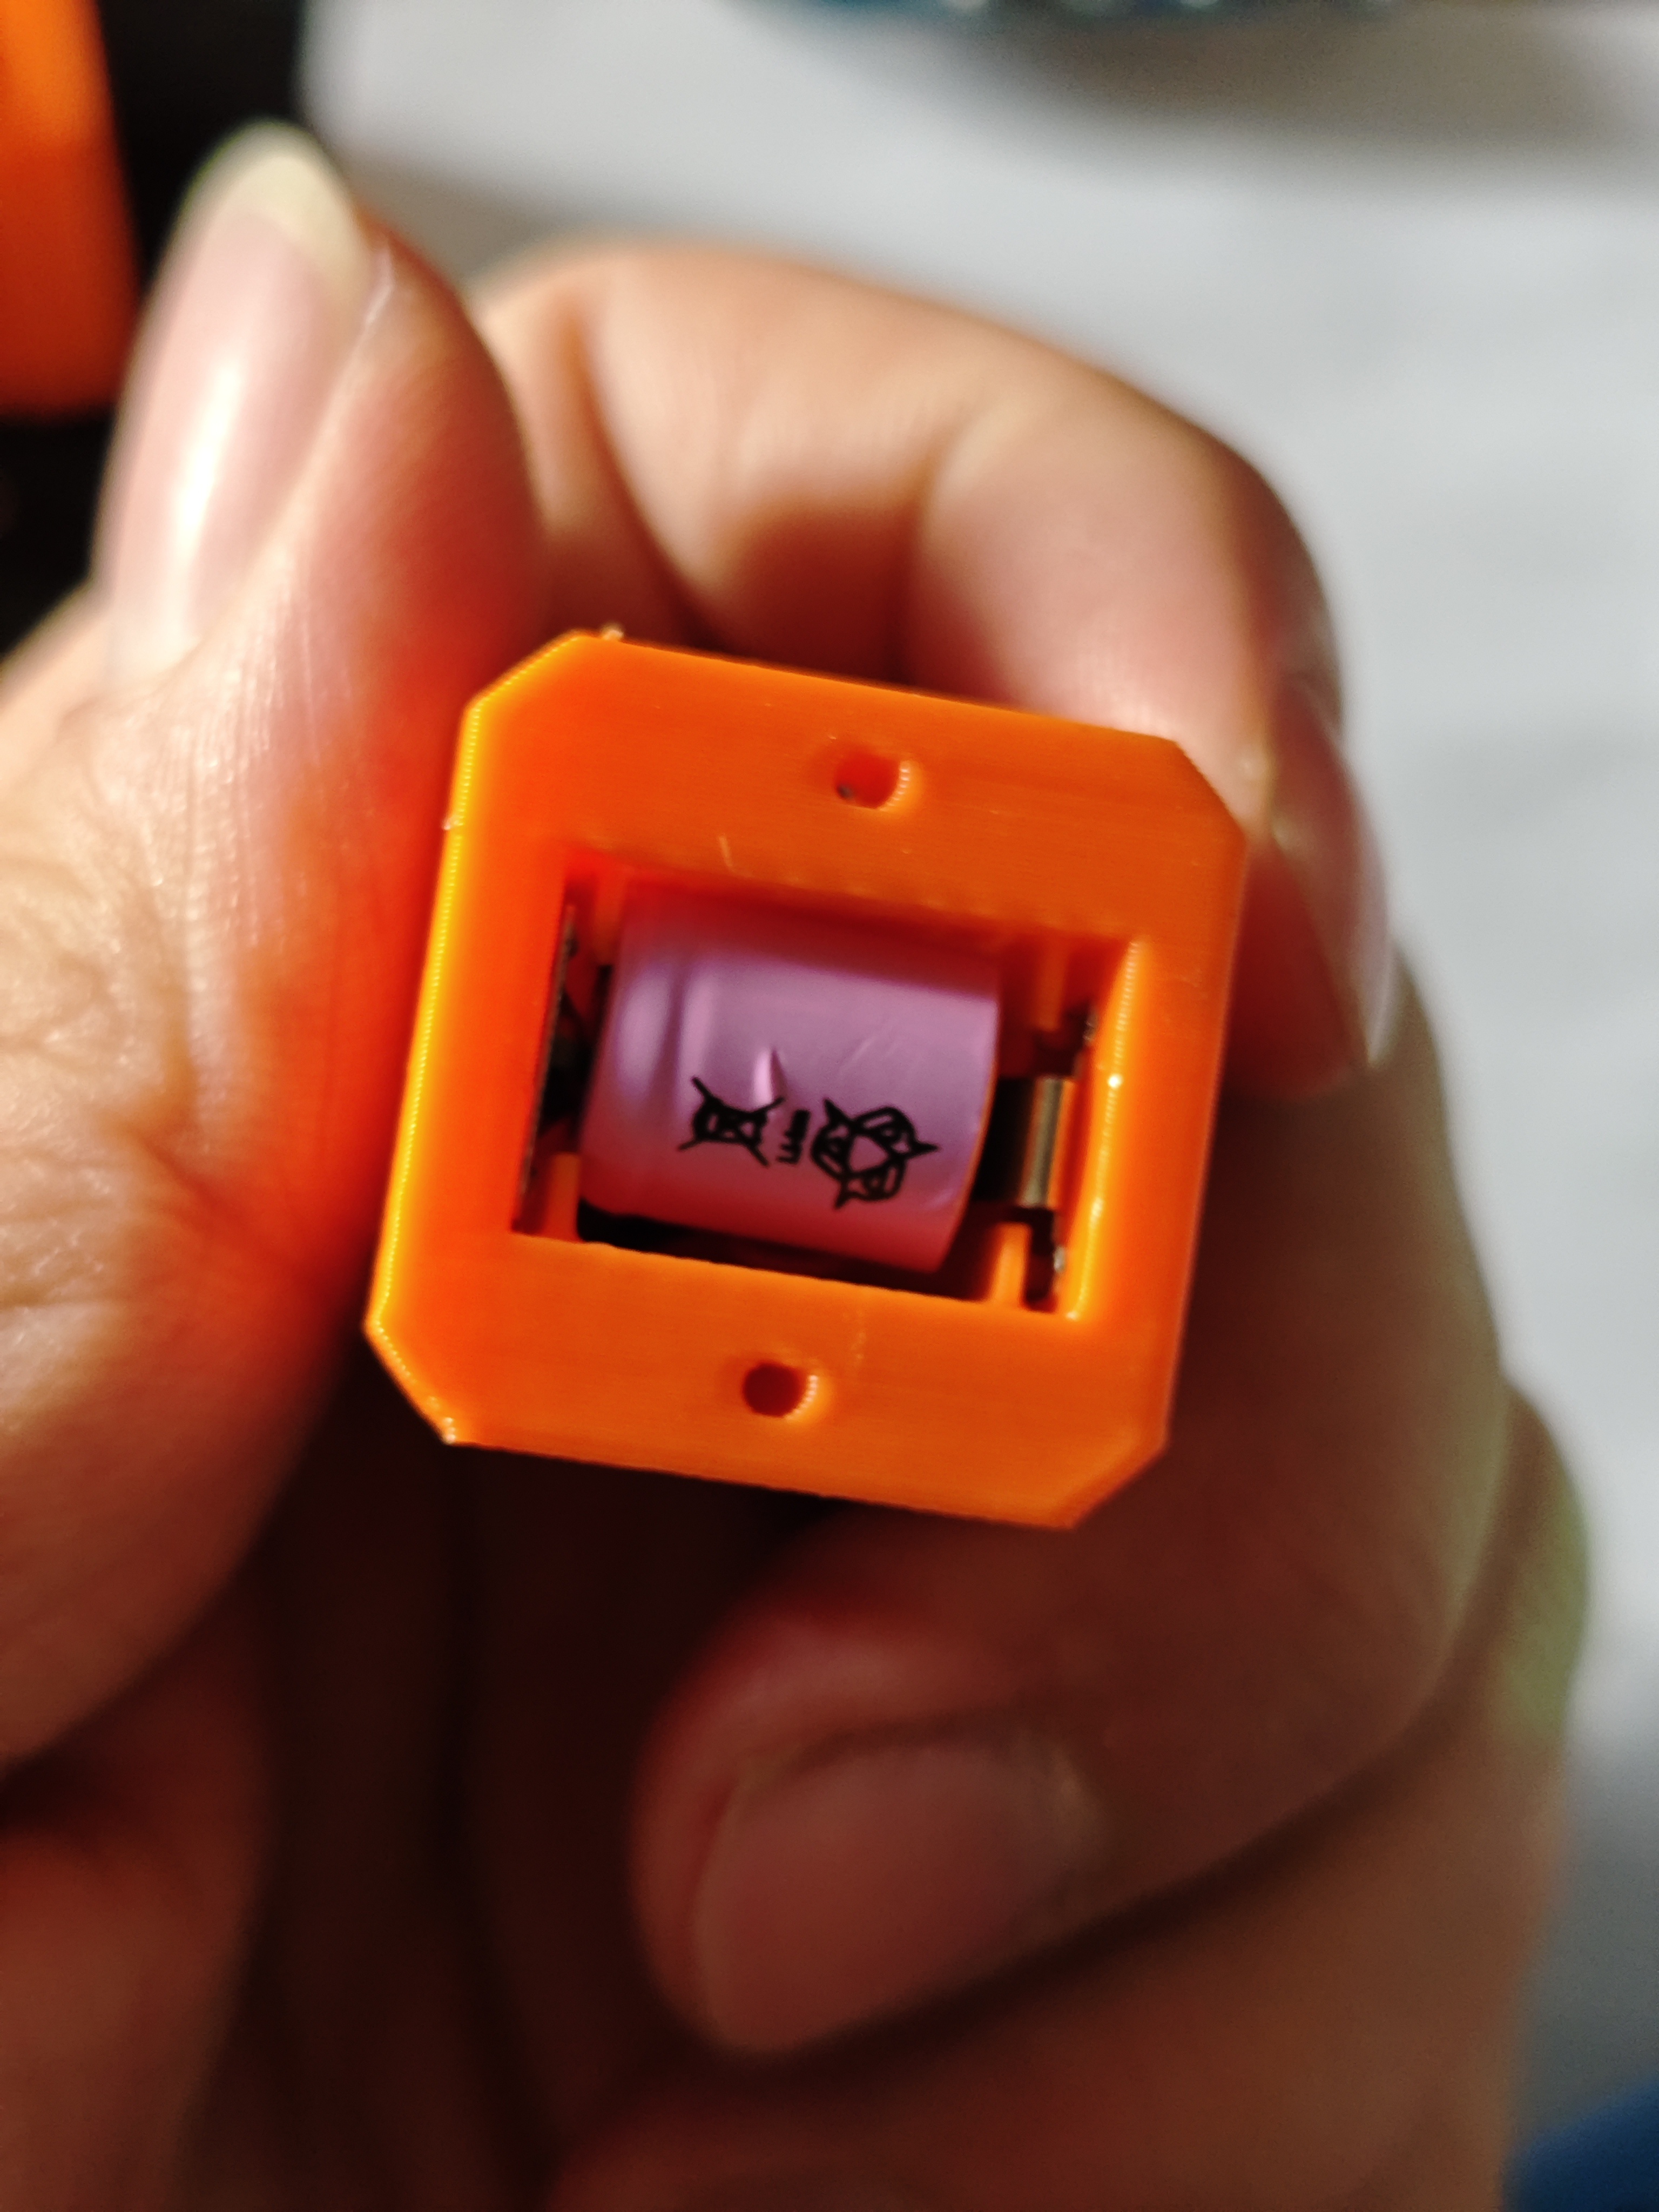
GP1012 lithium battery (from Lao Wu’s store)
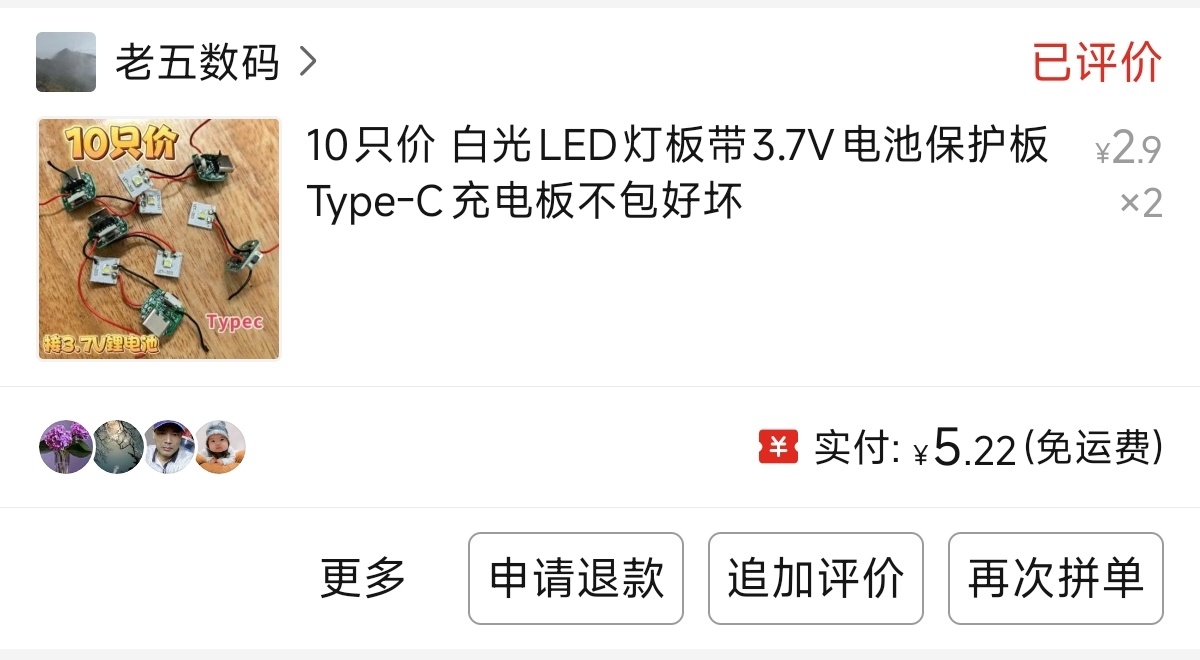
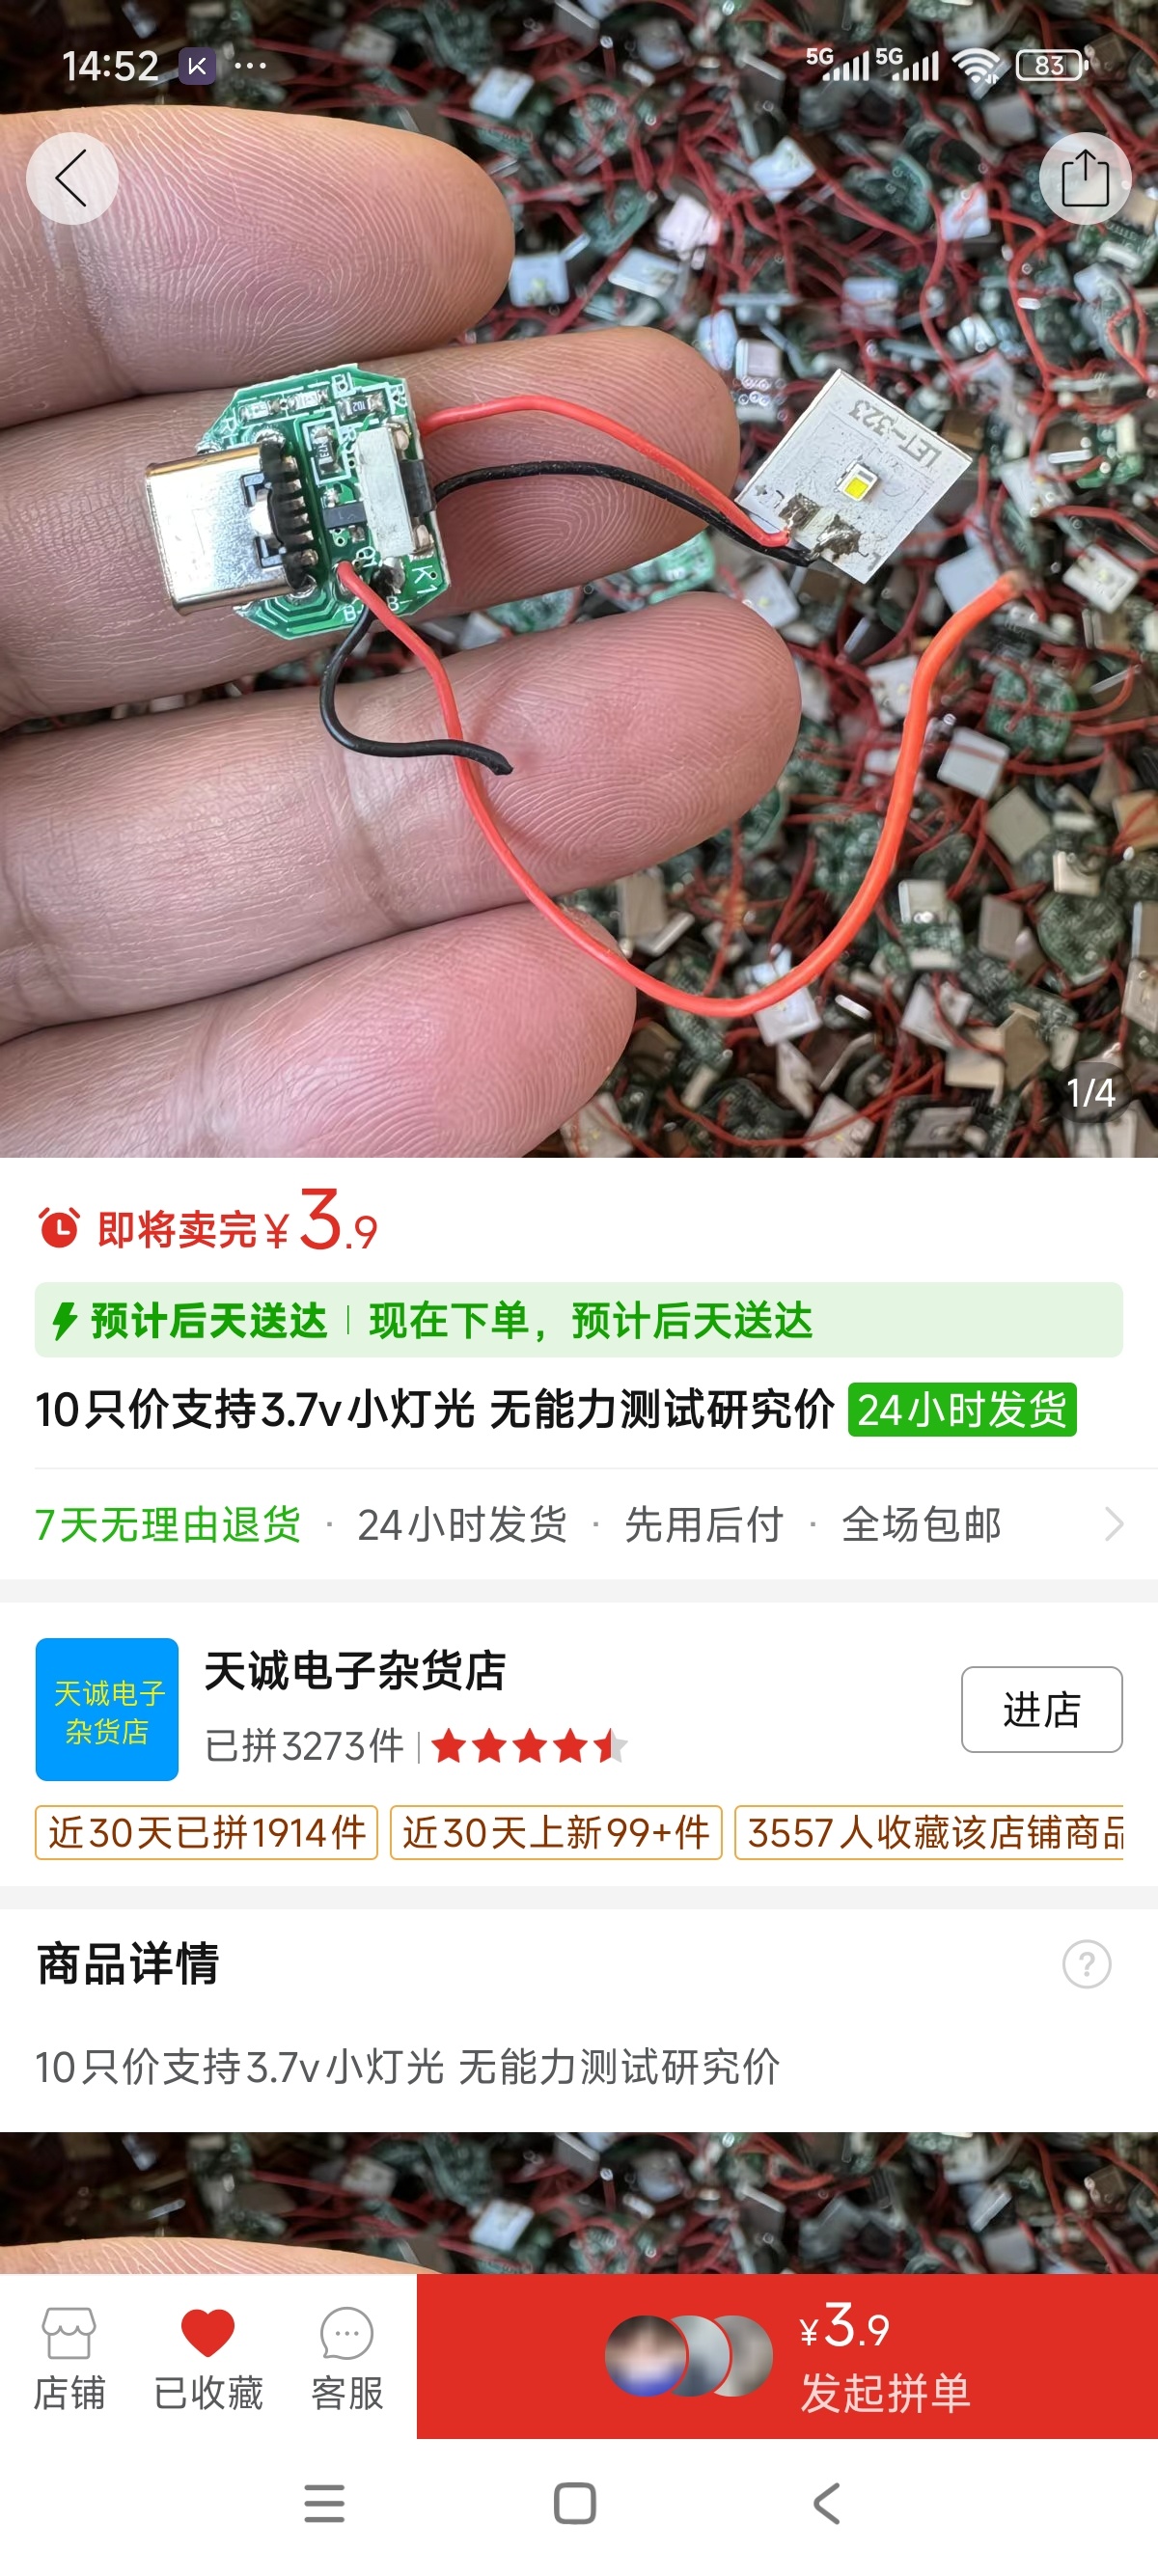
Flashlight control board (this shop has since closed; you can find similar ones online for 4 yuan per 10 pieces)
Colorful glass (I saw some very beautiful pieces earlier and bought three, getting three free—1 yuan each)

Installation plan:
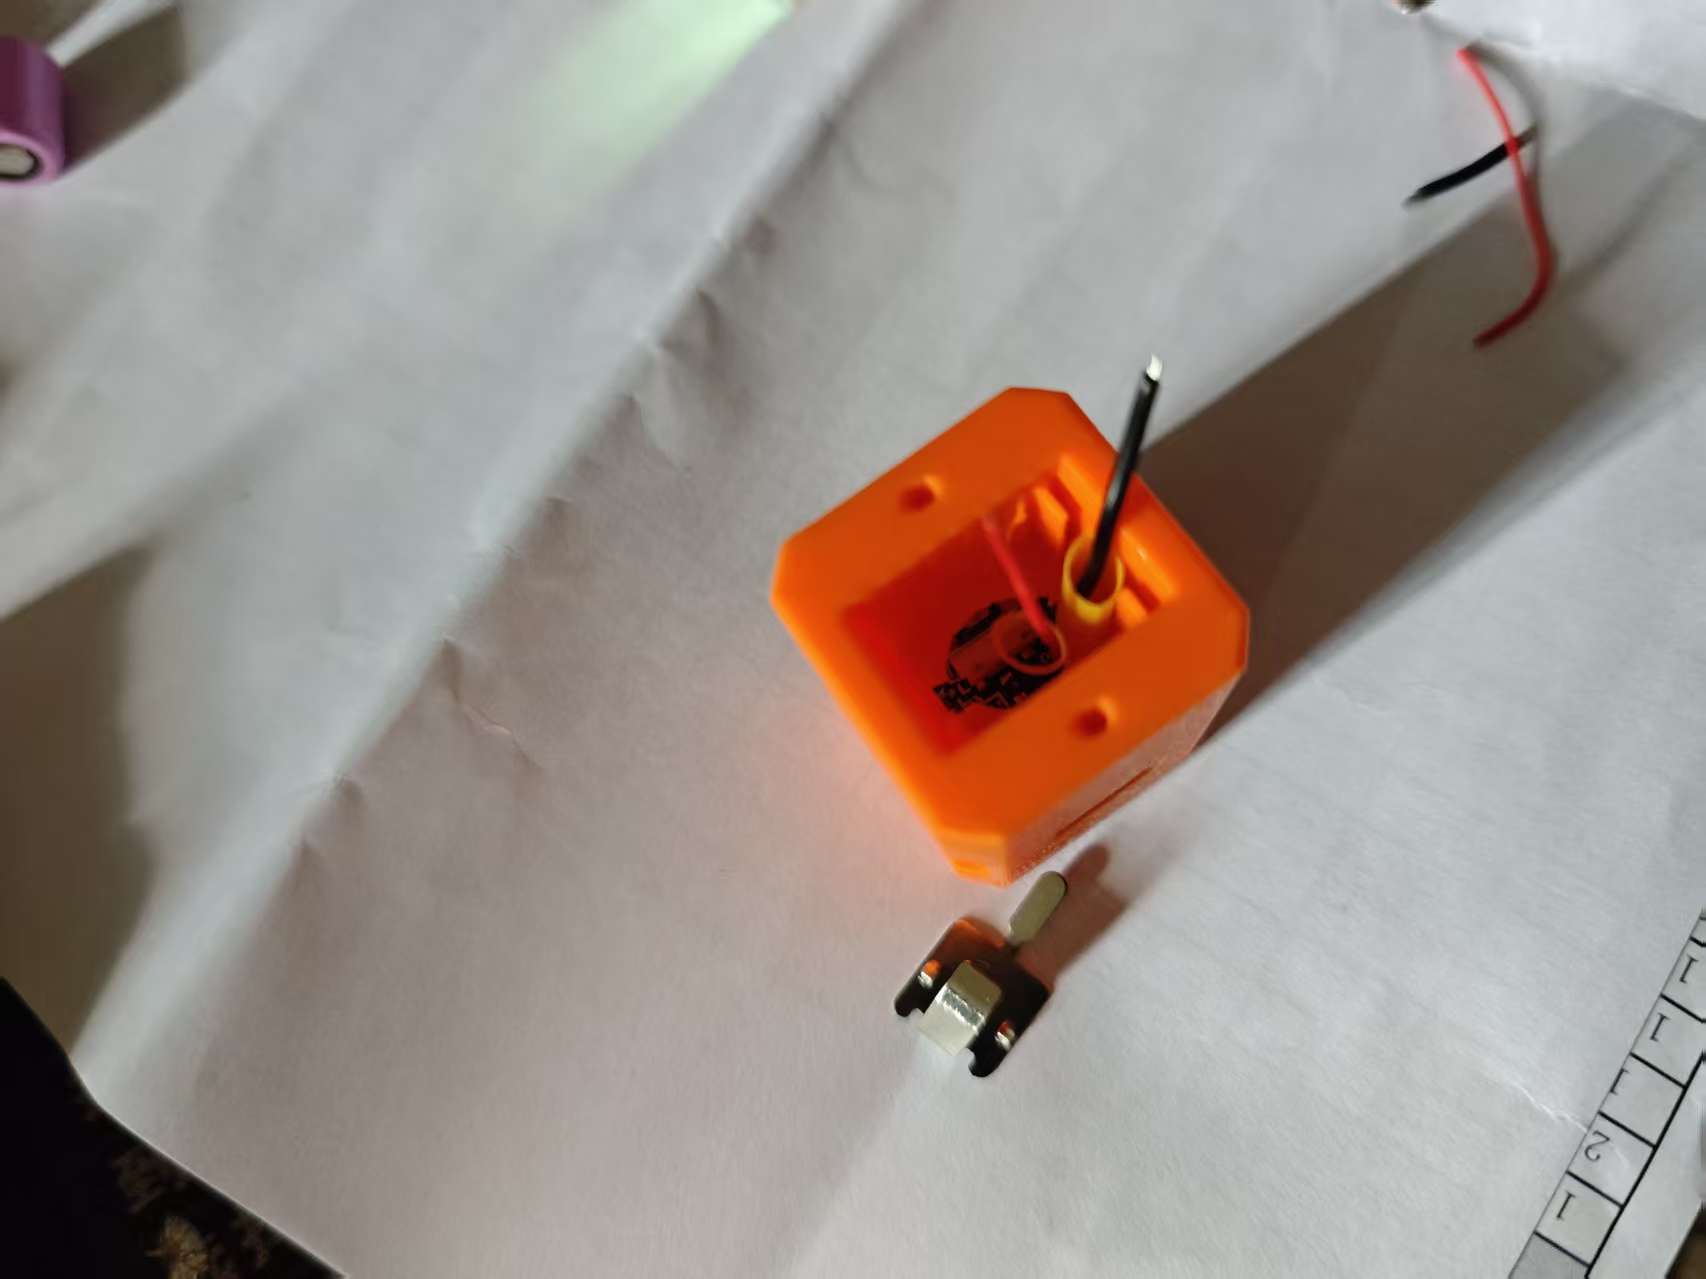
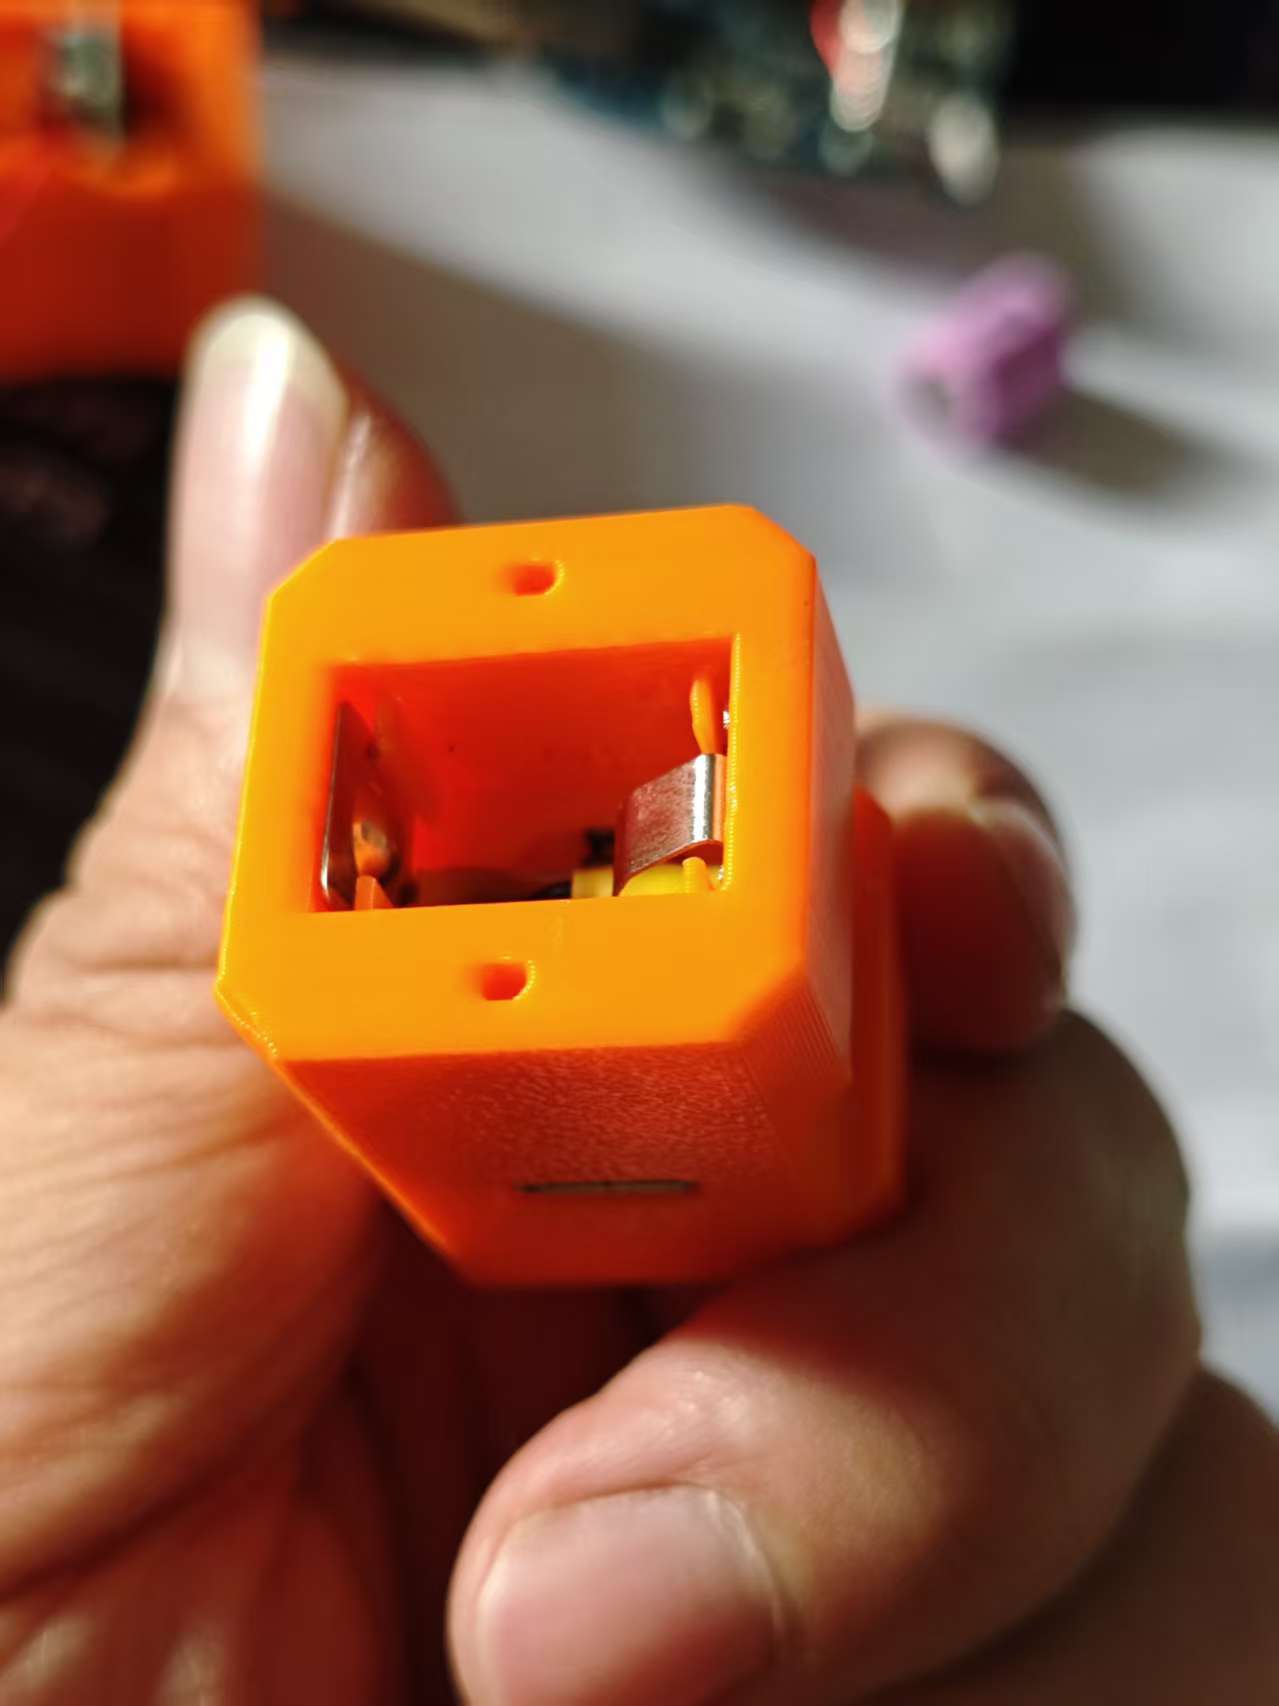
1. Insert the LED
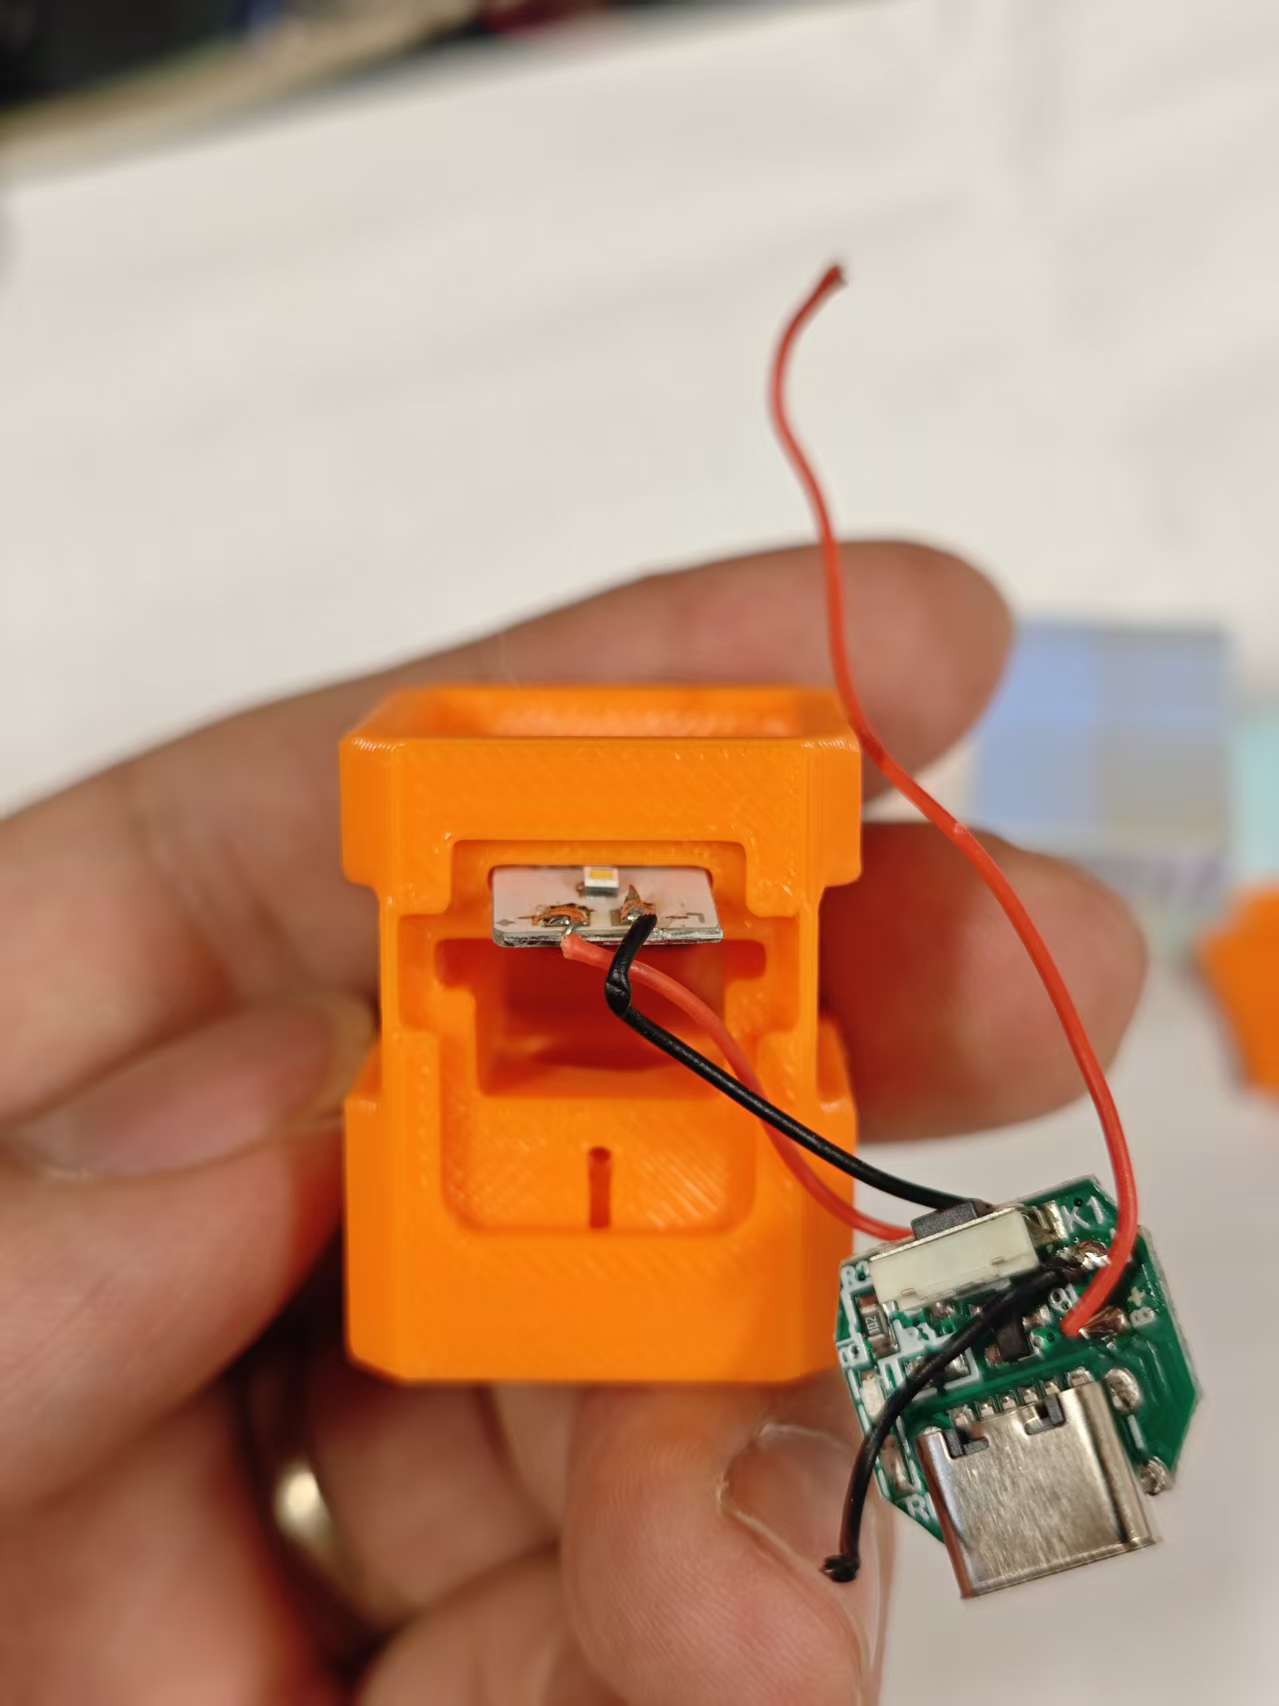
2. Thread the wires and connect to the mainboard
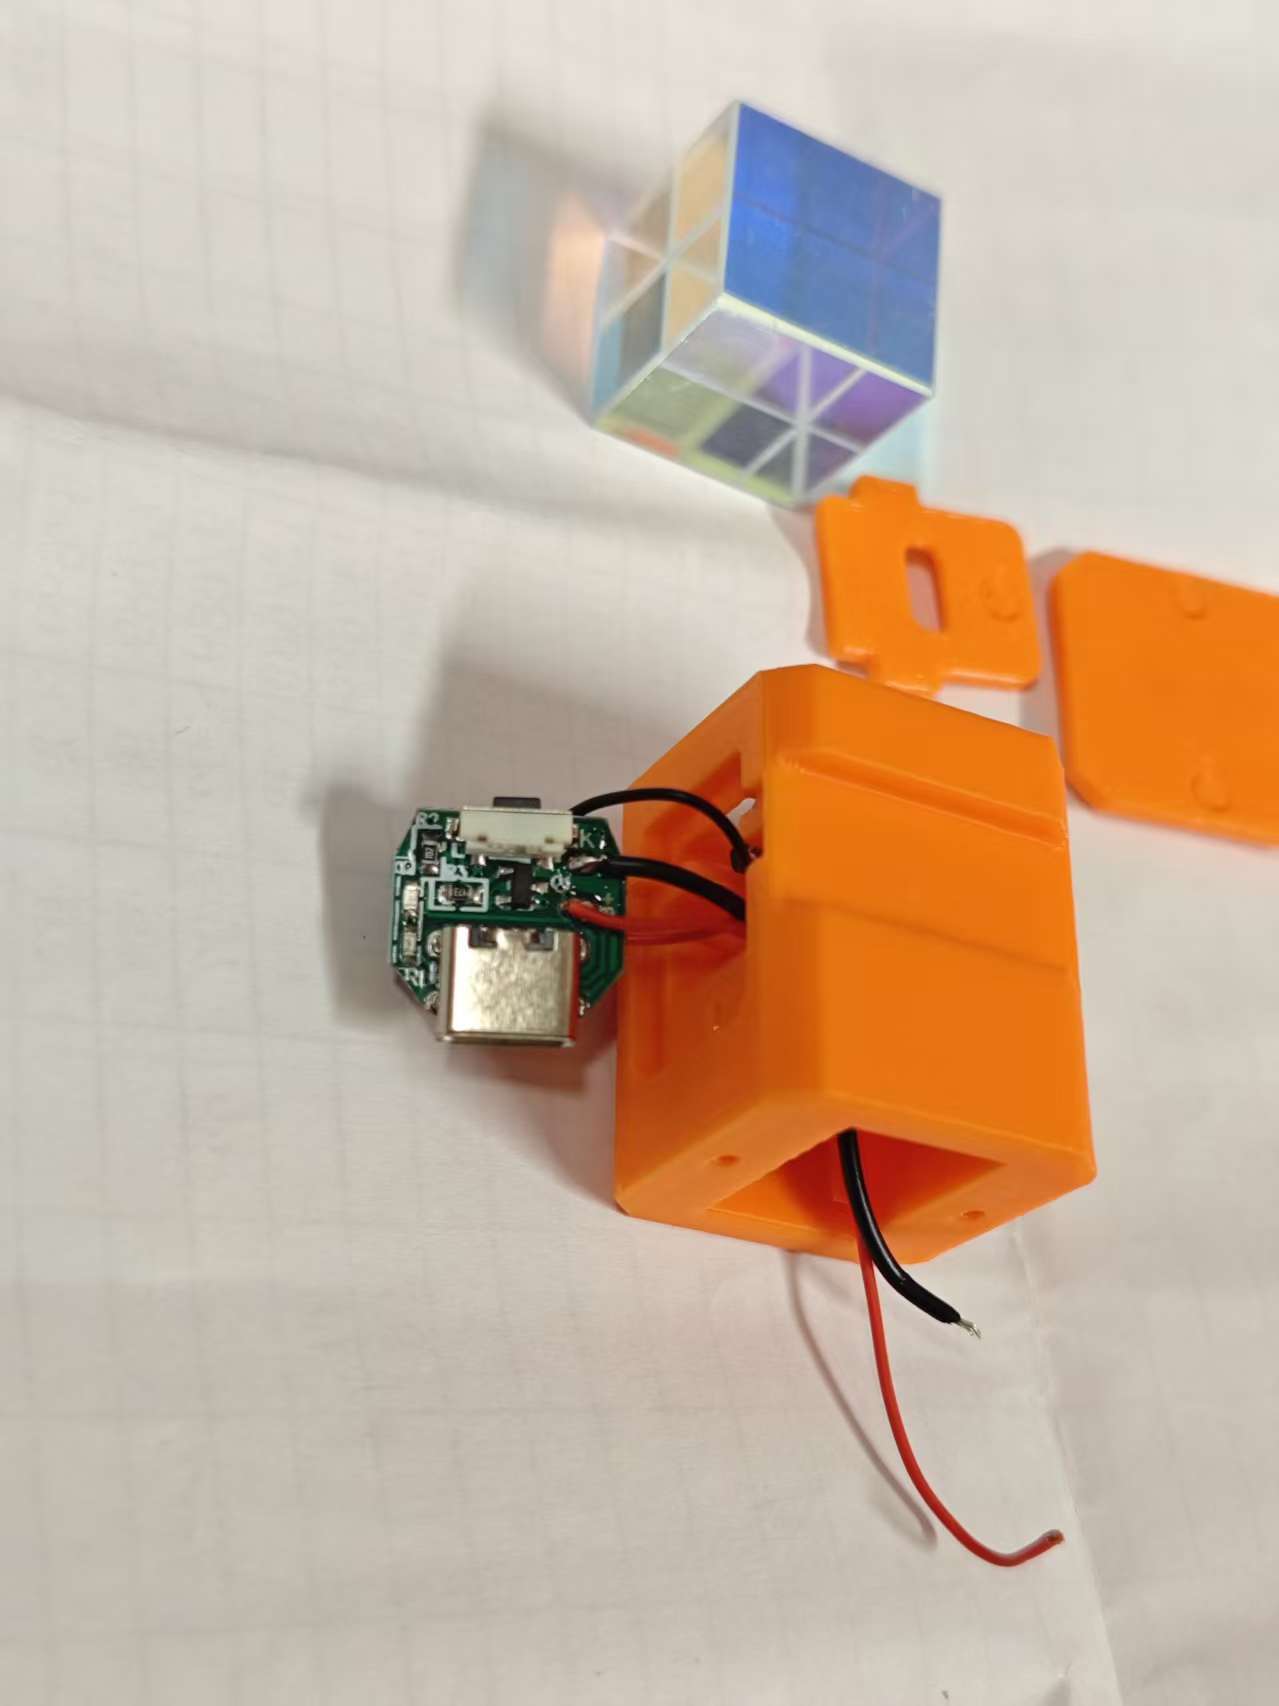
3. Push everything all the way in
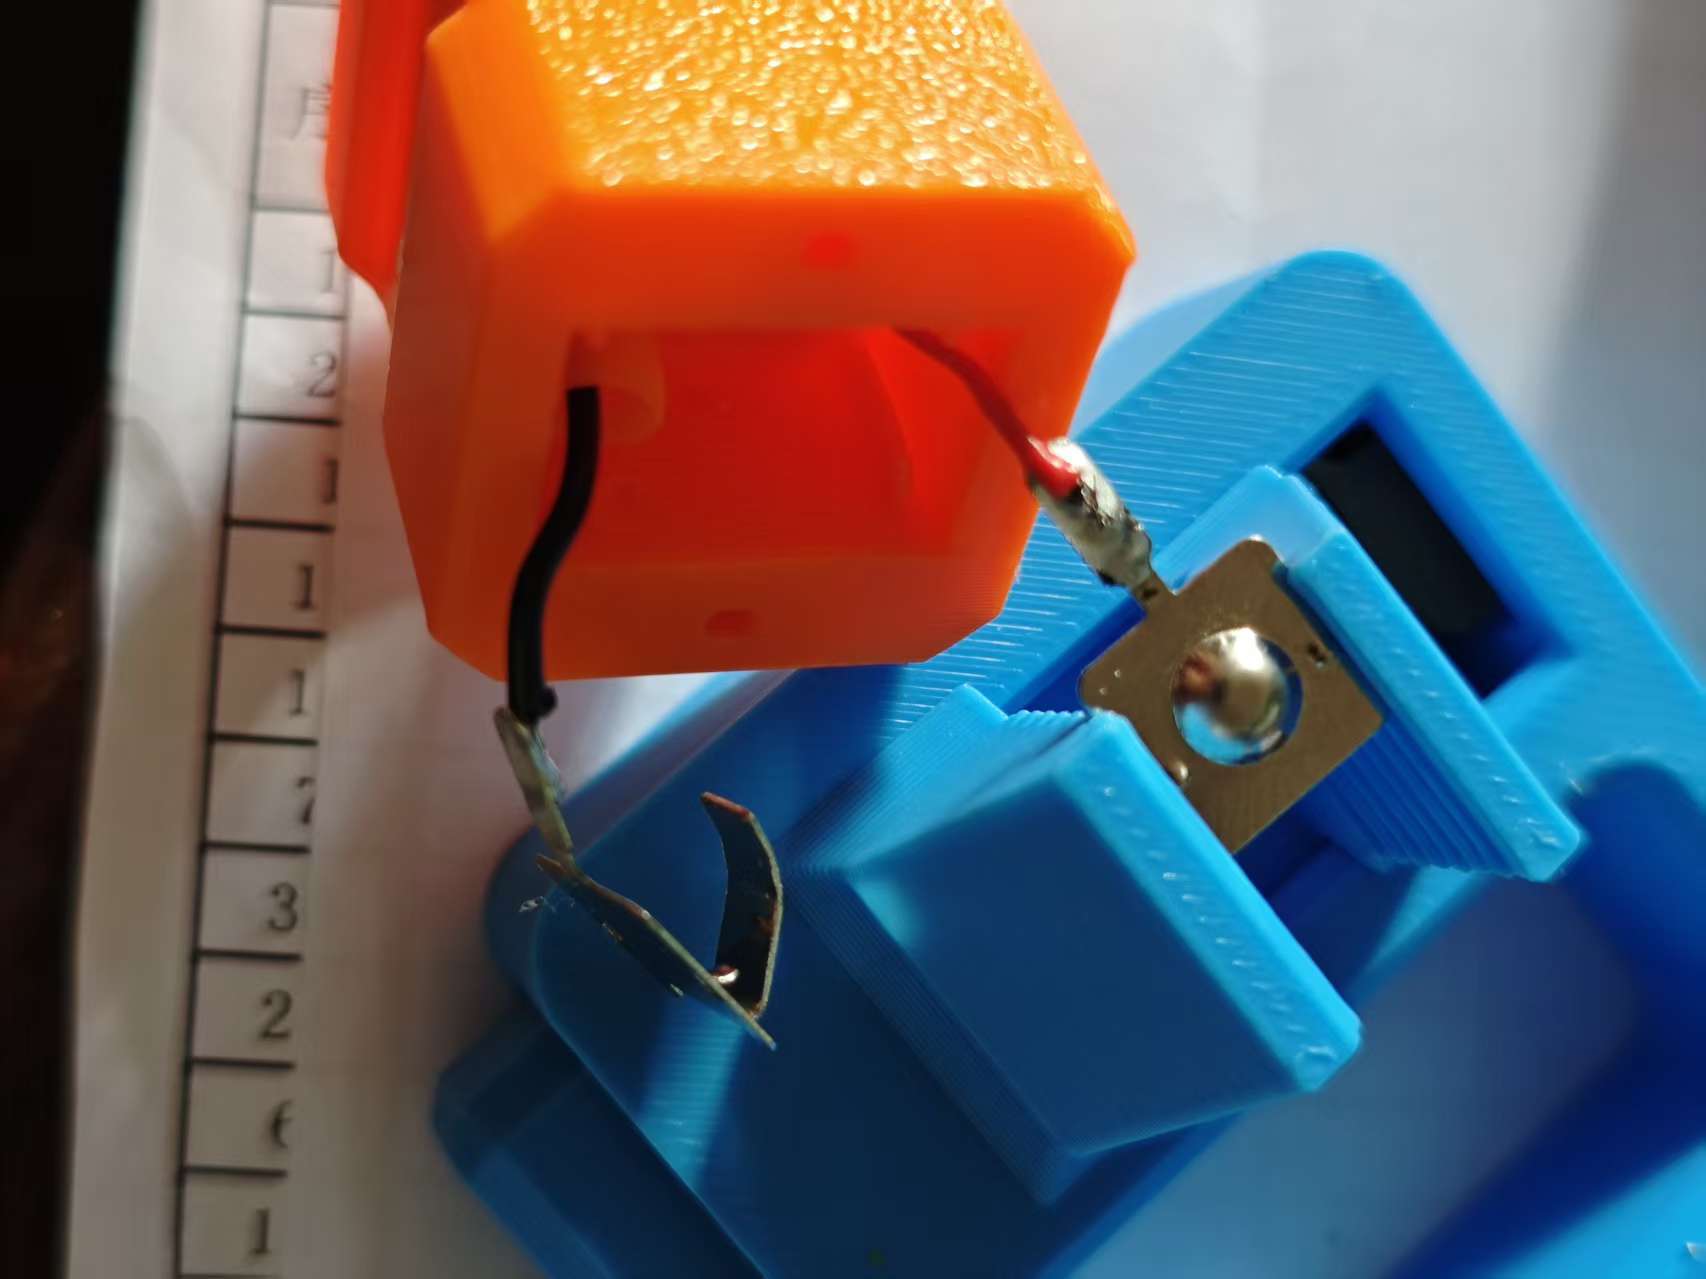
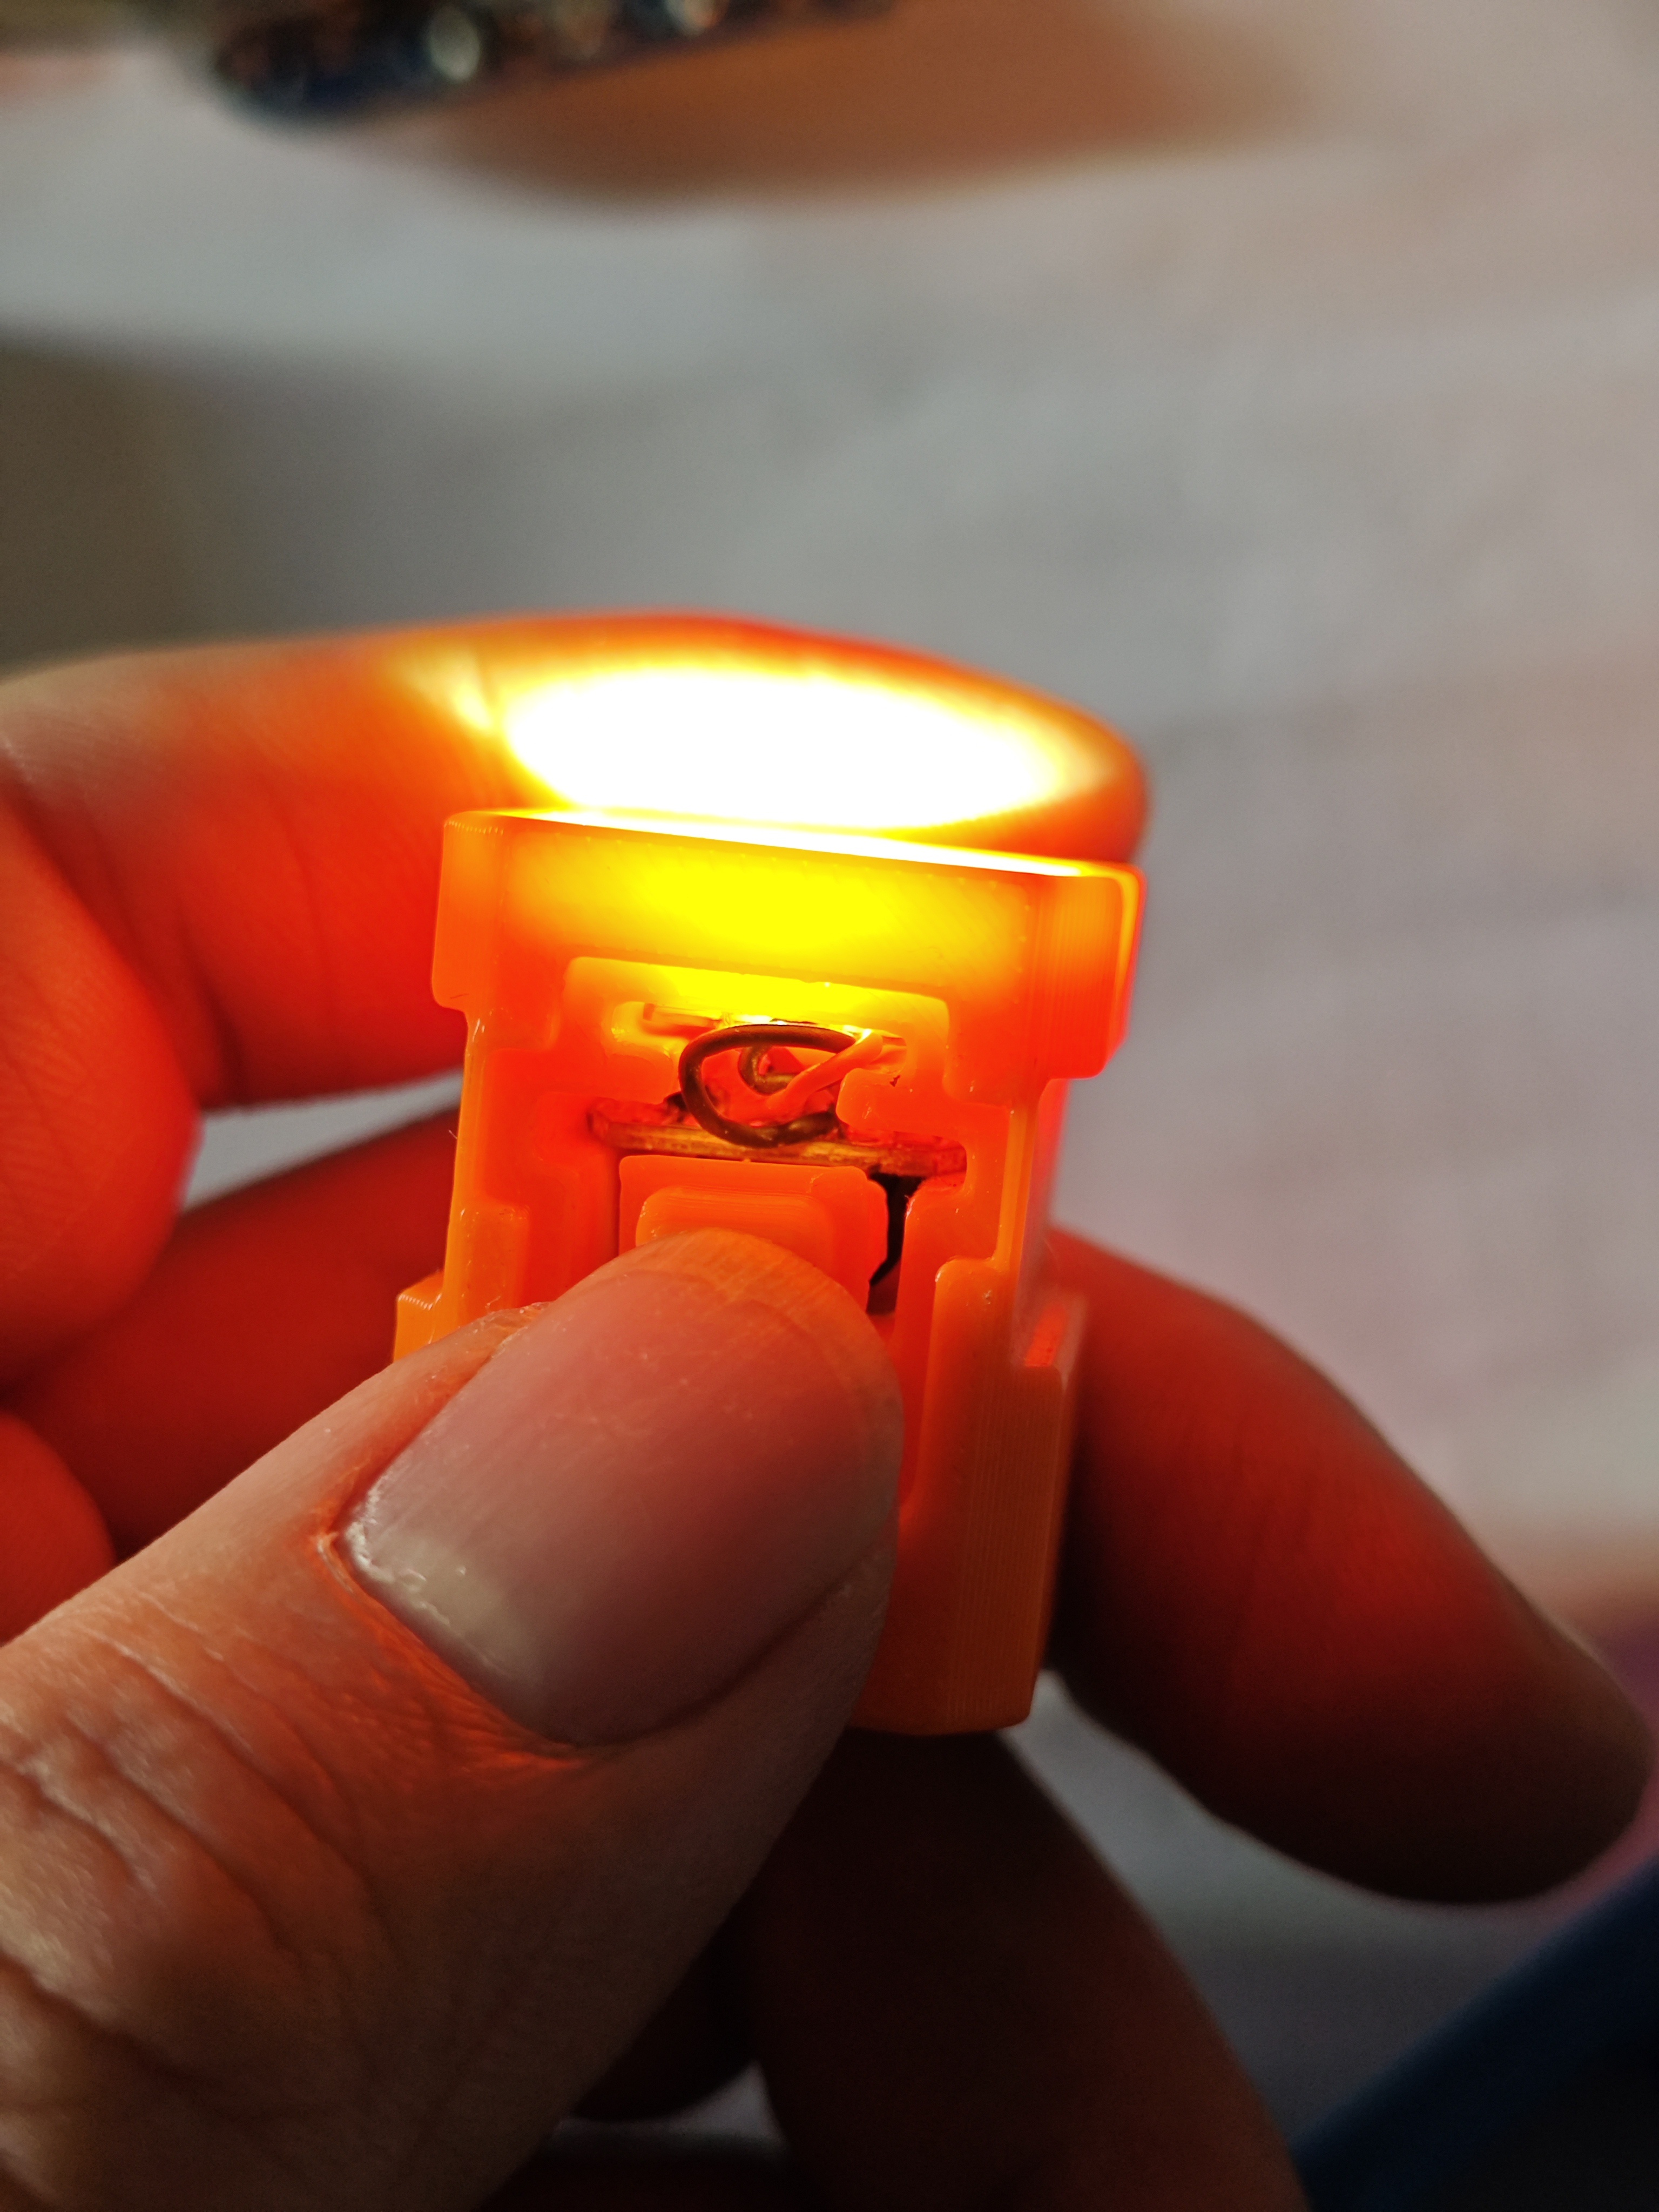
5. Trim the excess wire and solder the spring clip (first apply a bit of solder to the clip)
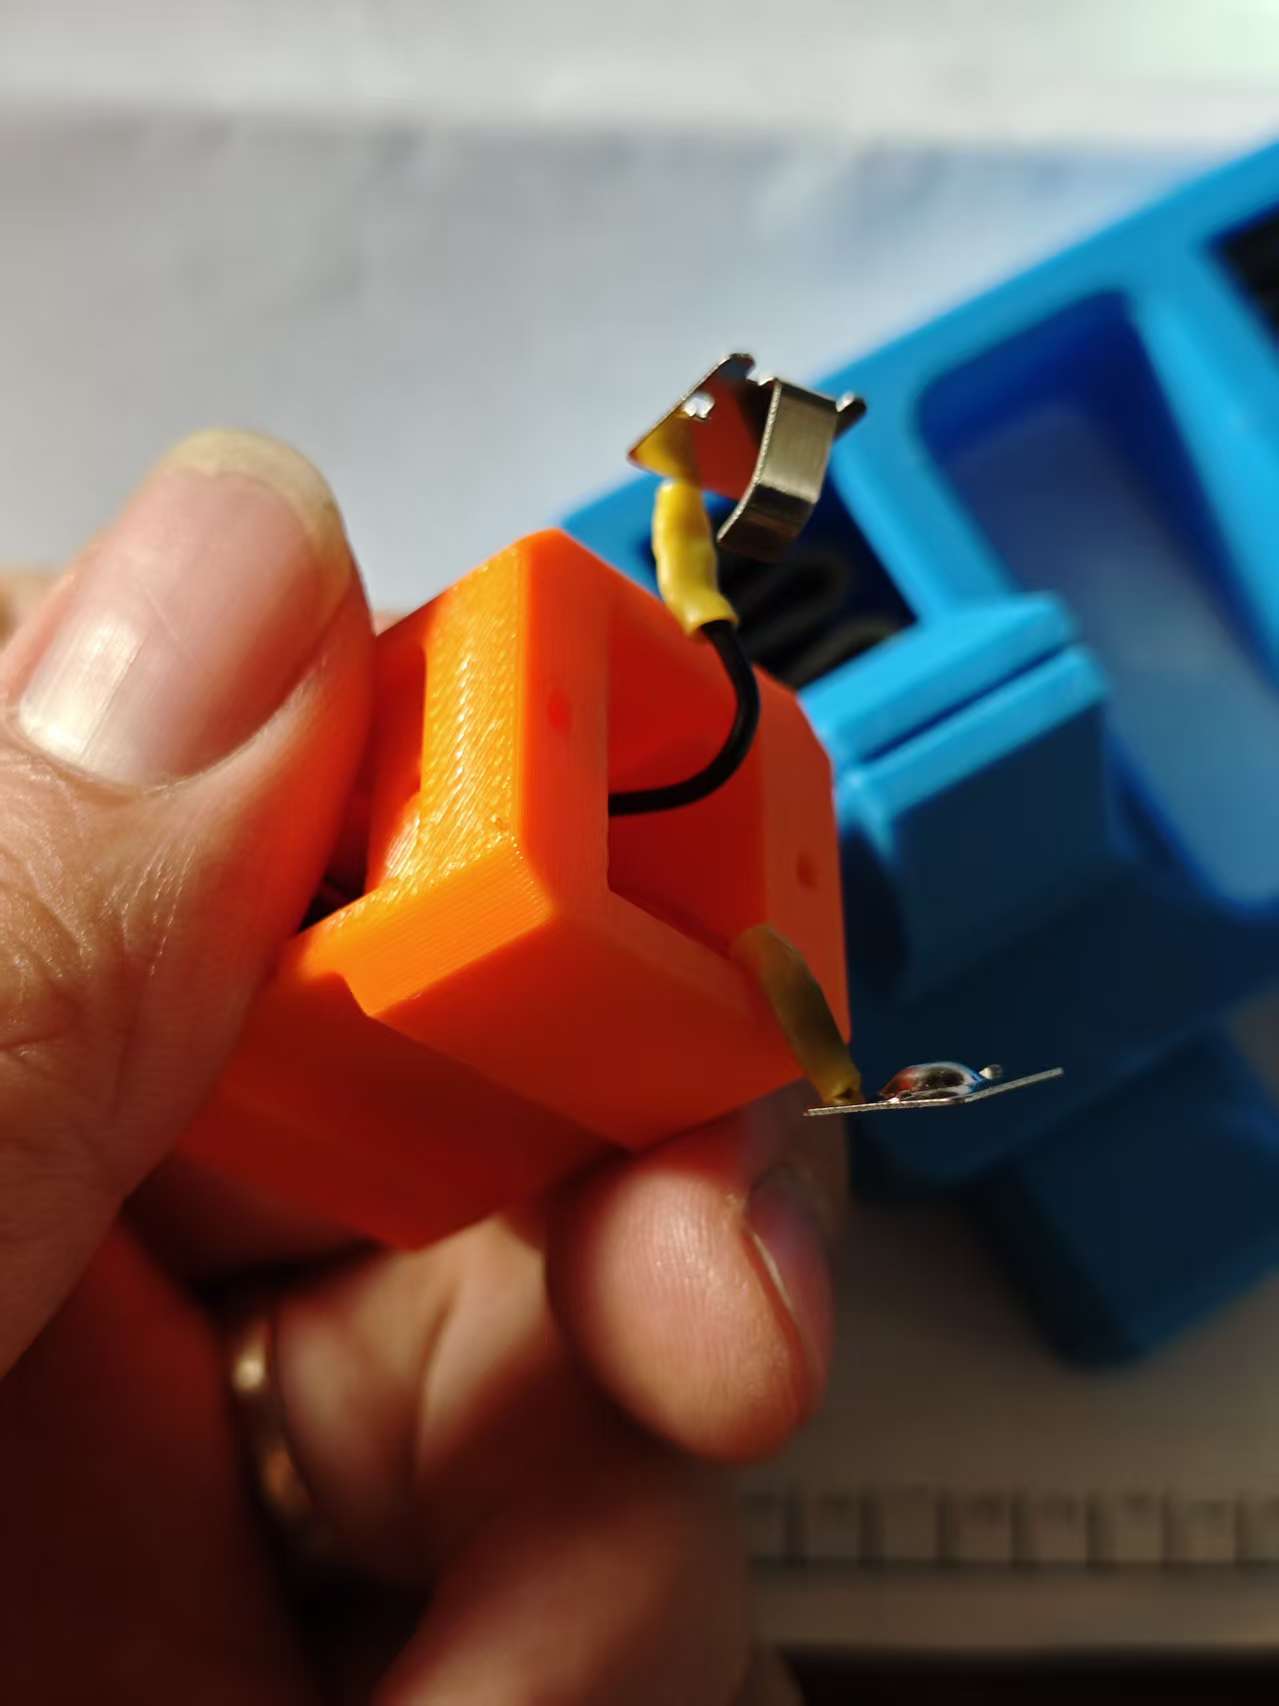
6. Complete the soldering; if possible, add heat-shrink tubing
7. Insert the battery and perform a test
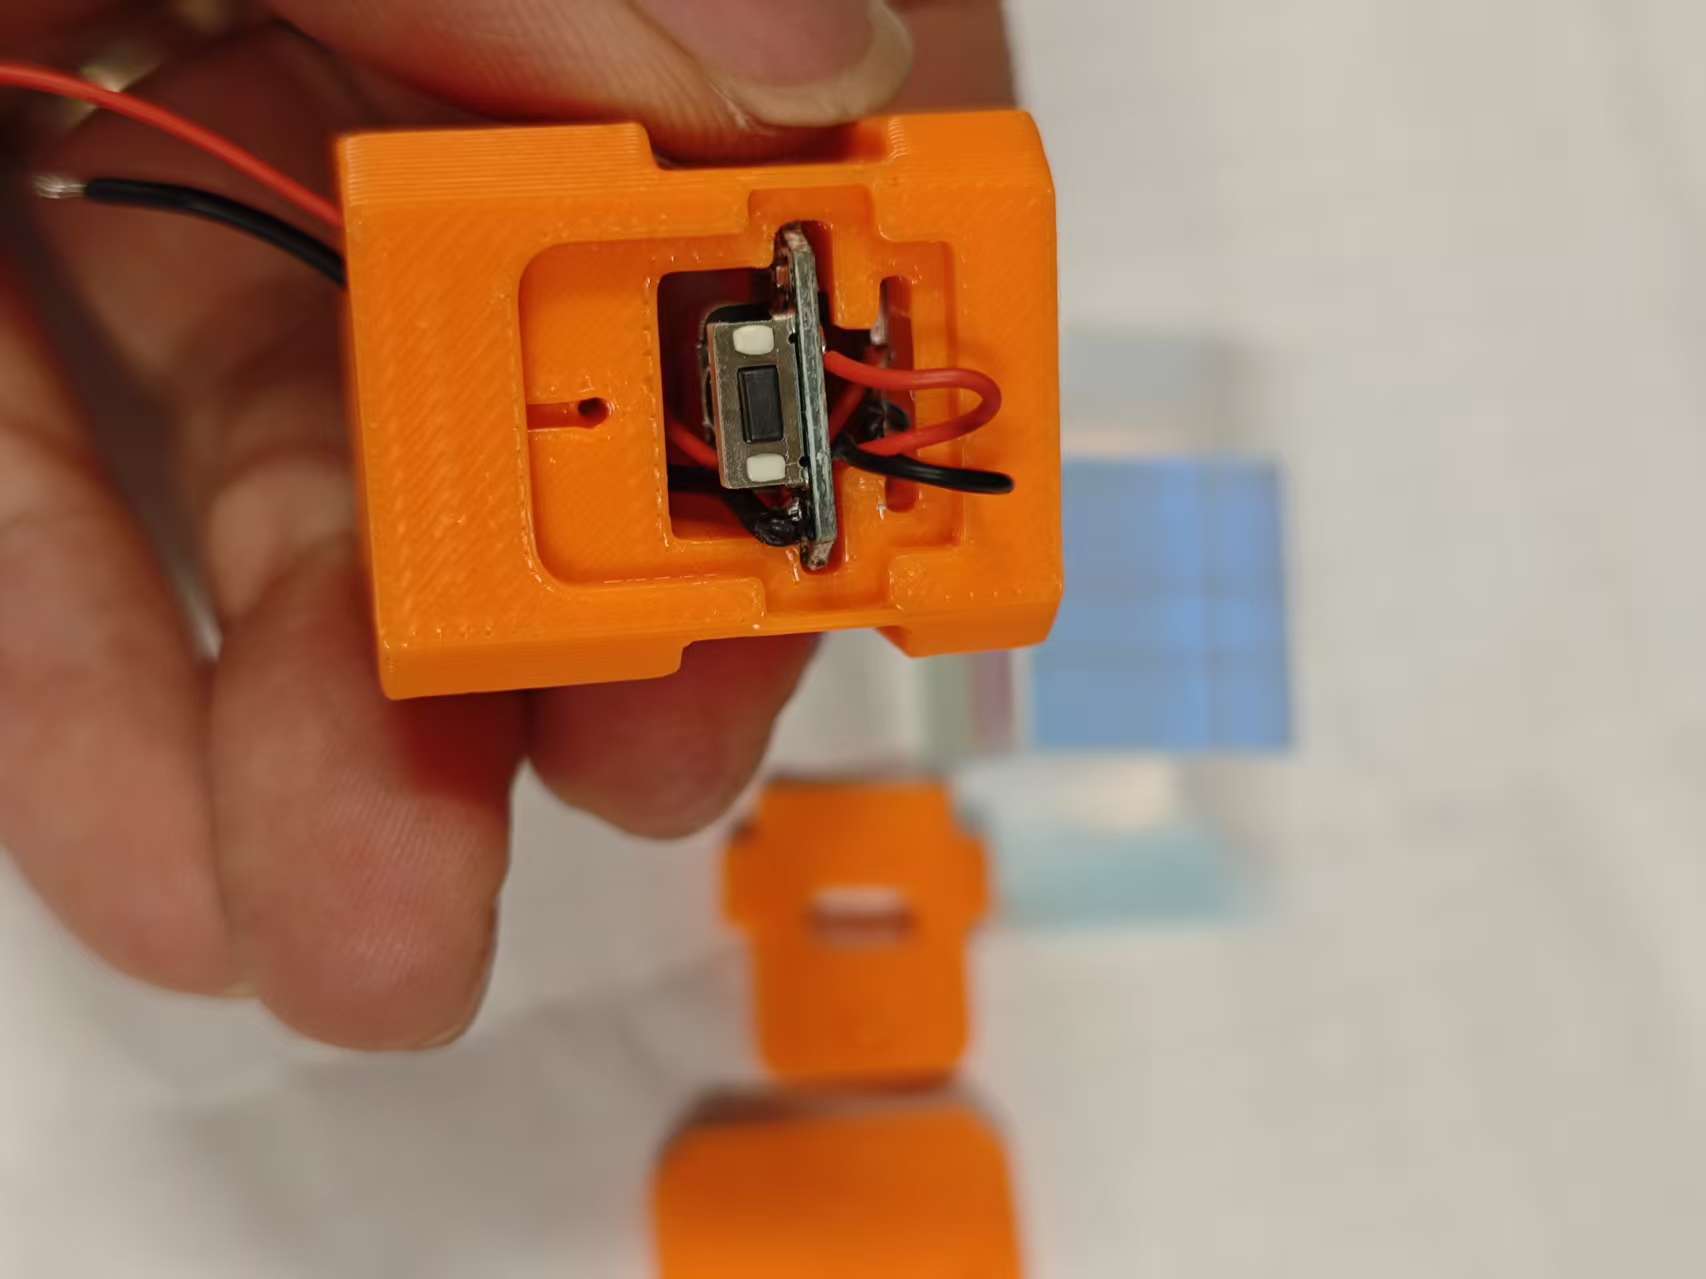
8. Attach the button and the battery cover, and you’re done!
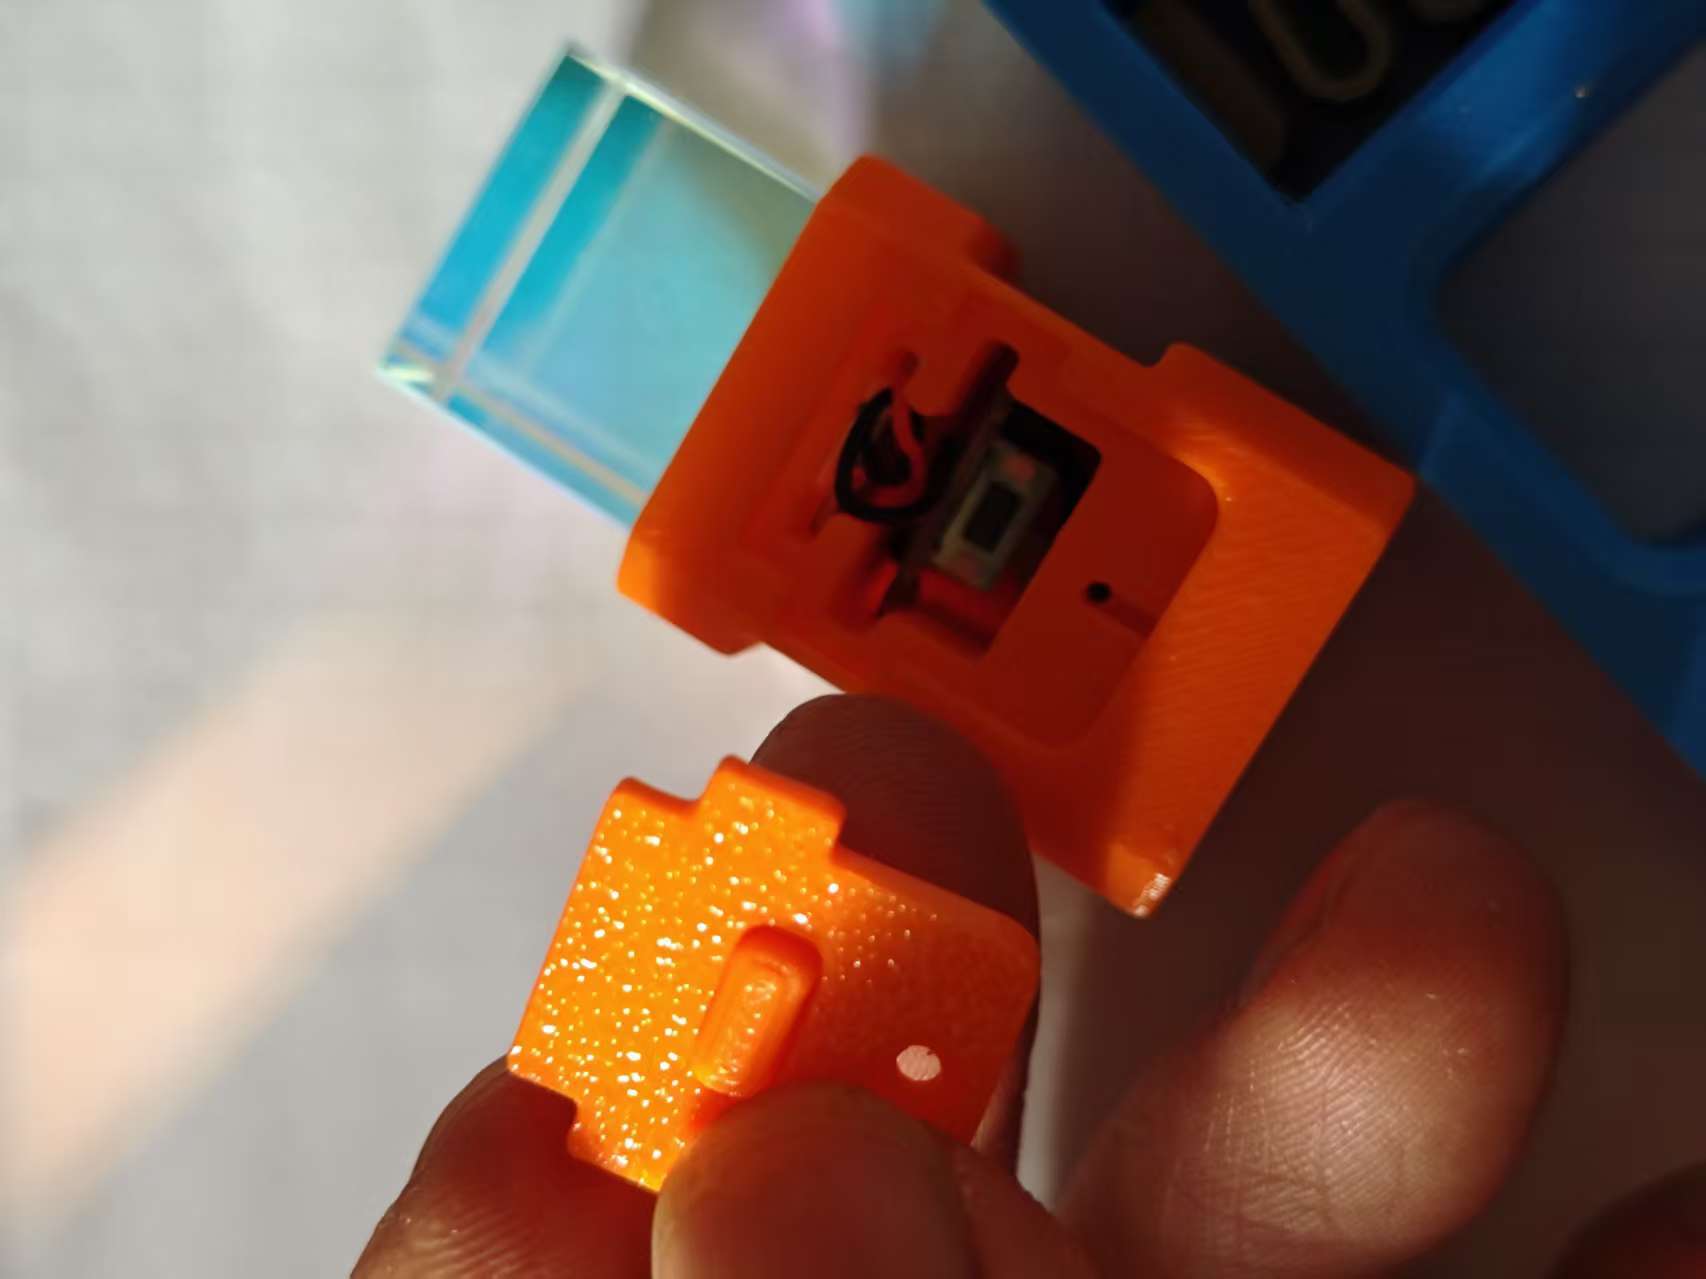
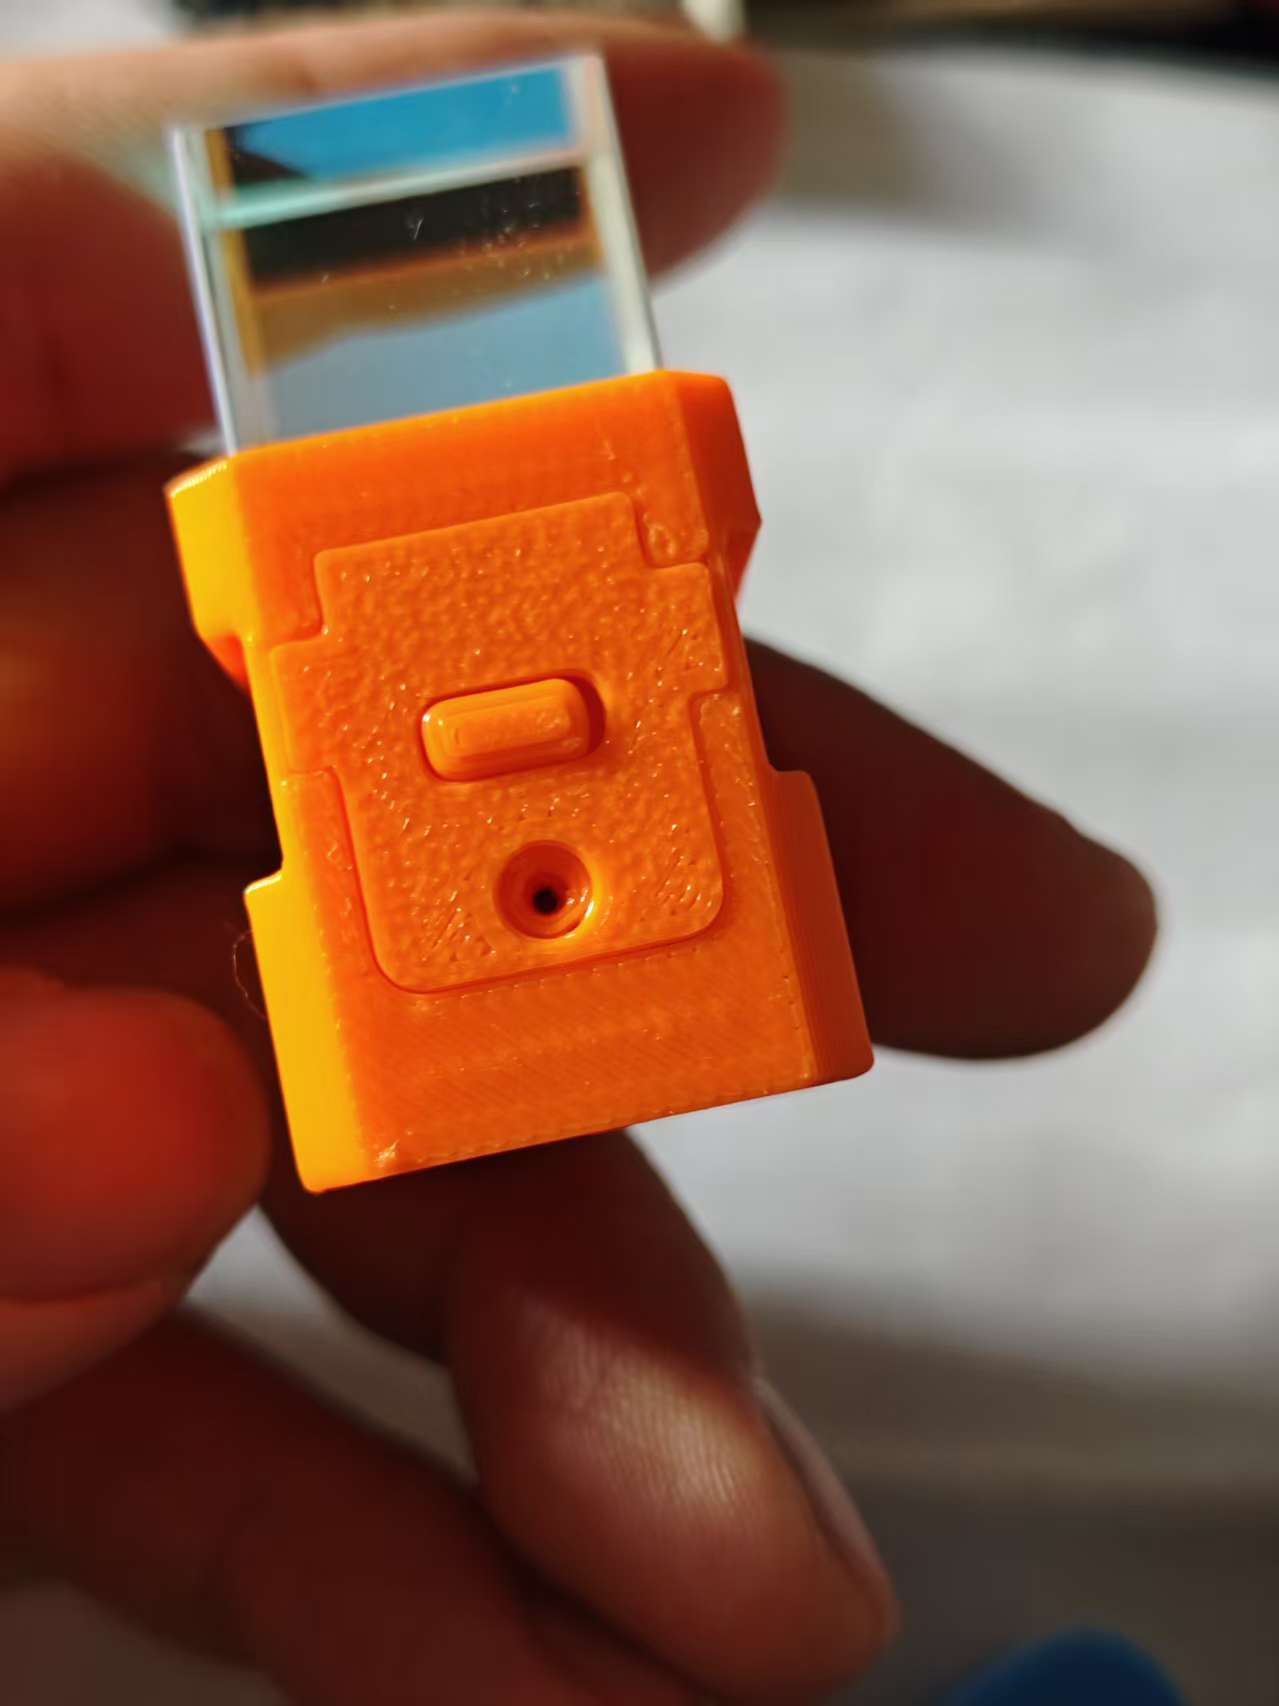
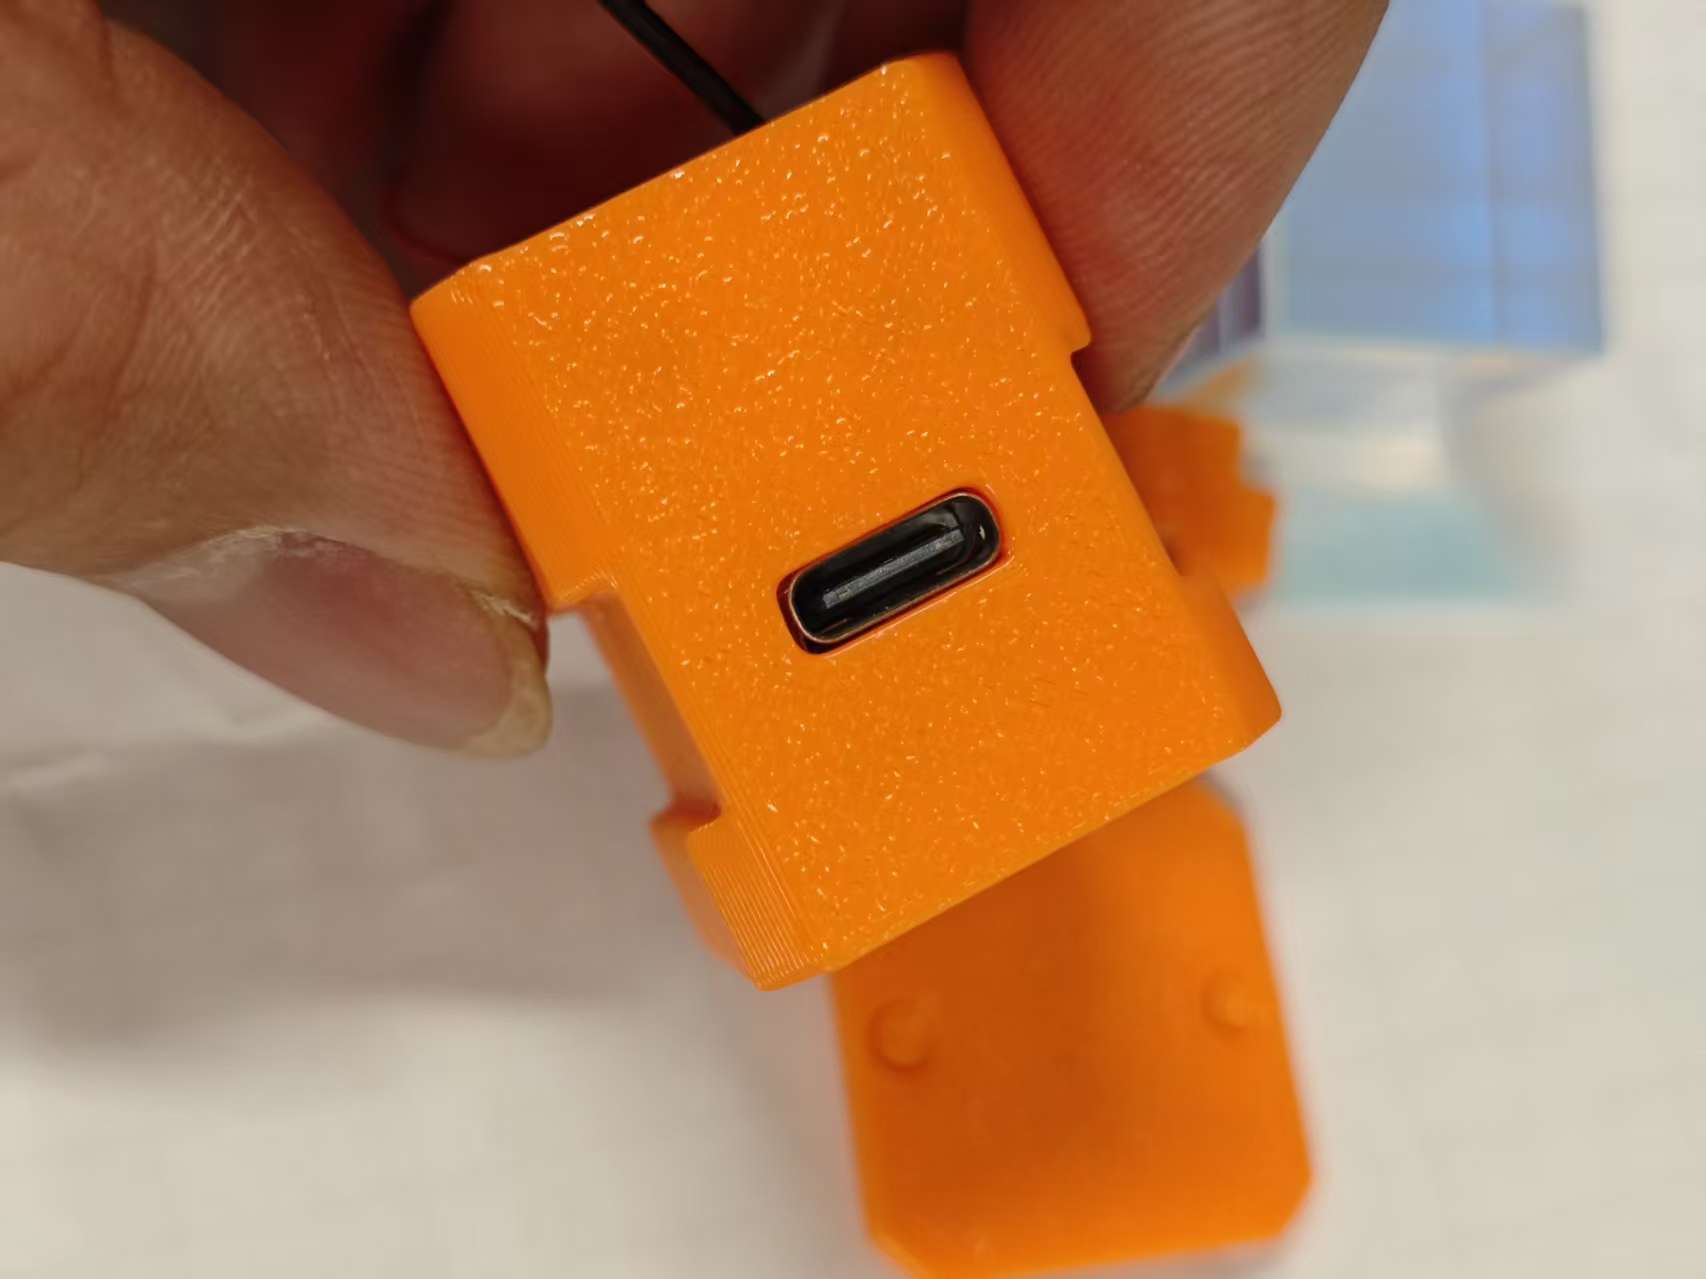
The finished product (interference fit; if needed, add an M1.6×4 self-tapping screw)
Bill of materials
- NameQuantityNotes
- 1led主板1
- 27号电池弹簧片1
- 3电池1
Originality of the Model
The author declares that this work is their personally original model
This model is licensed under the following terms:
Credit must be given to the creator
Models(1)
- led短款.3mfDesigner

1.74 MB

2026-03-30