


Storage
Waste Tray
Cai Duo Wu
R3D
Lambo
Storage Box
Parametric
Customization
Customization
Parametric Editing
Filament Spool
Filament Spool
Printing consumables
Tray Modification
Material Tray Storage Box

 R3D Material Tray Storage Box
2-disc
PETG
Designer5(2)
 CAILAB Colorful Material Tray Storage Box
2-disc
PETG
Designer Custom Label + Top Knob + Base
4-disc
PETG
Designer PINRUI Material Tray Storage Box
2-disc
PETG
Designer Tianrui Tinmorry Material Tray Storage Box
2-disc
PETG
Designer

1.5k

135
✍️ Update Summary:
In January 2026, we introduced the R3D Filament Tray—featuring a new Lamborghini filament tray, enhanced central column connectors for the filament trays, and customizable label options. We’ve also added a rotating base, enabled parametric editing for the storage box, and introduced parametric label customization.
🥚 Design Philosophy:
While detachable filament trays often fall short in terms of capacity, it’s a shame to waste perfectly good, commonly used third-party filament trays. To address this, I designed a rotating storage tower based on the filament tray as the core framework. Since filament tray dimensions vary widely across brands, my design features a highly customizable, modular filament tray storage box equipped with replaceable label slots—allowing different brand-specific trays to stack seamlessly while offering both full‑rotation and partial‑rotation capabilities for effortless access to your materials.
🐣 Key Model Features:
① Versatile Storage for Small and Large Objects: The storage box is available in single‑slot and dual‑slot configurations.
② Multi‑Tray Stacking with Full & Partial Rotation: With the addition of central column connectors and a rotating base, the system supports stacking various filament trays while enabling overall rotation. This not only speeds up your workflow by making items easier to locate but also preserves each tray’s individual rotational flexibility—so you can still rotate just the layer you need without affecting the others.
③ Customizable Dimensions & Contents: Both the filament trays and labels are fully parametrically editable, giving users complete control over their designs.
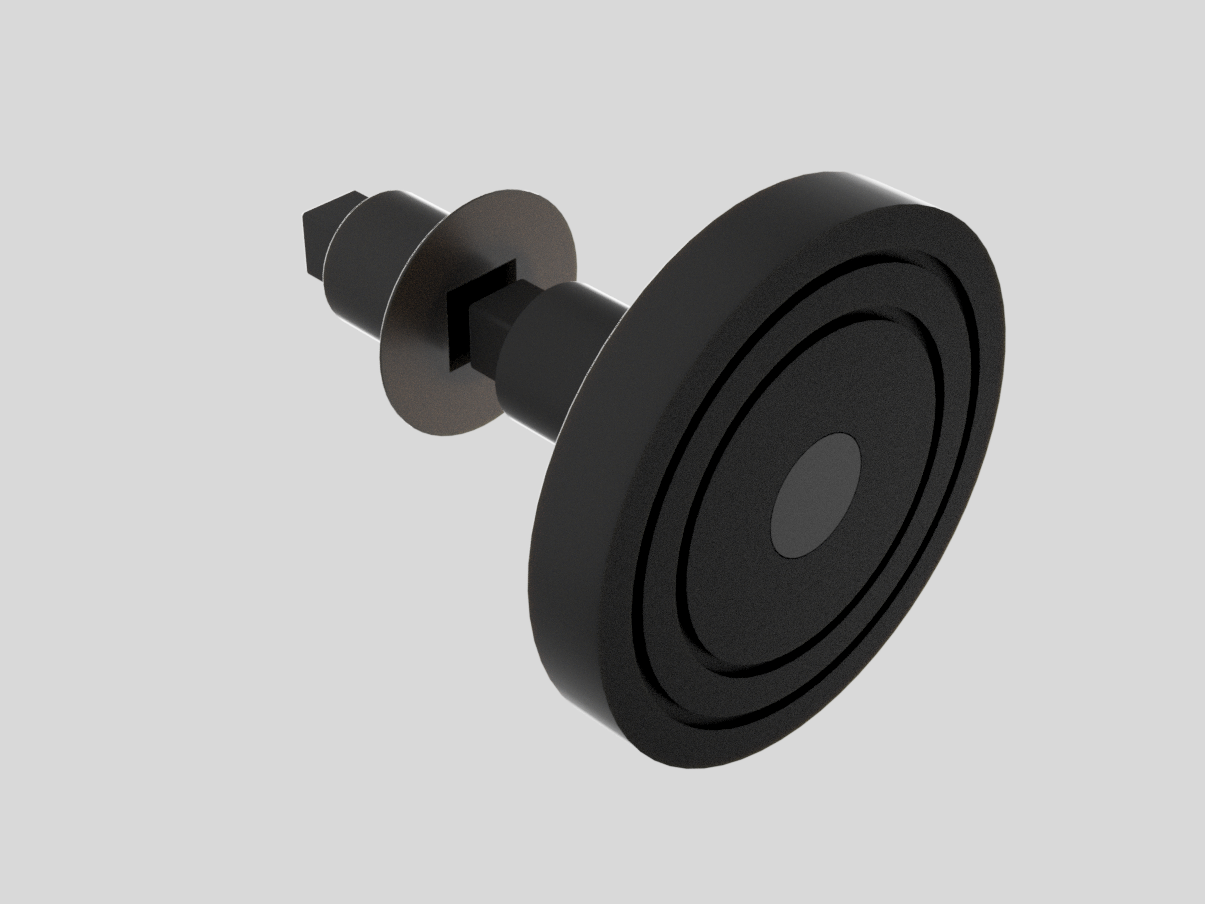
④ Anti‑Slip Design: The bottom grooves are engineered to accommodate TPU inserts, providing superior grip and preventing slippage during use.
🐤 Model Instructions:
- Before printing, carefully measure and verify the key dimensions of your filament tray against the print settings (allowing for a small margin of error). This ensures compatibility, especially if the dimensions of your filament trays have changed, helping you avoid unnecessary material waste.
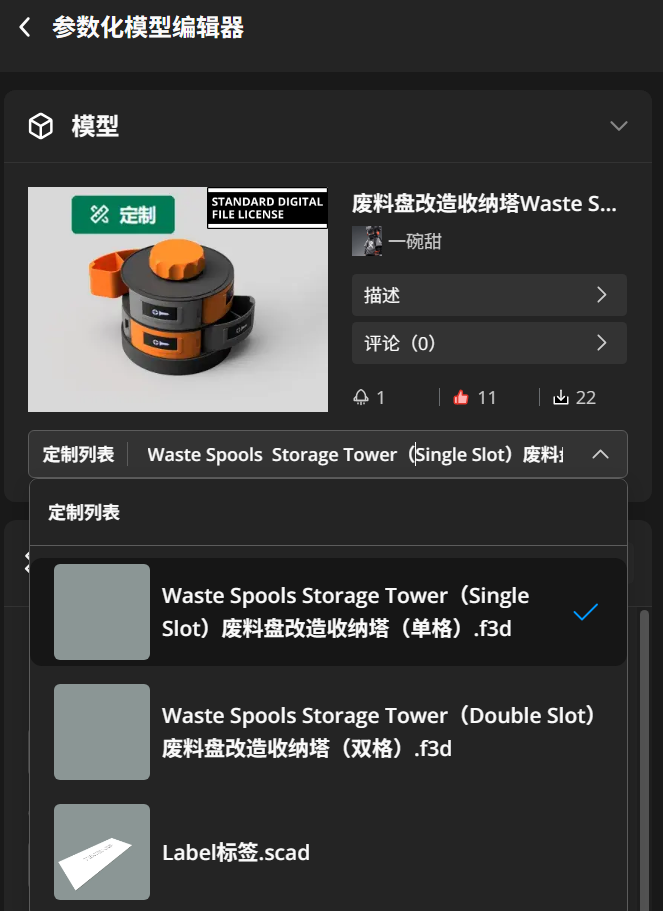
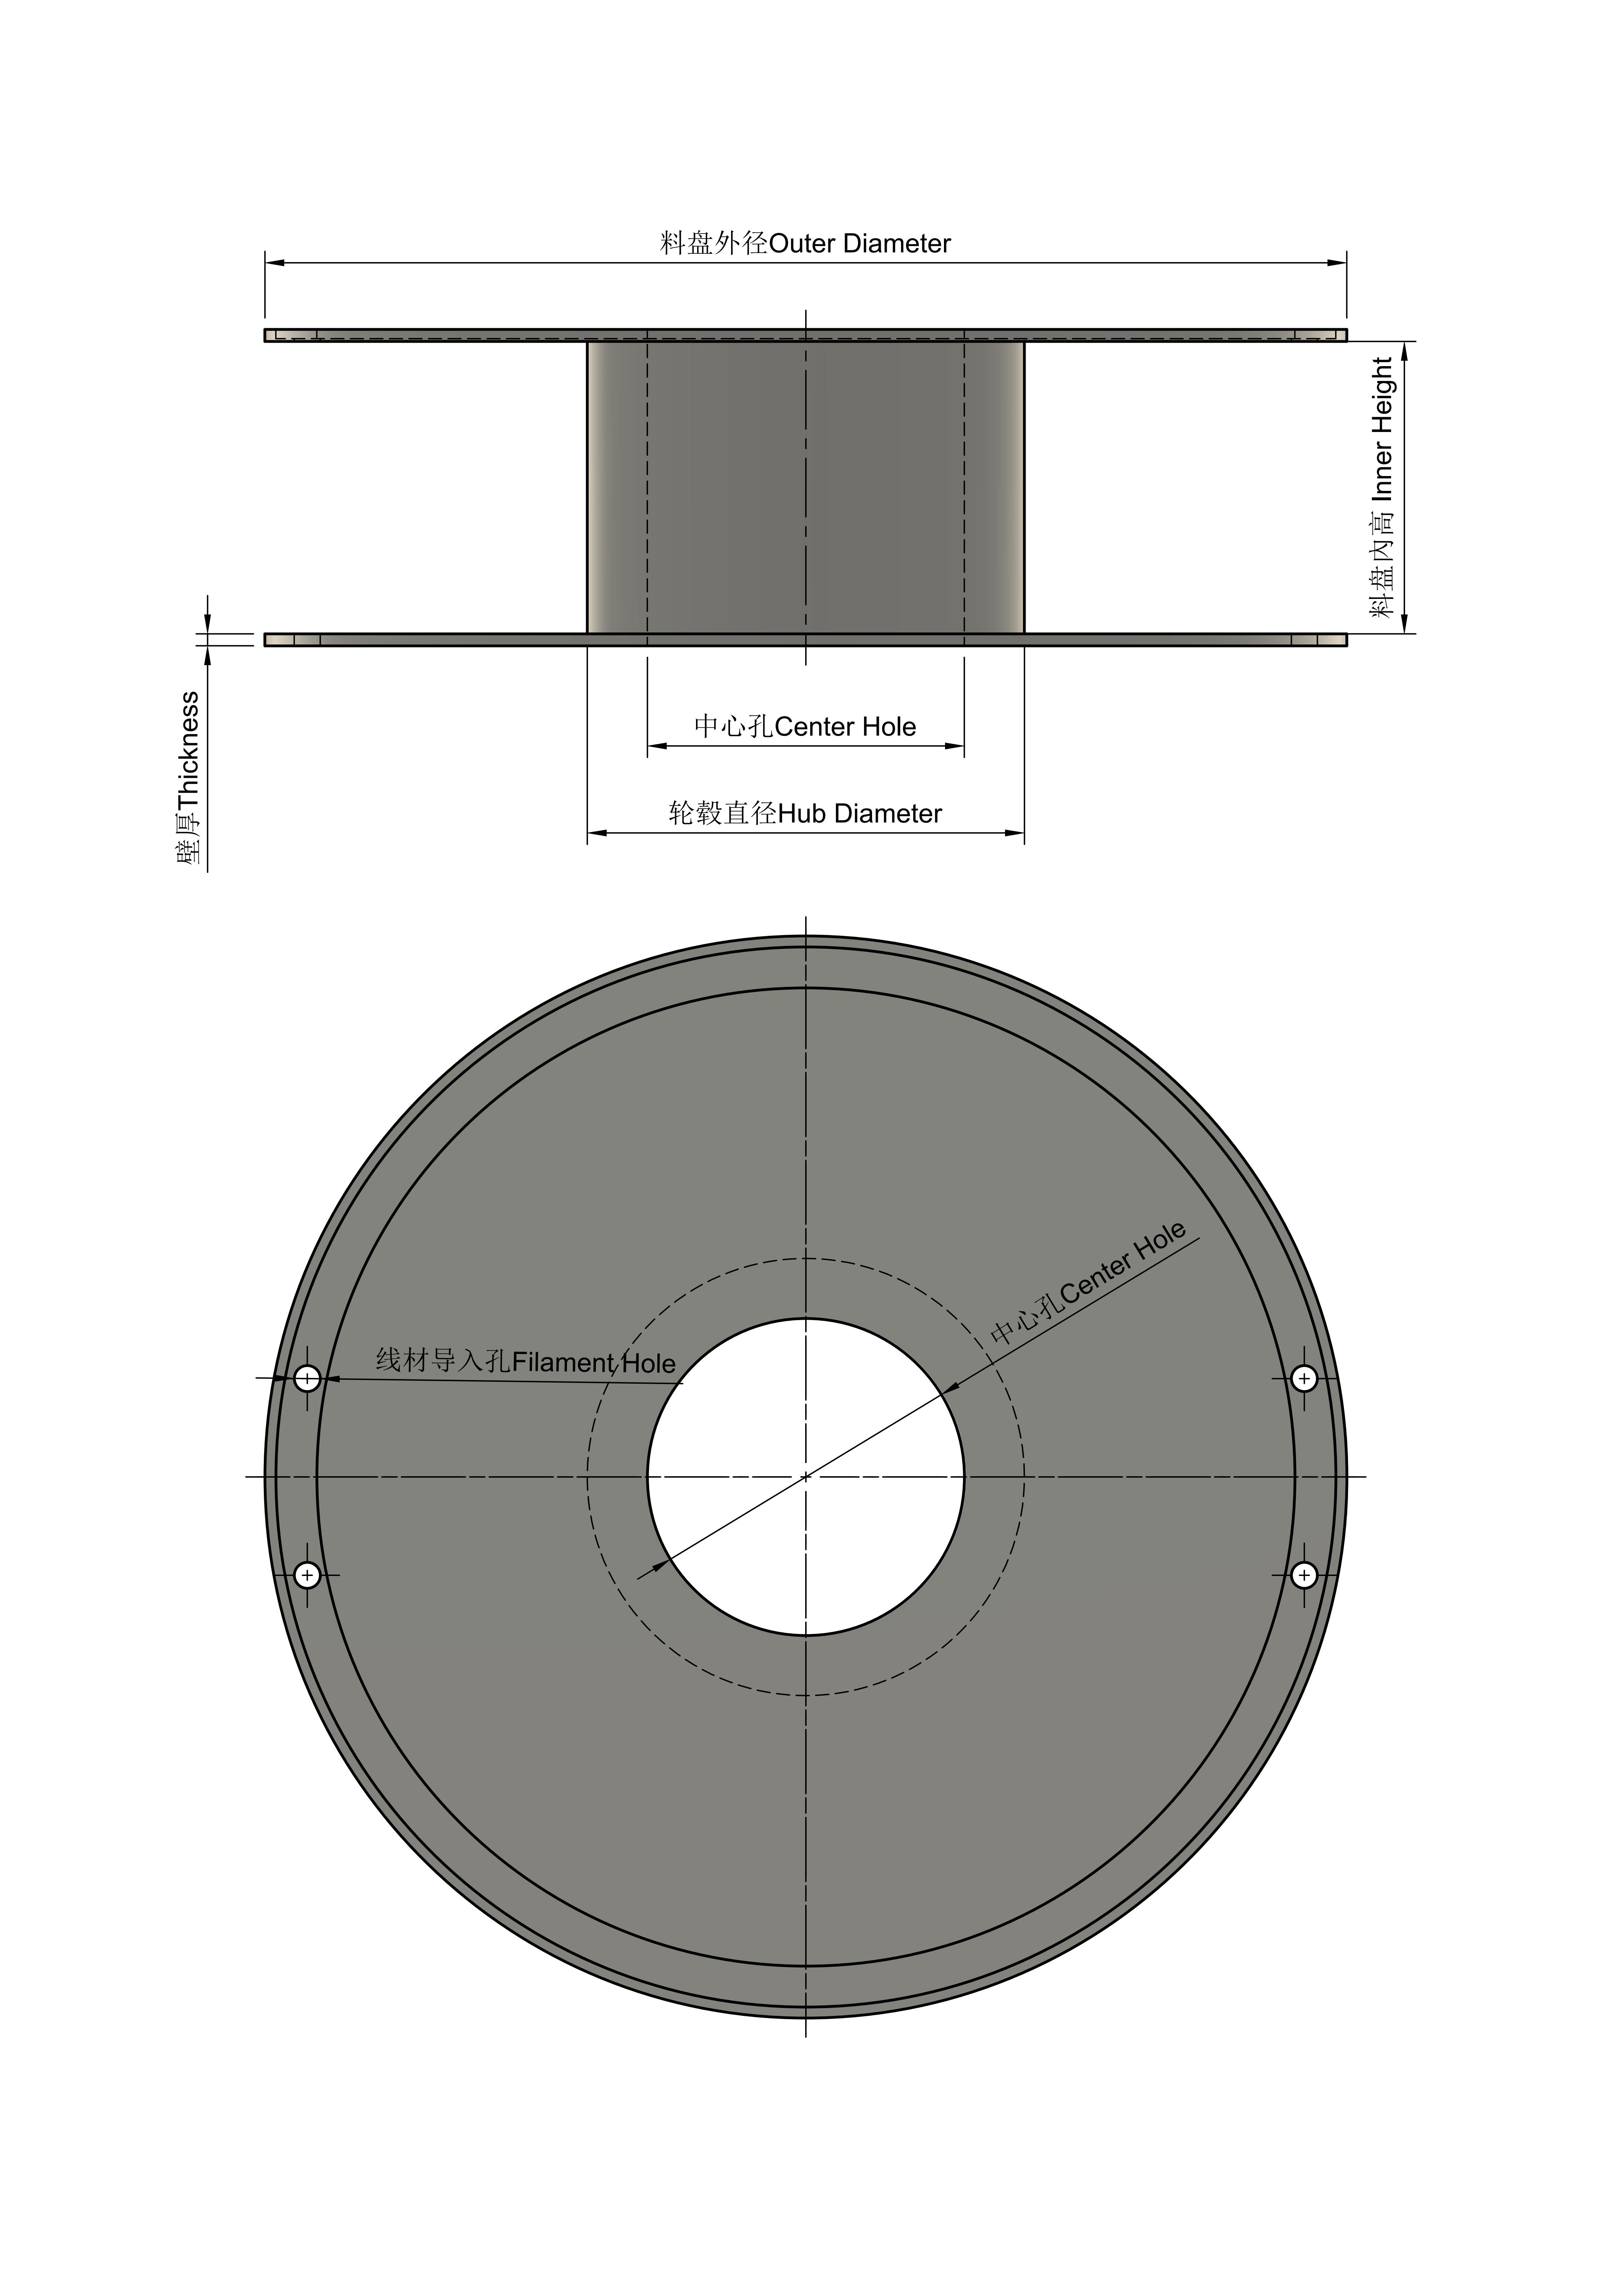
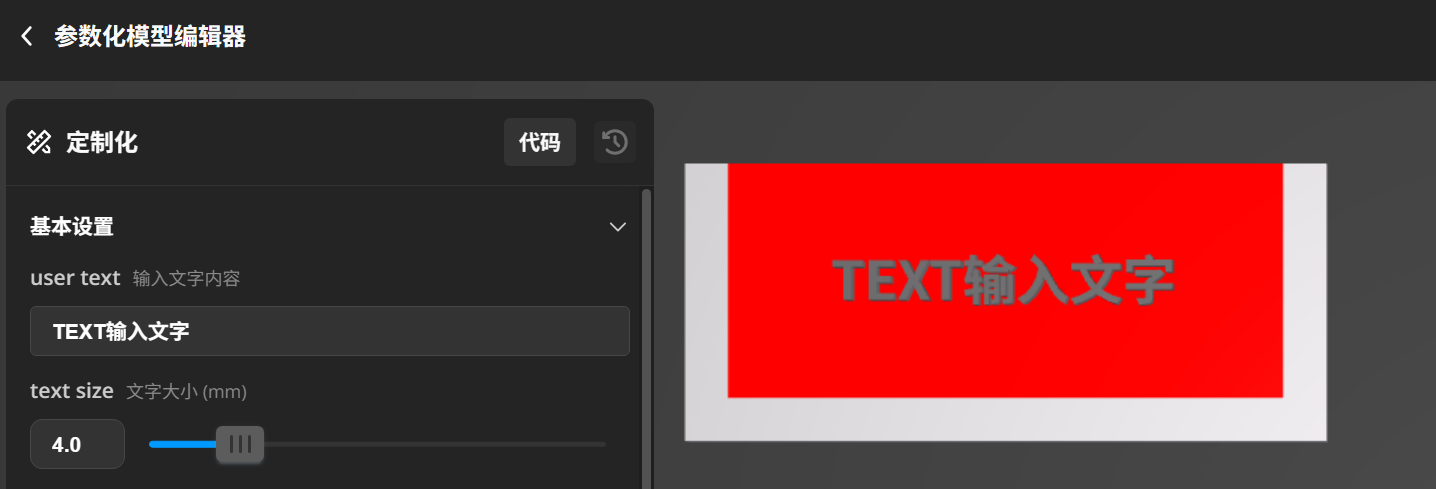
If you’d like to create a filament tray that isn’t included in the uploaded configurations, I’ve prepared parametric models using Fusion 360 and SCAD. You’ll need to manually measure the following parameters—no clearance gaps are required, as the models are already optimized for snug fits. Simply enter the measured values directly into the model. To access the Parametric Model Editor, please navigate to the link below using a PC or desktop device: Parametric Model Editor.
Outer Diameter of the Filament Tray
Hub Diameter
Inner Height of the Filament Tray
Center Hole Diameter
Tray Wall ThicknessWith these measurements, you’ll be able to generate a storage box and central column connectors that fit your filament tray perfectly—note that this parametric setup currently works best for trays weighing around 1 kg and is compatible with over 90% of common filament tray sizes. If you’re working with a well‑known brand, feel free to leave a message with the specific dimensions, and I’ll adjust the model accordingly.
The label paper is parametrically editable, with uniform slot sizes and universally compatible label dimensions. The red area indicates the text placement zone—please ensure all text stays within this boundary.
We’ll continue to add more filament tray storage tower designs for a variety of brands—be sure to save this page to your favorites if you’re interested!
🐥 Assembly Instructions:
- To assemble the storage box with your filament tray, we recommend using M3 flat‑head (self‑tapping) screws—this is the most secure method we’ve found. Use screw lengths of 10 mm or longer, ranging from M3*12 to M3*25, with 4 screws per layer, totaling 8 screws for the top and bottom layers combined. If your filament tray has larger mounting holes, you may also opt for M4 screws.
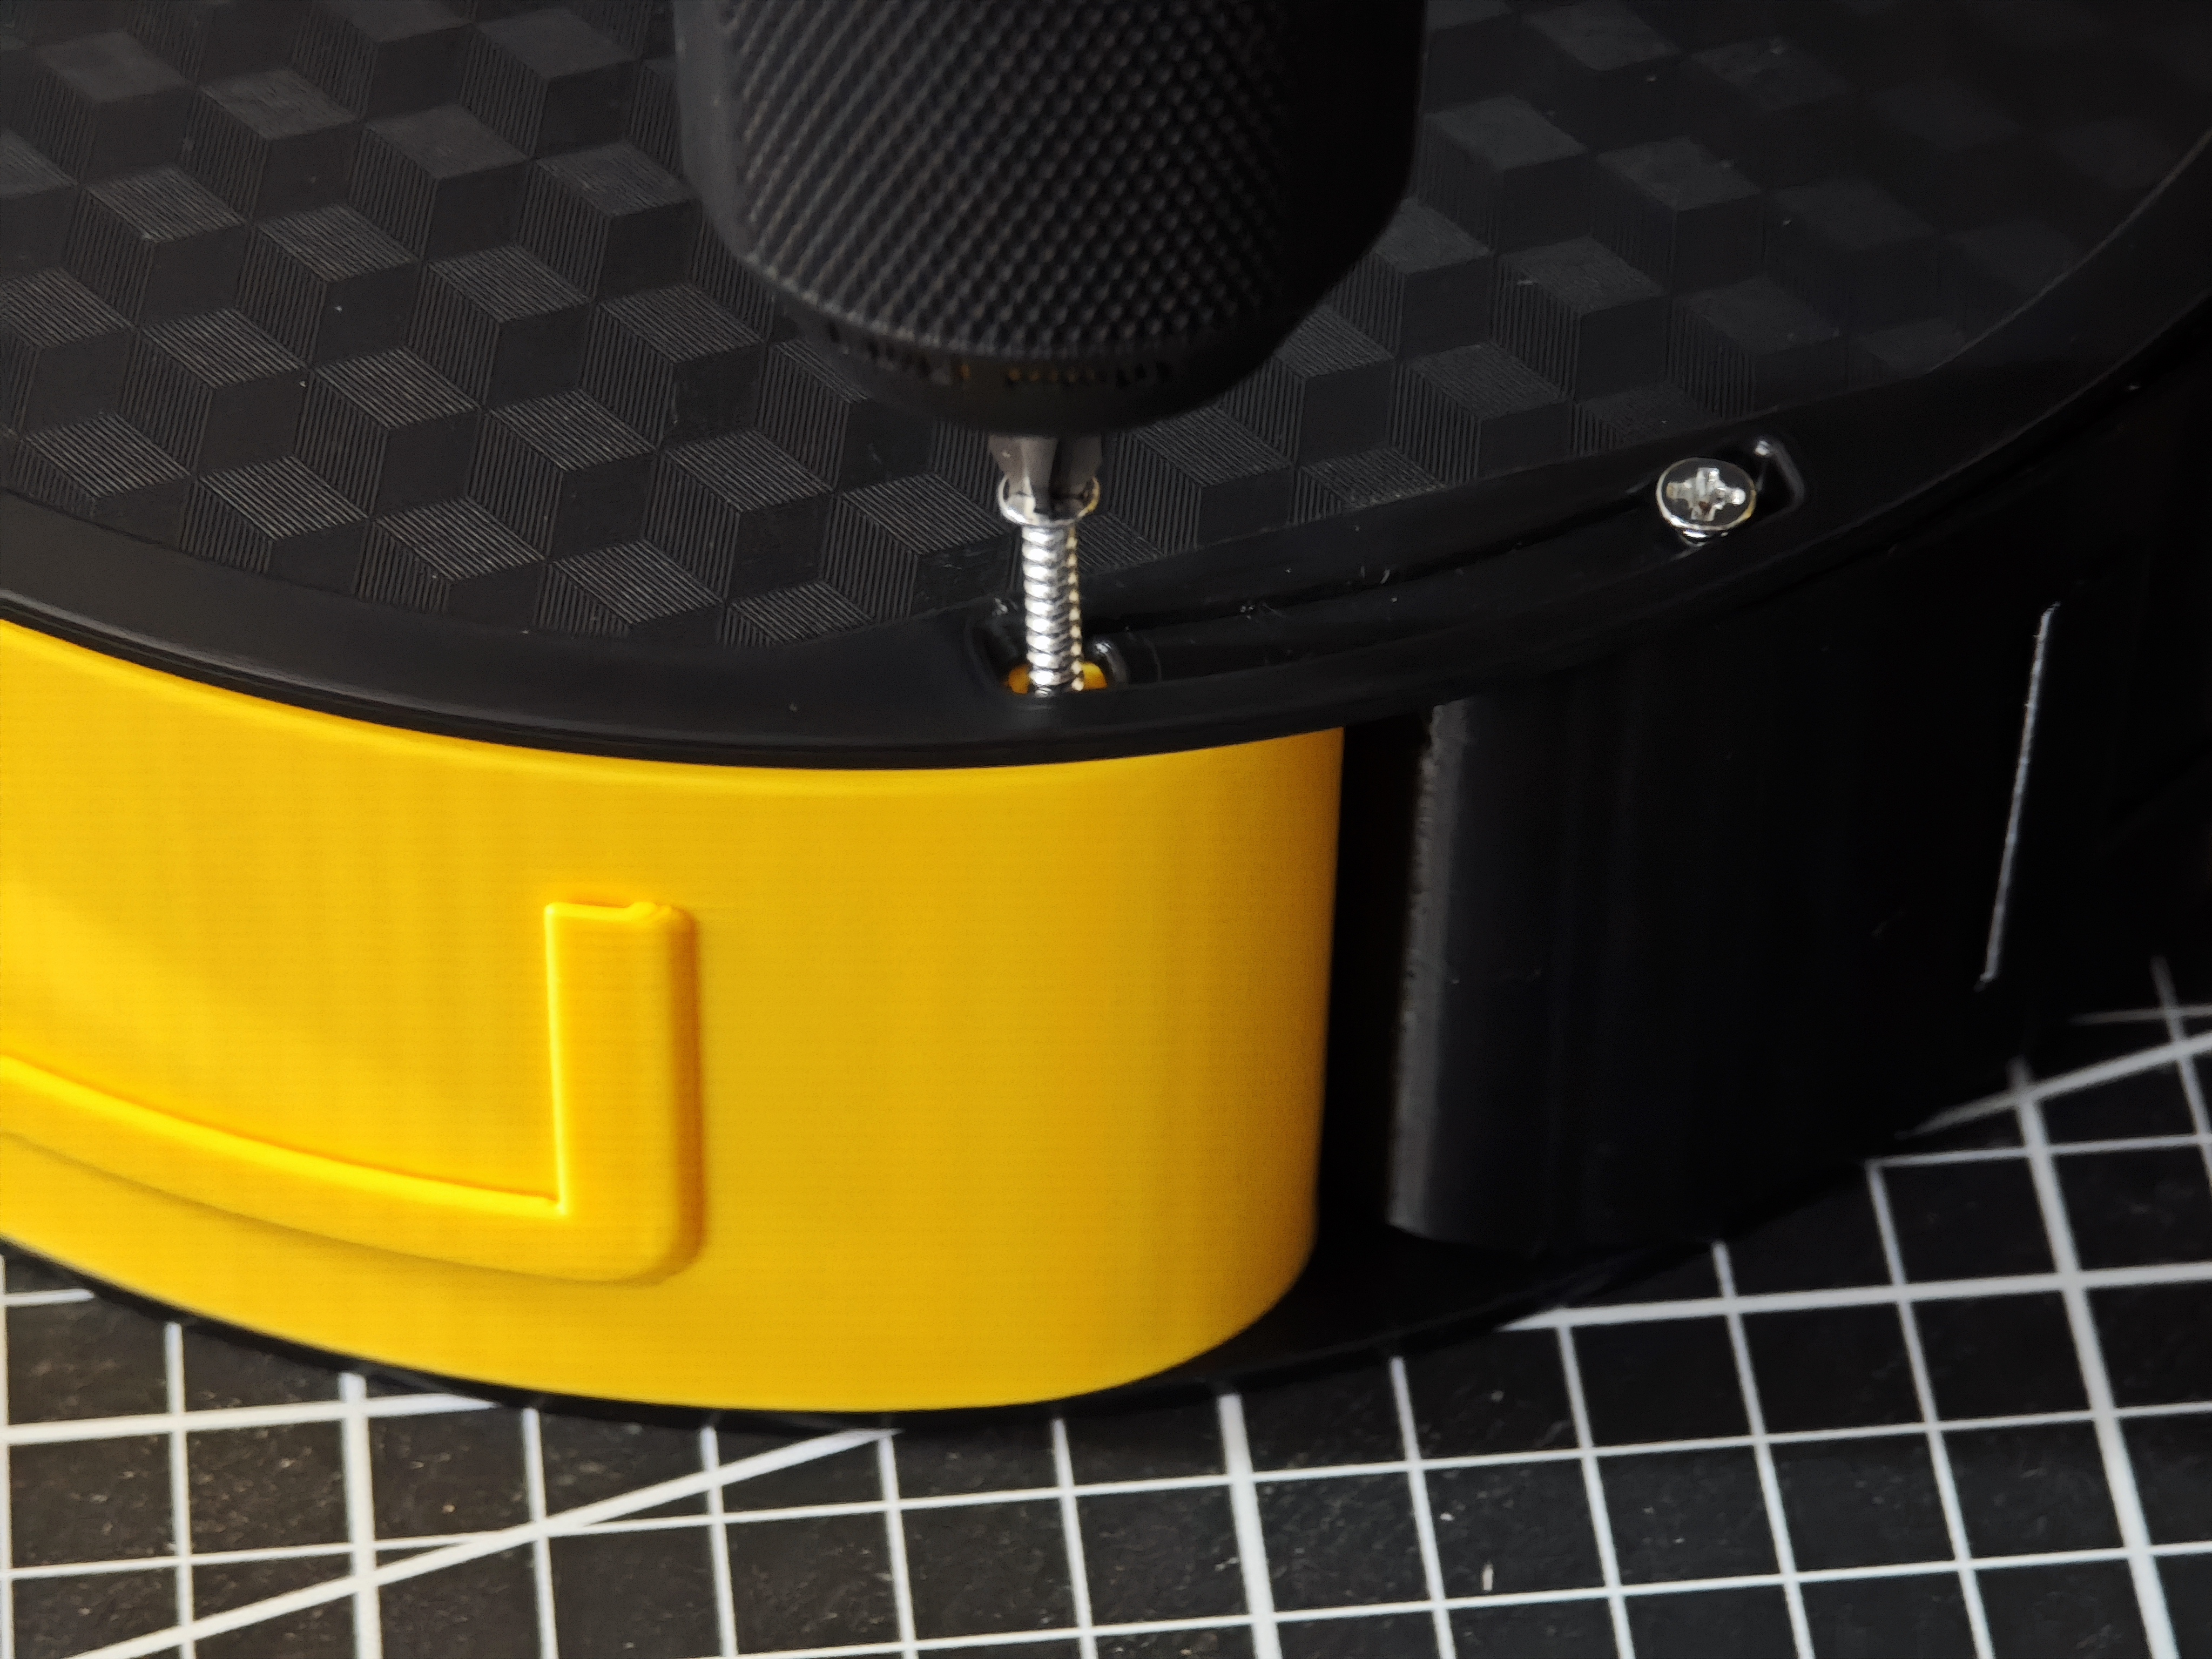 Align the screws with the holes in both the filament tray and the storage box, then gently tighten them (you can hand‑tighten the screws, though using an electric screwdriver will make the process even smoother).
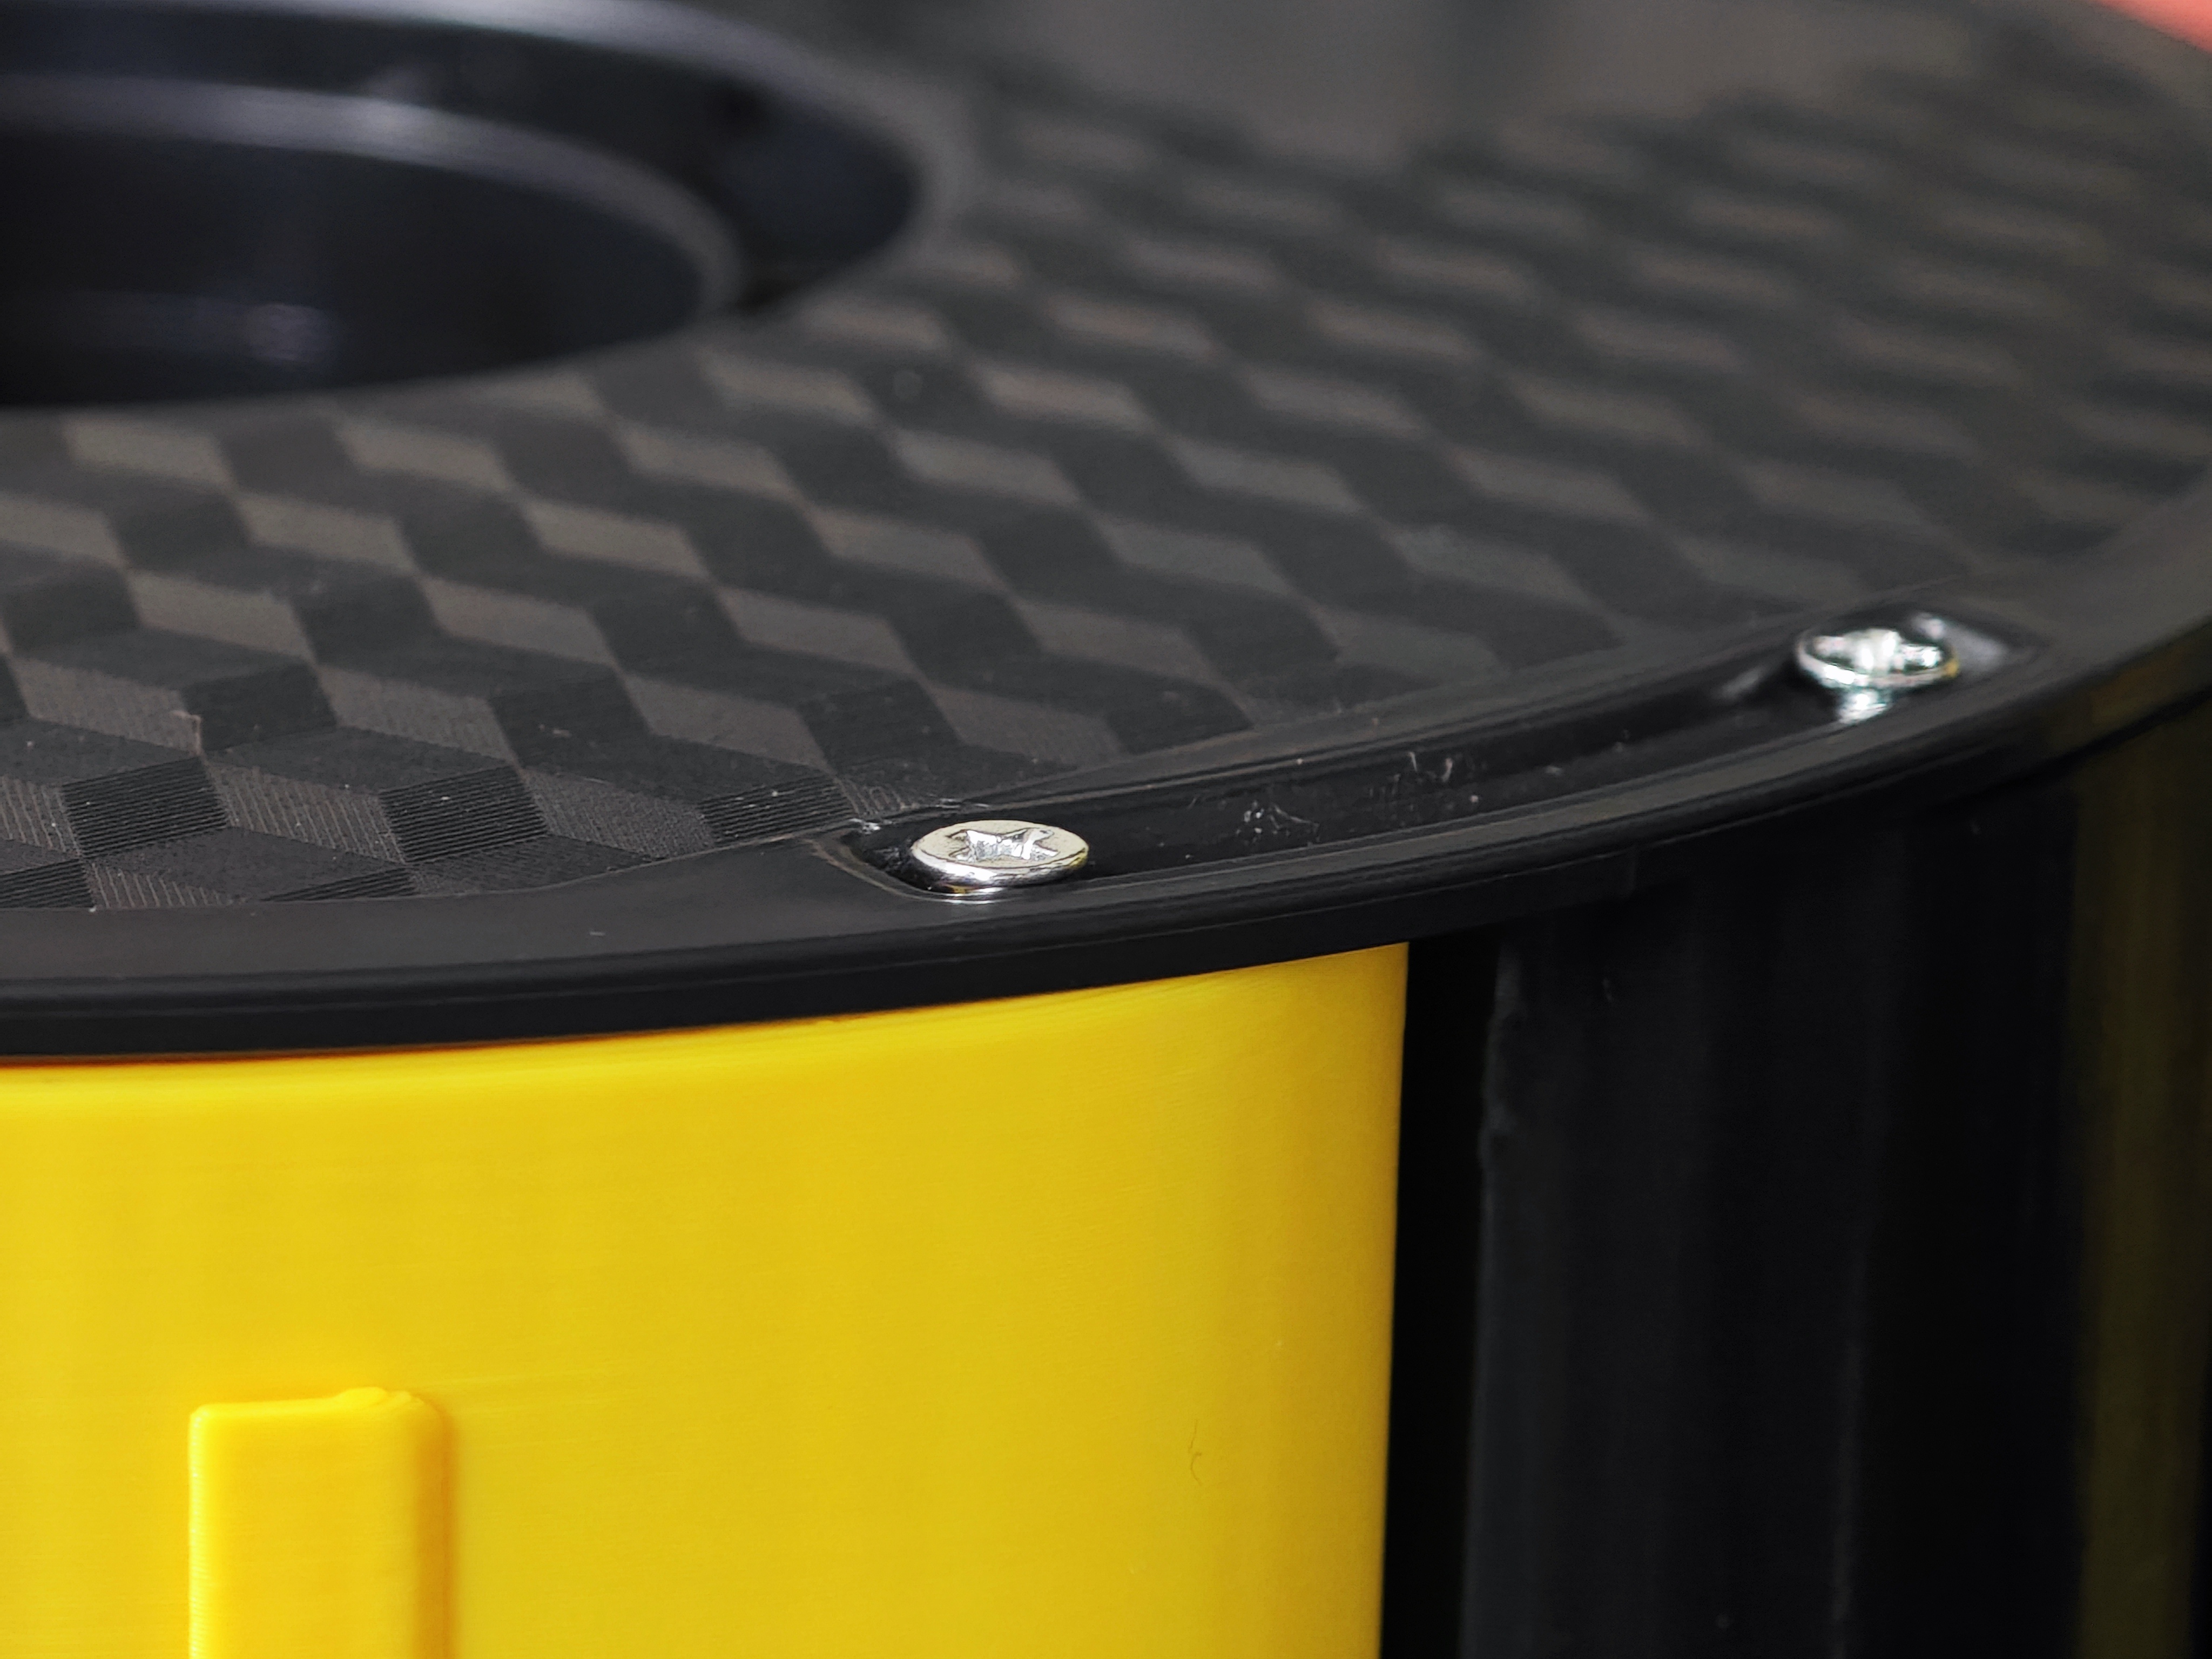 Once the flat‑head screws are tightened, simply align them flush with the surface of the filament tray—and if you’d like to secure them a bit more tightly, just turn them down slightly further, adjusting the tension to your preference.
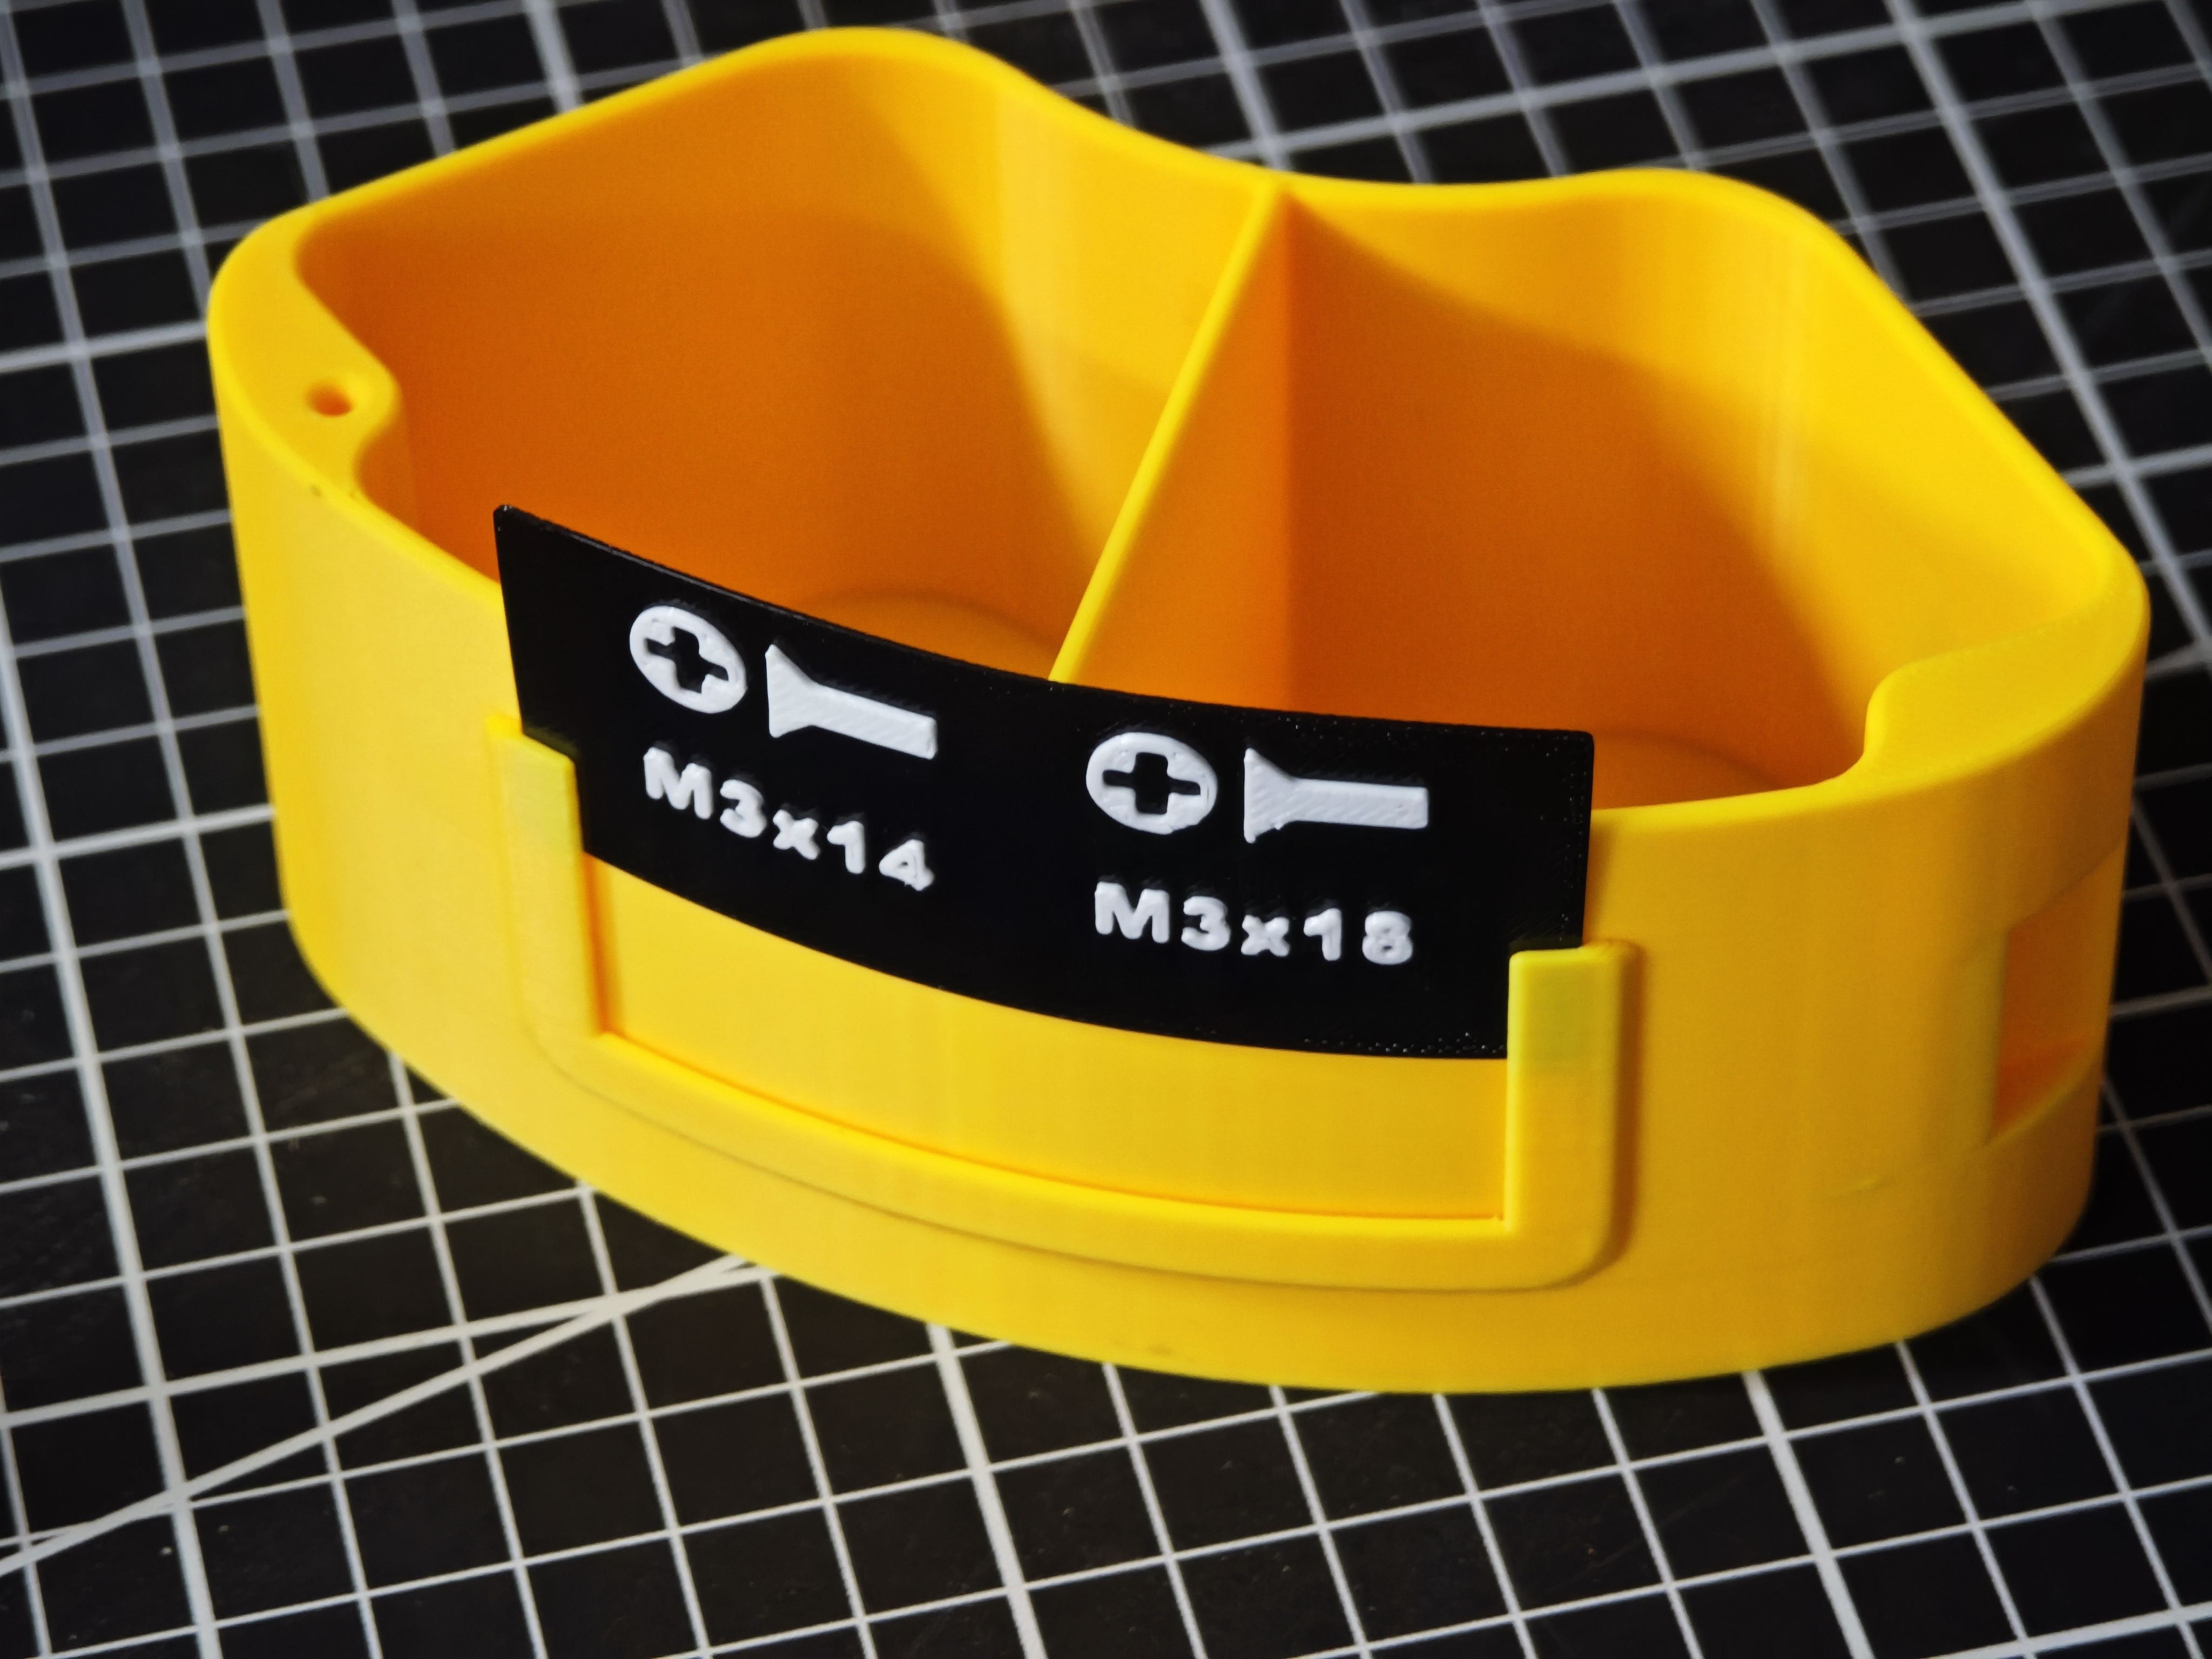 Insert the labels into the designated slots.
Bill of materials
- NameQuantityNotes
- 1M3螺丝8收纳盒模型与料盘组装需要用到M3平头(自攻)螺丝(这是我认为最为稳固的方法),螺纹长度10mm以上,M3*12—M3*25;如果料盘孔洞较大,也可以用M4螺丝。
Originality of the Model
The author declares that this work is their personally original model
This model is licensed under the following terms:
This work is licensed under a Standard Digital File License. Digital files have a strict non-commercial, personal use only license.
You shall not share, sub-license, sell, rent, host, transfer, or distribute in any way the digital file or 3D printed versions of this object, nor any other derivative work of this object in its digital or physical format (including remixes of this object). You can not host these files on other digital platforms, web stores or cloud repositories. The objects may not be used in any way whatsoever in which you charge money, collect fees.
Models(5)
- CAILAB彩多屋料盘收纳ELE.3mfDesigner

793.73 KB

2026-01-18
- R3D料盘收纳ELE.3mfDesigner
822.09 KB
2026-01-20
- 自定义标签+顶部旋钮+底座ELE.3mfDesigner
264.13 KB
2026-01-20
- PINRUI品锐料盘收纳盒ELE.3mfDesigner
885.01 KB
2026-01-23
- 天瑞tinmorry收纳盒ELE.3mfDesigner
893.55 KB
2026-01-20
View all(5)