




Educational Toys
Toys
Kendama

- 0.2 mm layer height, 2-wall structure, 45% infill density

3-disc
PLA
Designer

5

2
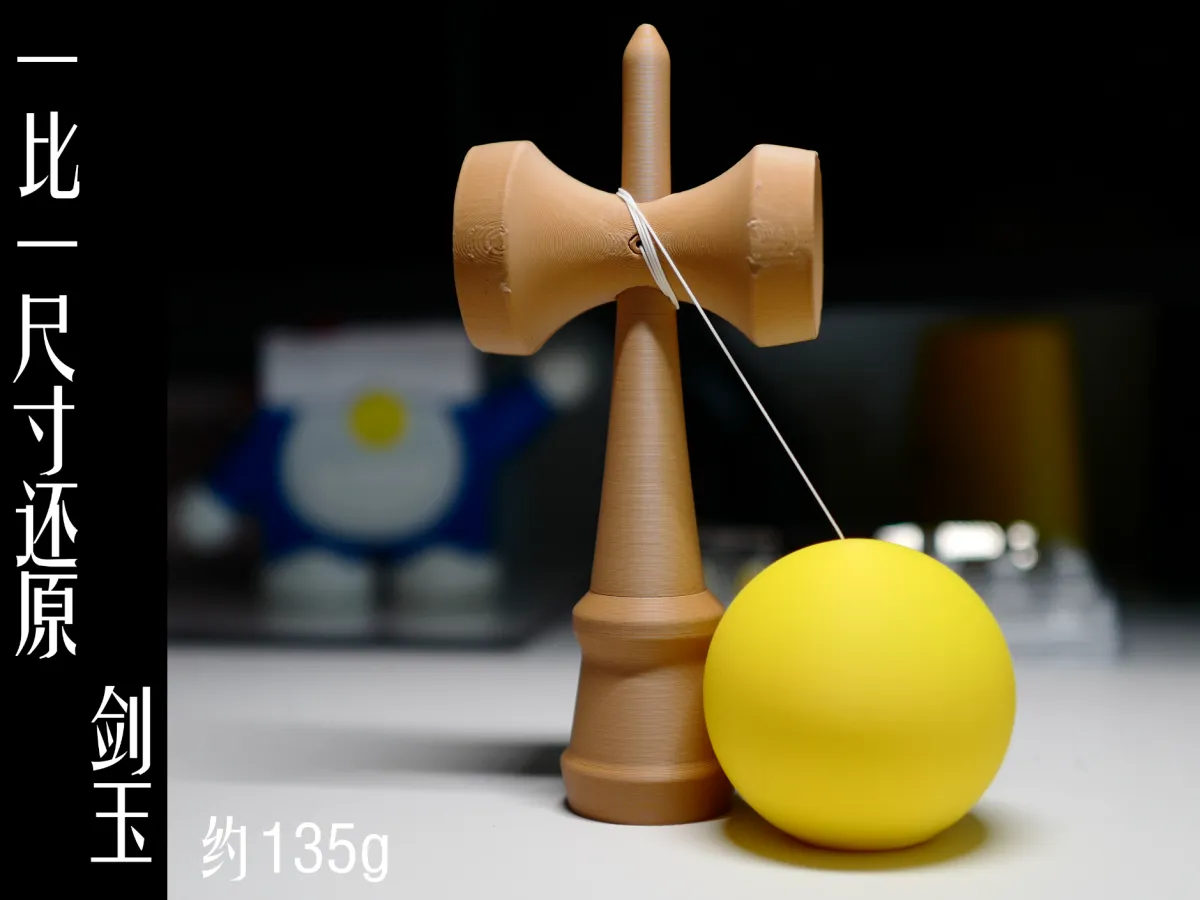
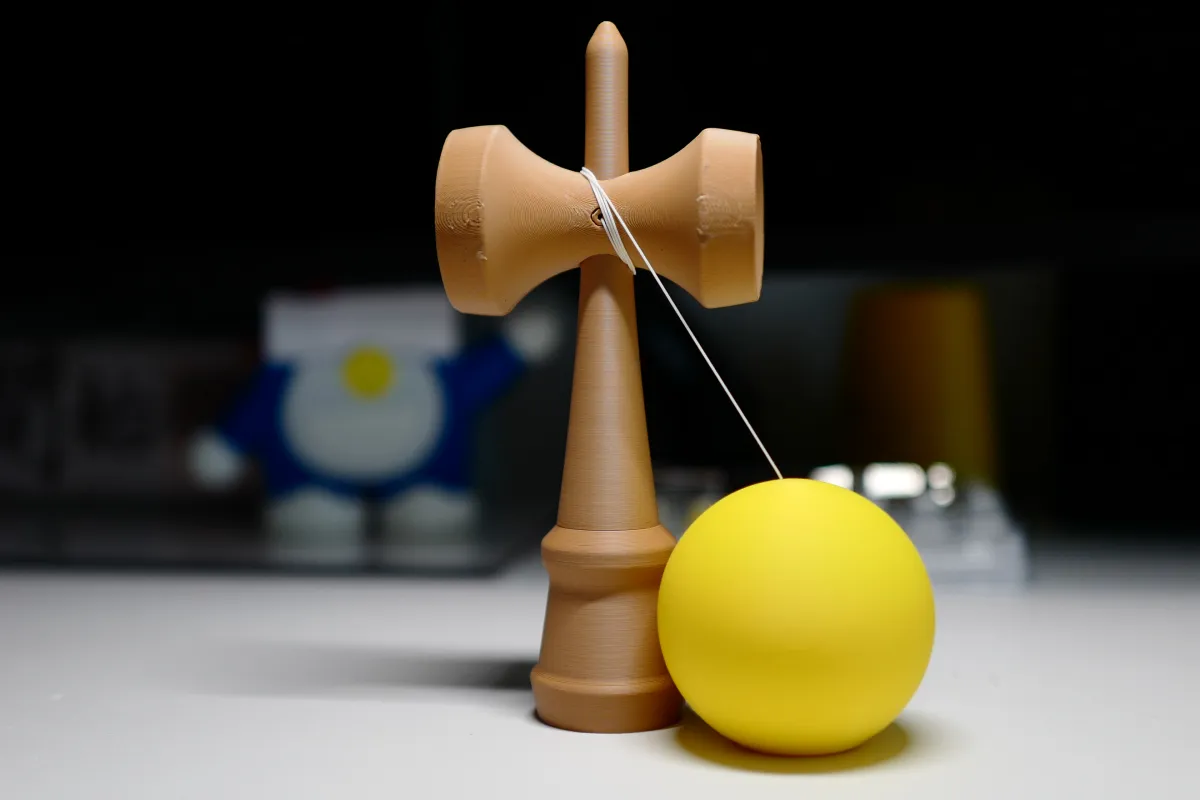
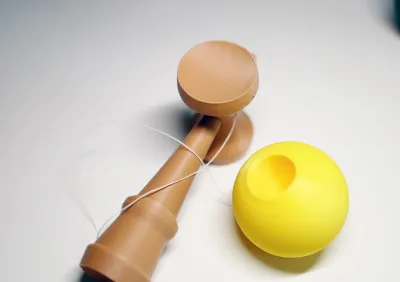
This is a 1:1 scale replica of a Kendama that I made myself.
It features a typical modular design:
The yellow sphere (the “tama” of the Kendama): The standard ball, with a hole for threading the string and attaching the stick.
Brown PLA-printed parts:
The main body of the stick: Divided into multiple segments—top tip, middle shaft, and bottom handle—for easier printing and assembly.
Two “plates” (cups): The large and small cups on either side of the Kendama, crucial components for catching the ball.
A cross-shaped part: An internal positioning/fixing component, ensuring precise alignment of each stick segment and preventing looseness or misalignment after assembly.
Printing in separate parts not only solves support challenges in 3D printing but also simplifies post-processing sanding and weight adjustment.
“1:1 size reproduction”: This means the model was designed to match the exact dimensions of a standard Kendama—not a scaled-down version—so its feel and center of gravity are identical to the real thing.
“Approximately 135g”: This is the total weight of the Kendama, falling within the reasonable range for standard models—light enough to avoid an unbalanced center of gravity yet heavy enough to maintain good handling.
Advantages: You can freely adjust the weight distribution (e.g., adding lead weights inside), modify the design, or even customize the cup shape—all at a fraction of the cost compared to purchasing imported Kendamas.
Caveats: Glue strength during assembly, weight distribution, and how the string is secured all directly affect the Kendama’s handling and durability, requiring repeated fine-tuning.
Here are the assembly steps involving glue:
First, prepare all printed parts, a length of string, and a bottle of quick-drying glue. 
Begin by tightening the handle threads, applying glue to secure the threaded area. 
Next, use the cross-shaped fasteners to connect the tip and the handle, securing them firmly with glue. Note that there are two different types of cross fasteners available (with varying tolerances); choose the one that best fits your needs. 
Then insert the hemispherical caps on both sides (note that the upward-facing holes have slightly smaller radii), secure each hemisphere with glue, and finally thread the string through. 

Bill of materials
- NameQuantityNotes
- 1一根细绳1
Originality of the Model
The author declares that this work is their personally original model
This model is licensed under the following terms:
Credit must be given to the creator
Only noncommercial uses of the work are permitted
Models(1)
- 一比一尺寸还原剑玉(全拆件防止细高件打印失败).3mfDesigner

822.24 KB

2026-06-10


