




CS
Intellectual Property
Toys
Role‑playing
DIY


137

7
3D MODEL DESCRIPTION

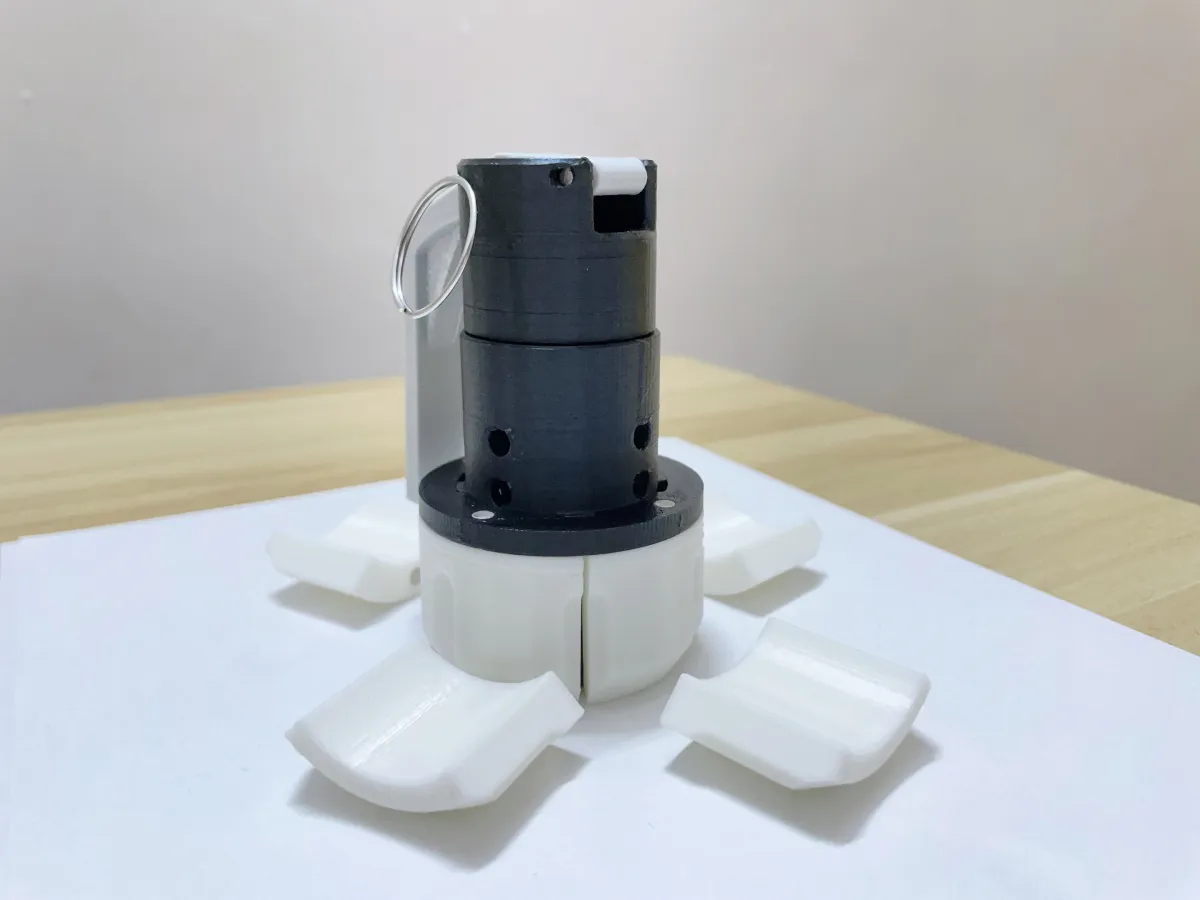
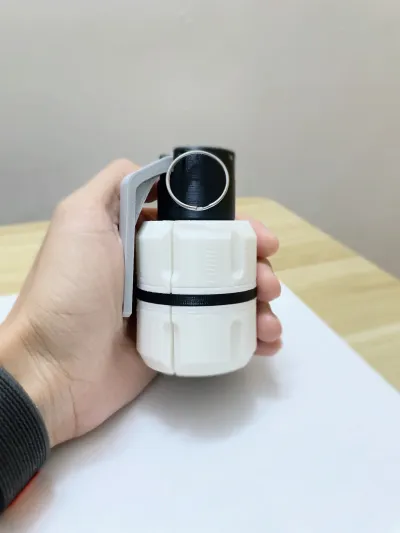
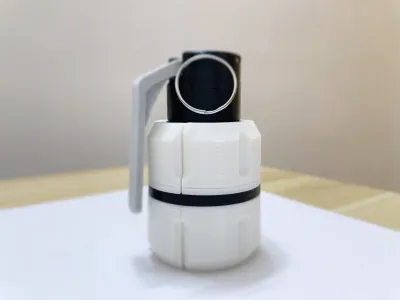
🍀A type of spring-loaded impact grenade that produces a loud bang using readily available toy pistol cap rings. Cap rings can be purchased from some fireworks stores at a very low price, around $1 for 5 packs, which is equivalent to about 45 shots. If you use the entire ring, the cost per shot is even lower than that of a single piece of candy. This grenade features a shell armor with magnetic attraction. If you prefer not to purchase cap rings, you can directly throw a pre-made model toy, which, upon impact, will disperse its armor, creating a certain visual effect. By adding cap rings into the mix, you'll experience both a tremendous sound and the dispersal of armor (which is all plastic and lacks sharp edges to harm anyone), providing a dual sensory experience. This toy grenade is much cheaper than disposable airsoft grenades and is also lighter, safer, and easier to use than blank-firing grenades!
🎬Assembly video:https://youtu.be/K7mdMtP0U6Y
- Suitable for activities such as airsoft, gelsoft, paintball, Nerf, etc.
- Spring-loaded pressure-sensitive fuze, detonates quickly, leaving enemies no chance to escape! Highly sensitive on hard surfaces.
- Plastic armor with magnetic adhesion, disperses upon landing, providing you with an excellent visual experience.
- Very low operating costs, toy pistol caps can be found in many stores and online. You can use individual caps or the whole ring (if you don't want sound, you can even skip purchasing it).
- Simple reset, no tools required, no need to purchase bolts, directly print the pre-designed pull-resistant bolts (recommended printing orientation: horizontal).
- Realistic functional safety pin and fly-off spoon, the dispersed armor upon landing can be easily recovered and reused.
- Cylinder design, easy to throw, designed to be as minimalist as possible.
- Easy to print and assemble. Modular design allows for quick replacement of damaged or worn-out parts. Minimal hardware required.
✨Preparation instructions:
Print the part, the top cover may need to be twisted and shortened to achieve support and check fit. The top cover and magazine easily screw together and screw open. The fuse should be able to fall freely inside the grenade body without getting stuck. The smaller end of the firing pin should fit inside the main nutrient.
It is recommended to tighten the bolt, if it is loose you may find it difficult to fire the grenade.
Pass the printed bolt and ram assembly through the top hole of the top cover, the ram and printed bolt should slide smoothly through the hole without getting stuck. Slide the cut spring over the protruding part at the bottom of the bolt, the cut end should rest against the small step in the spring hole. This puts pressure sideways on the spring to help the firing pin grip the fuze, otherwise the grenade would be very difficult to fire. Next screw on the ram and thread the printed bolt through the ram hole, making sure the smaller end of the ram fits inside the spring. The spring should be sandwiched between the firing pin and the fuze base. This can be a little tricky. The end of the bolt should be flush with the bottom of the firing pin.
The thread of the bolt has a tolerance of +0.2mm. If you cannot twist the bolt to fit it in place, then please check your printer settings or calibrate the printing accuracy first.
According to the principle of opposite sex attraction, install the round magnet into the hole at the bottom of the armor. It is recommended to use a colored pen to mark the pole magnetic field before installation, then go to the hole and add glue to prevent adsorption. In addition, in the 4 holes of the 3D printed magnetic ring base, 3 circular magnet entrances are stacked in each hole. Don’t forget to add glue to prevent them from falling off.
The ram hole is off-center. This is intentional because you need to rotate the entire bolt assembly until the larger area of the firing pin points toward the slot in the side of the top cover. Again, make sure the cut spring is sitting on the step inside the spring hole in the bottom of the fuze. Once done, you should be able to compress the spring and the firing pin should catch the angled area of the fuze. If at any time you cannot reset it properly, check the alignment of the firing pin. It doesn't need to be perfect, but make sure it points in the right direction. Once loaded, the mechanism should trigger on impact. A few inches of impact sensing on any floor is enough to trigger the cap, and the inertia of the armor makes it easy to trigger due to the magnets attached to the armor.
3D PRINTING SETTINGS
- The recommended printing layer thickness is 0.2mm.
- Add support to the overhanging position of the part.
- It is recommended that bolts be printed horizontally and with a fill rate of 100%.
- If you want to throw farther, please print the improved version, which can hold more magnets and is stronger. The file format is 3mf.
Originality of the Model
The author declares that this work is their personally original model
This model is licensed under the following terms:
This work is licensed under a Standard Digital File License. Digital files have a strict non-commercial, personal use only license.
You shall not share, sub-license, sell, rent, host, transfer, or distribute in any way the digital file or 3D printed versions of this object, nor any other derivative work of this object in its digital or physical format (including remixes of this object). You can not host these files on other digital platforms, web stores or cloud repositories. The objects may not be used in any way whatsoever in which you charge money, collect fees.
Models(13)
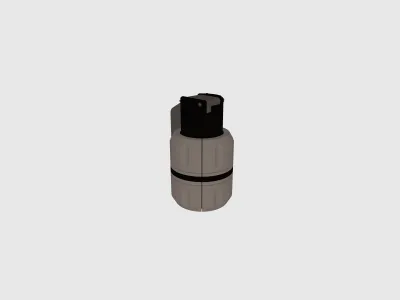 upgraded-version-of-adsorbent-toy-fragmentation-grenade.3mfDesigner
1.61 MB

2026-03-17
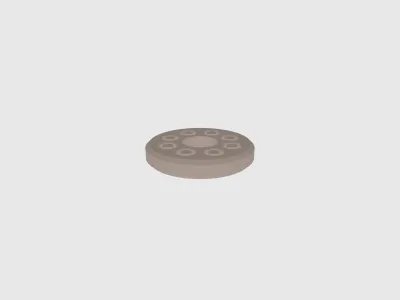 Fuze.stlDesigner
412.19 KB
2026-03-17
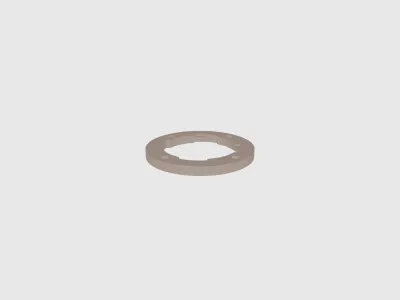 Magnetic ring.stlDesigner
181.53 KB
2026-03-17
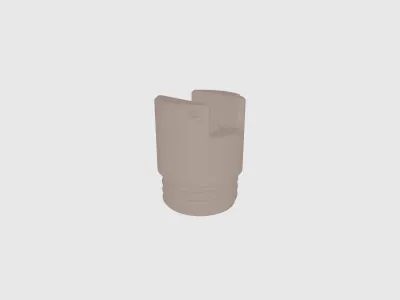 Top cover.stlDesigner
3.23 MB
2026-03-17
 Bolt.stlDesigner
612.68 KB
2026-03-17
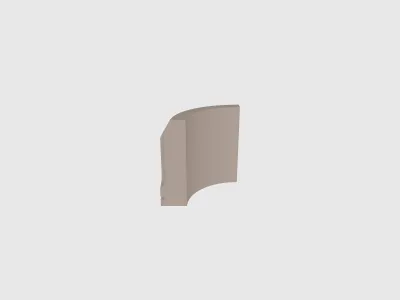 Armor3.stlDesigner
290.71 KB
2026-03-17
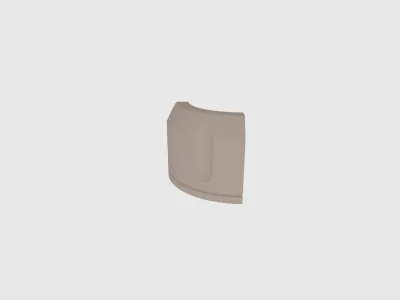 Armor4.stlDesigner
290.71 KB
2026-03-17
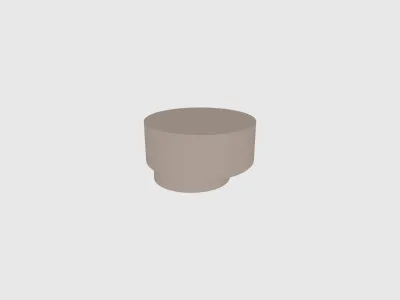 Limit switch.stlDesigner
518.54 KB
2026-03-17
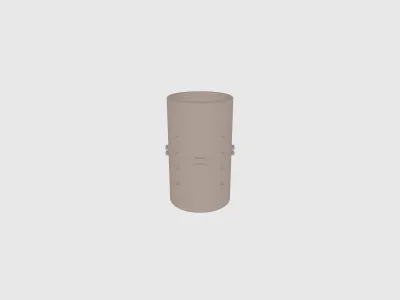 Magazine.stlDesigner
2.03 MB
2026-03-17
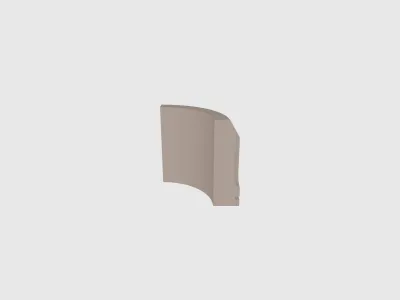 Armor2.stlDesigner
290.71 KB
2026-03-17
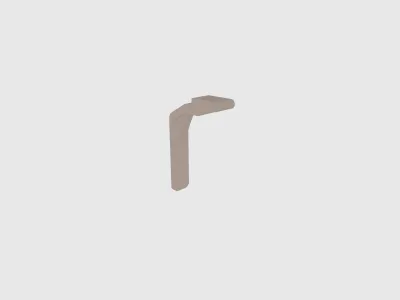 Grip.stlDesigner
87.97 KB
2026-03-17
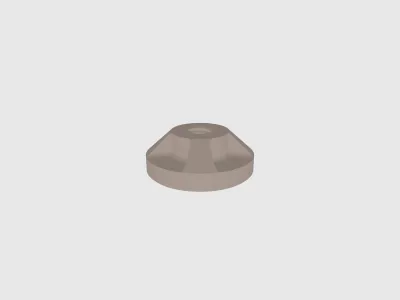 Impact hammer.stlDesigner
667.86 KB
2026-03-17
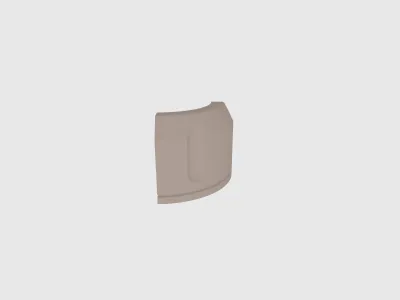 Armor1.stlDesigner
290.71 KB
2026-03-17
View all(13)


