


 0.2 mm layer height, 3‑layer walls, 5% infill density
8-disc
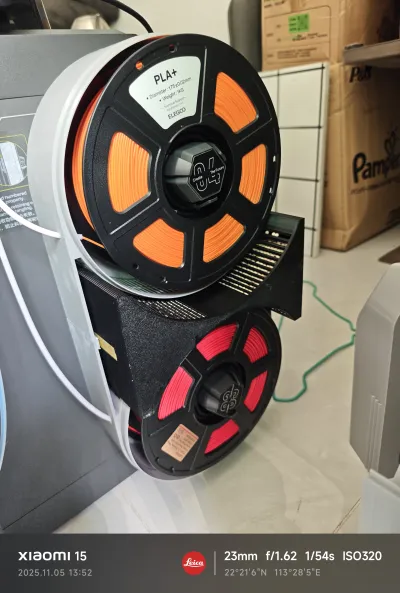
PETG
Designer

2.5k

263
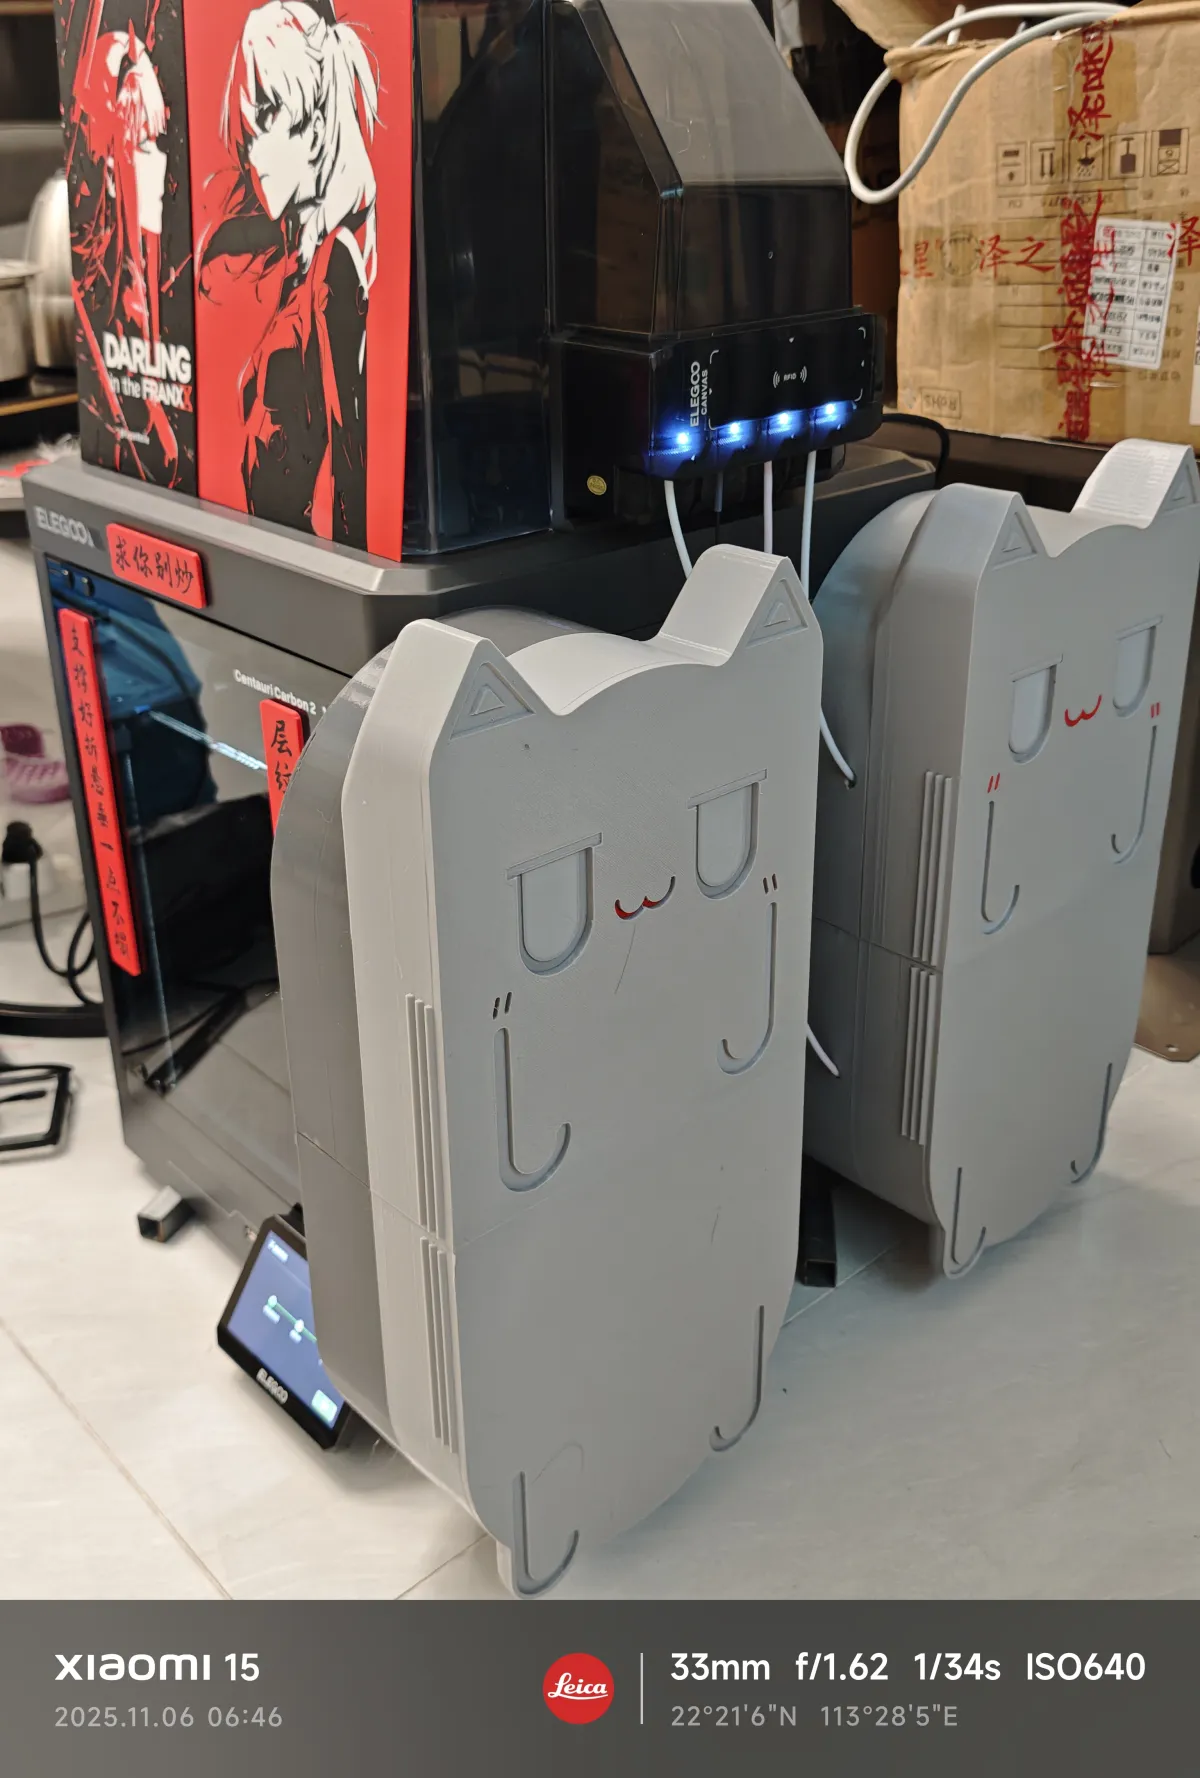
Adopting a 0‑hardware design, all structural components are interlocked for secure assembly.
The CC2’s maximum build volume is perfectly suited for printing.
After removing the material rack, simply lock the printed parts in place using the rack fasteners.
Once the printer base has been assembled from top to bottom, we recommend securing it with adhesive—especially along the joints. For added protection, you can seal the interior with cloth-based tape.
The material outlet should be directly connected to a 4x2 Teflon tube! Be careful not to use a 4x3 tube—its tight fit at the multi‑color module inlet can cause jams and blockages!
The internal drying chamber can hold up to 500 g of molecular sieve.
After closing the drying chamber lid, lightly secure it with a single wrap of masking tape to prevent accidental opening (and no, it’s definitely not because I once spilled its contents all over the house—and spent hours crying while cleaning up!)
With an ambient humidity of 95%, the internal environment can be maintained below 25°C.
Originality of the Model
The author declares that this work is their personally original model
This model is licensed under the following terms:
Credit must be given to the creator
Only noncommercial uses of the work are permitted
Remixes must be shared under the same license
Models(3)
 CC2猫猫头侧置干燥箱 - 副本.3mfDesigner
5.78 MB

2026-01-14
 CC2猫猫头侧置干燥箱源文件.stepDesigner
15.94 MB
2026-01-14
- CC2猫猫头侧置干燥箱异料支撑打印配置.3mfDesigner
4.23 MB
2025-11-12
View all(3)