



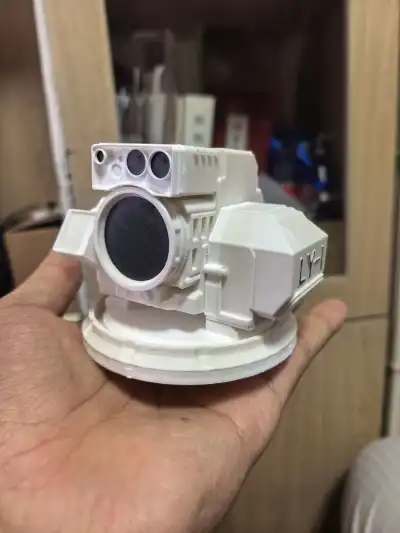
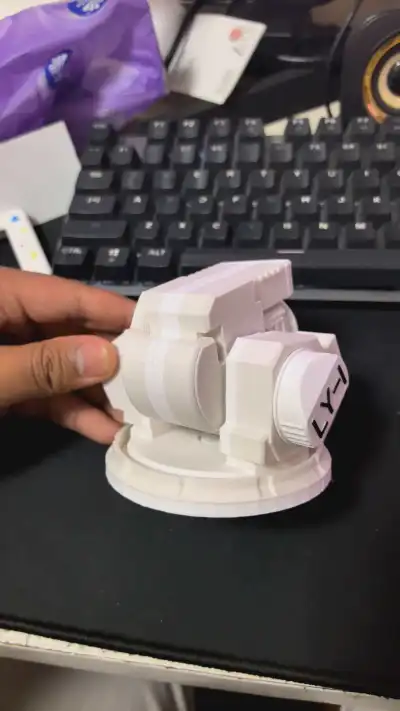
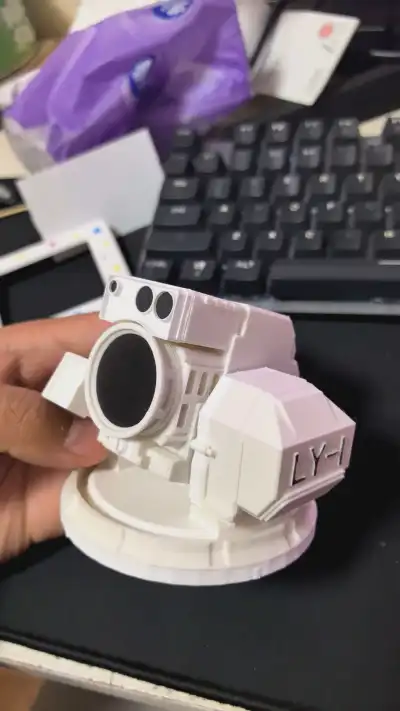

ly1
Card Holder
Card‑based toy set
Assembly toys

- 0.2 mm layer height, 2‑wall walls, 15% infill density

2-disc
PLA
Designer

36

0
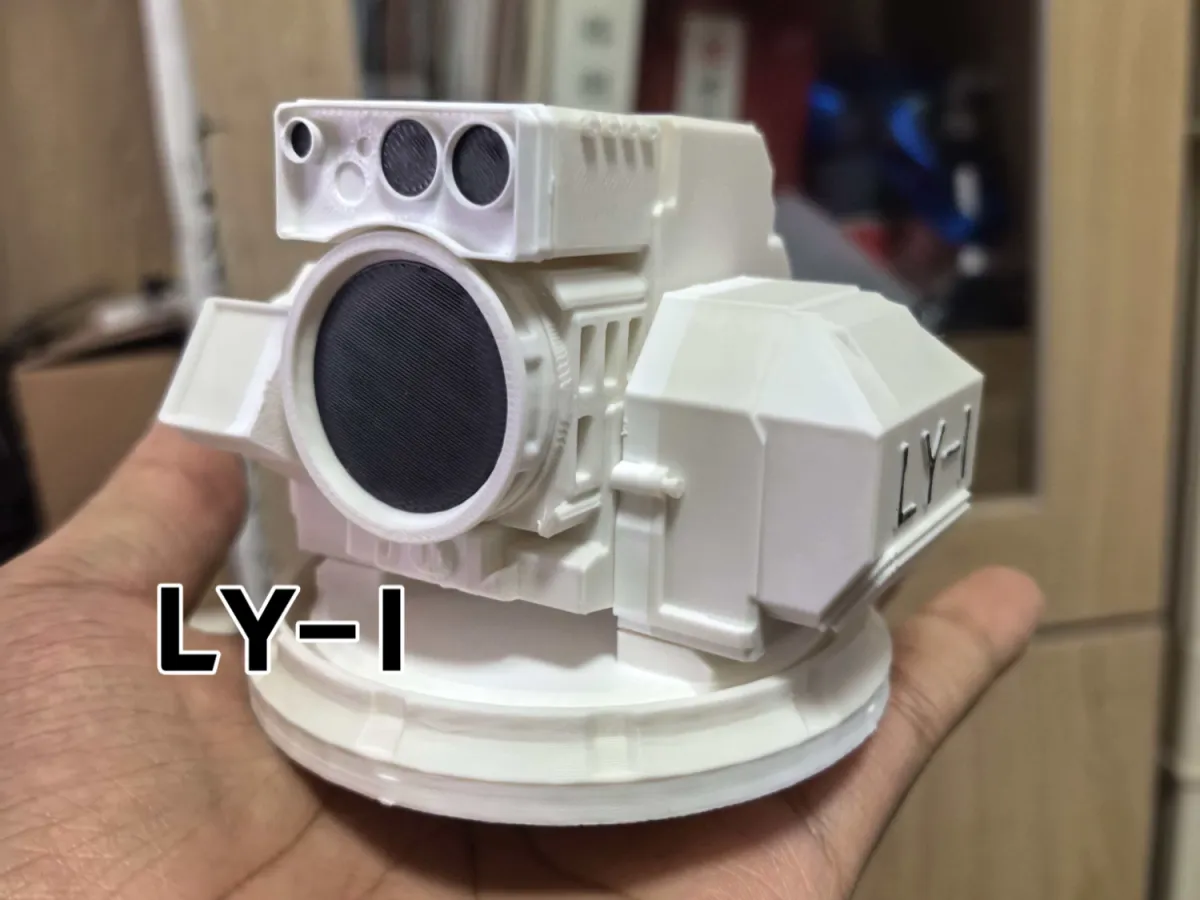
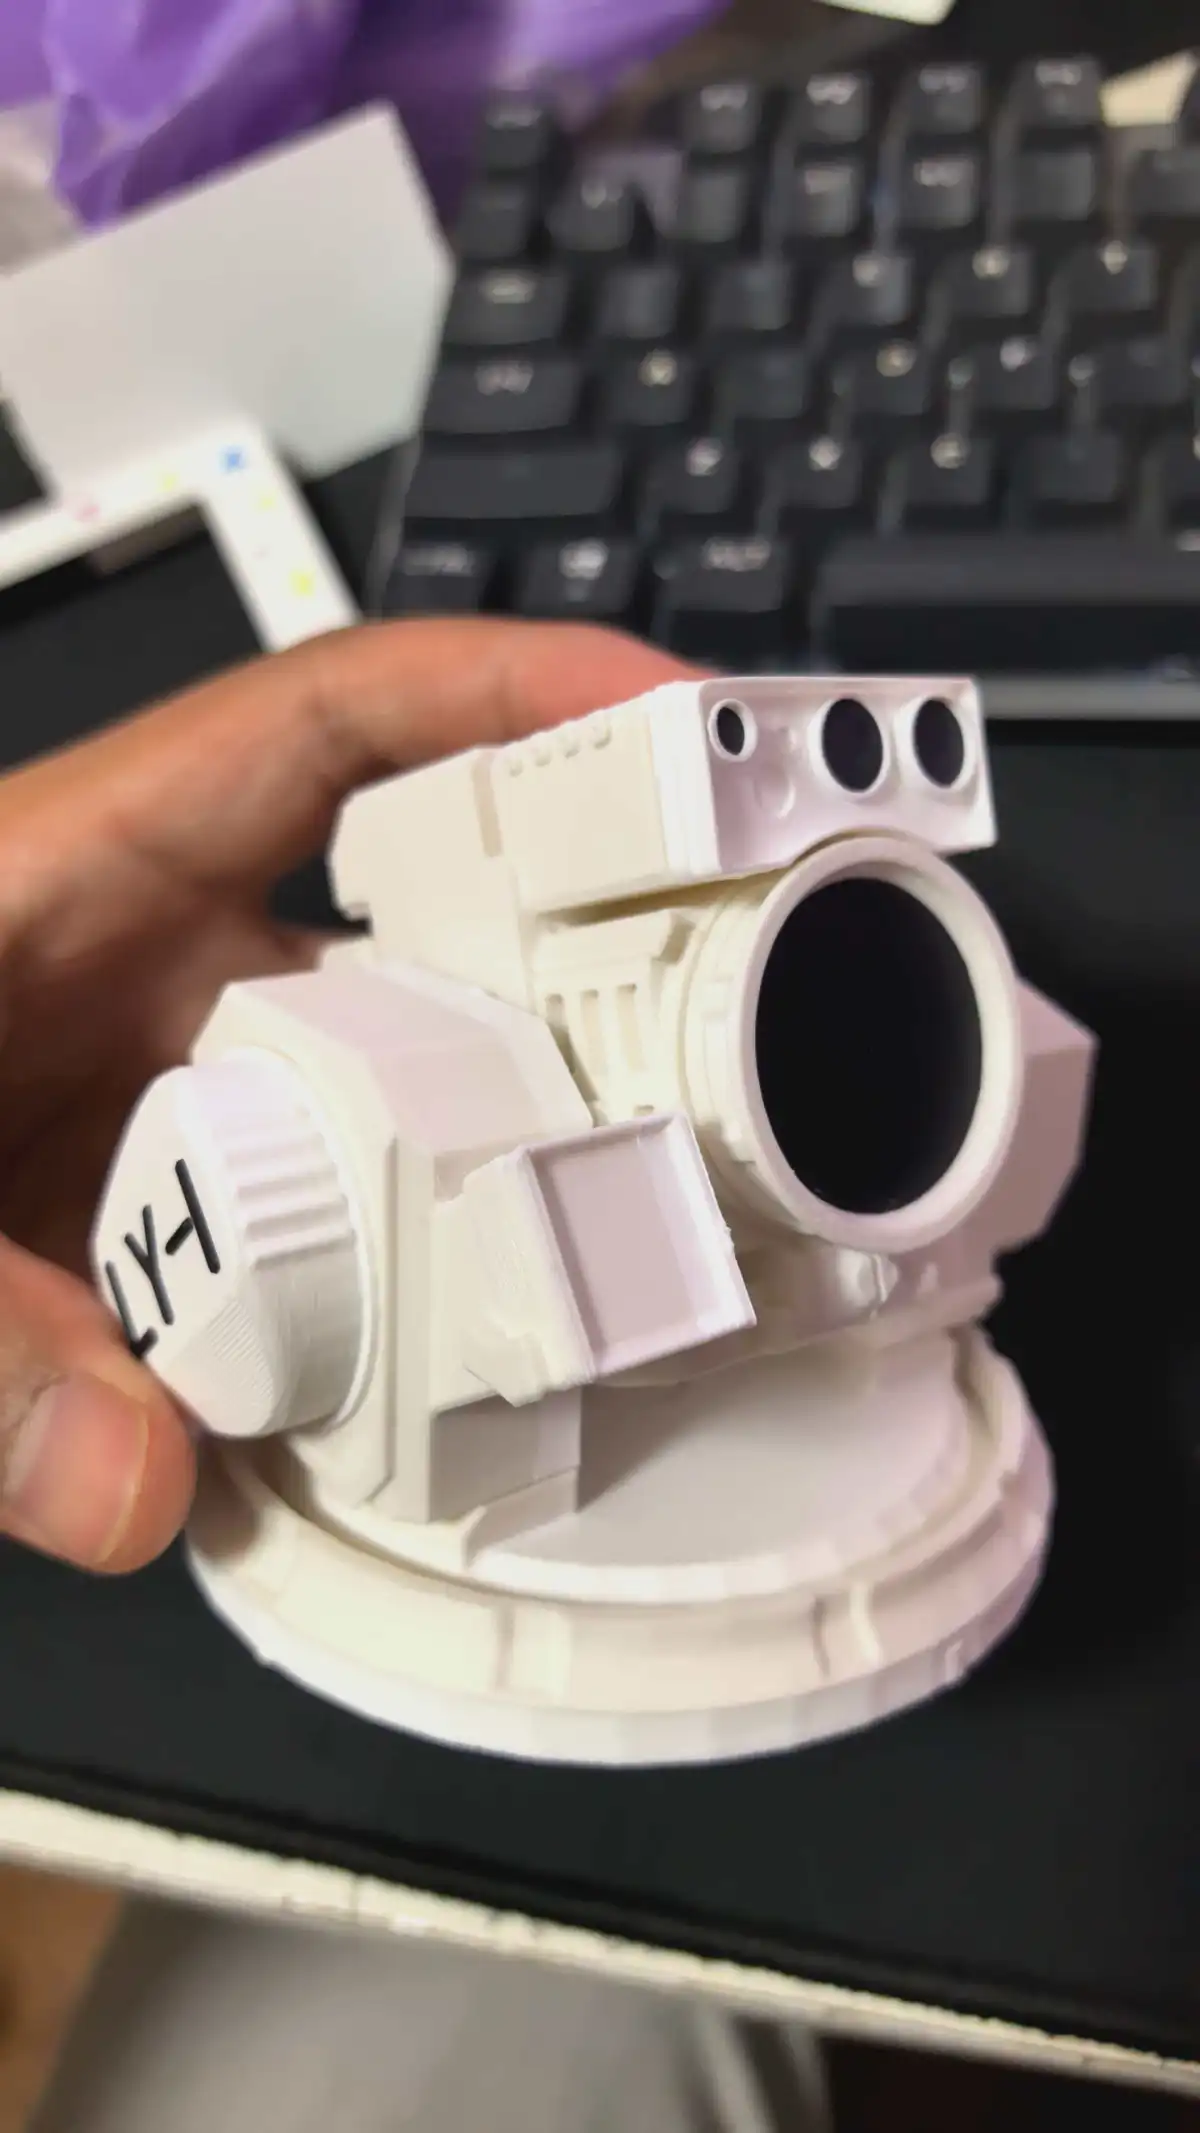
3D-Printed Kit for Anti-UAV Equipment
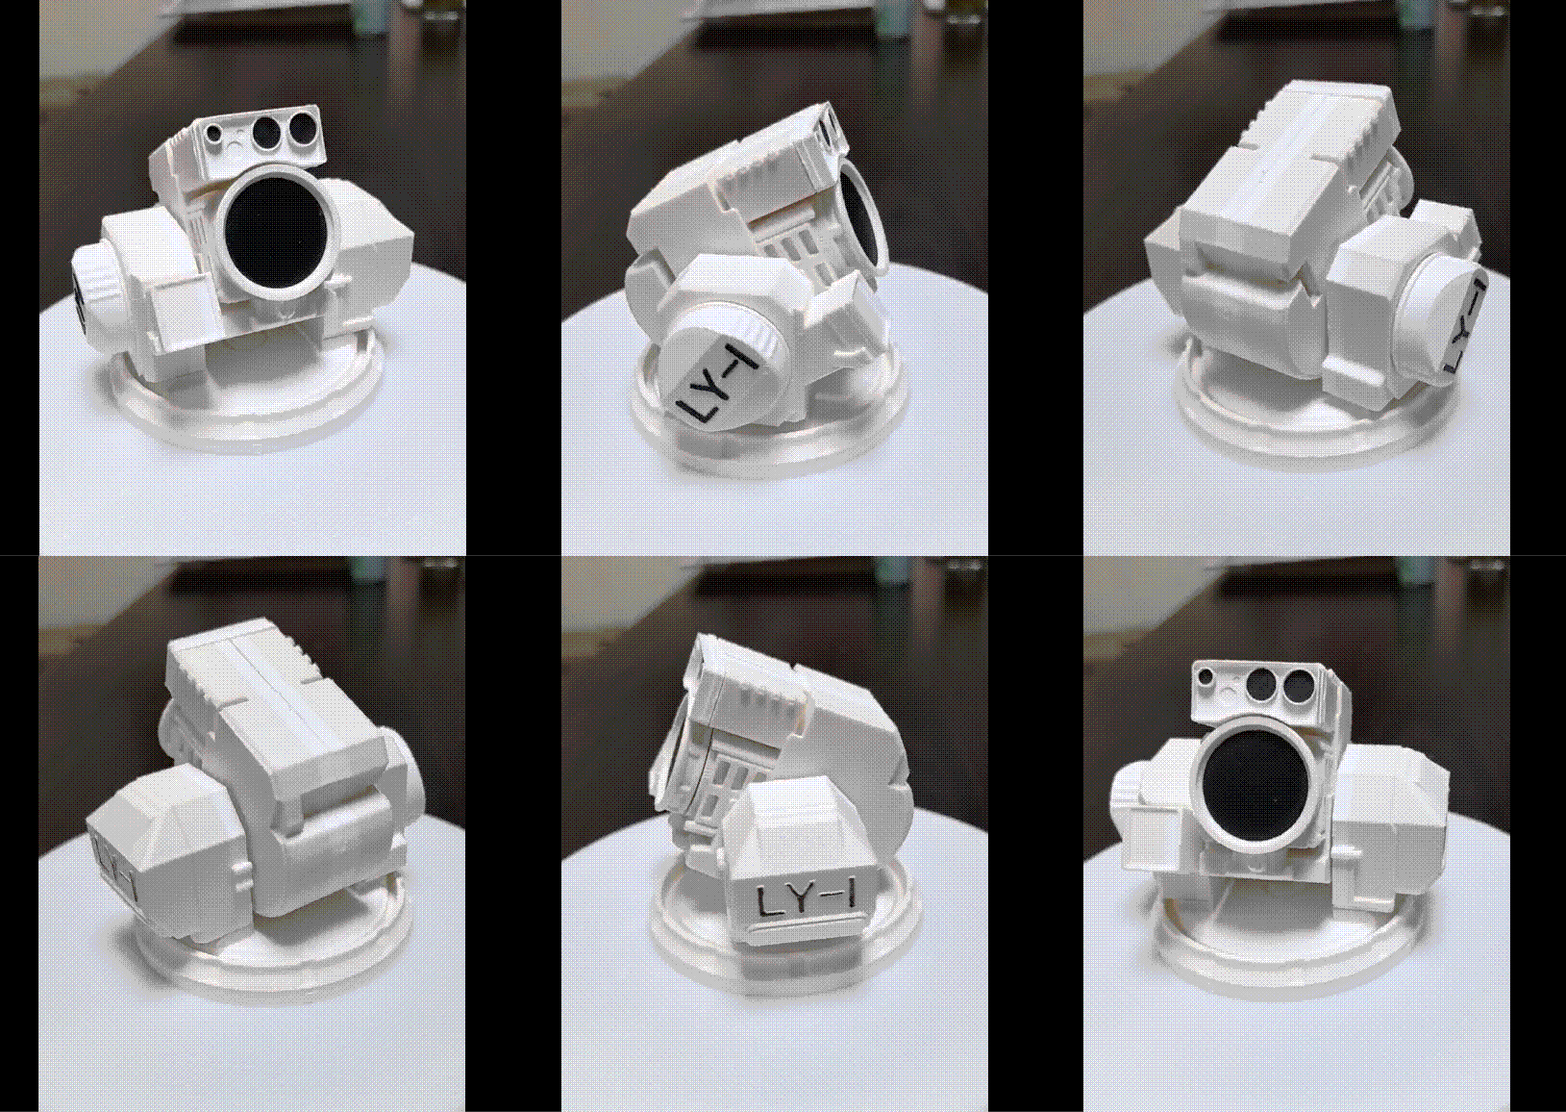
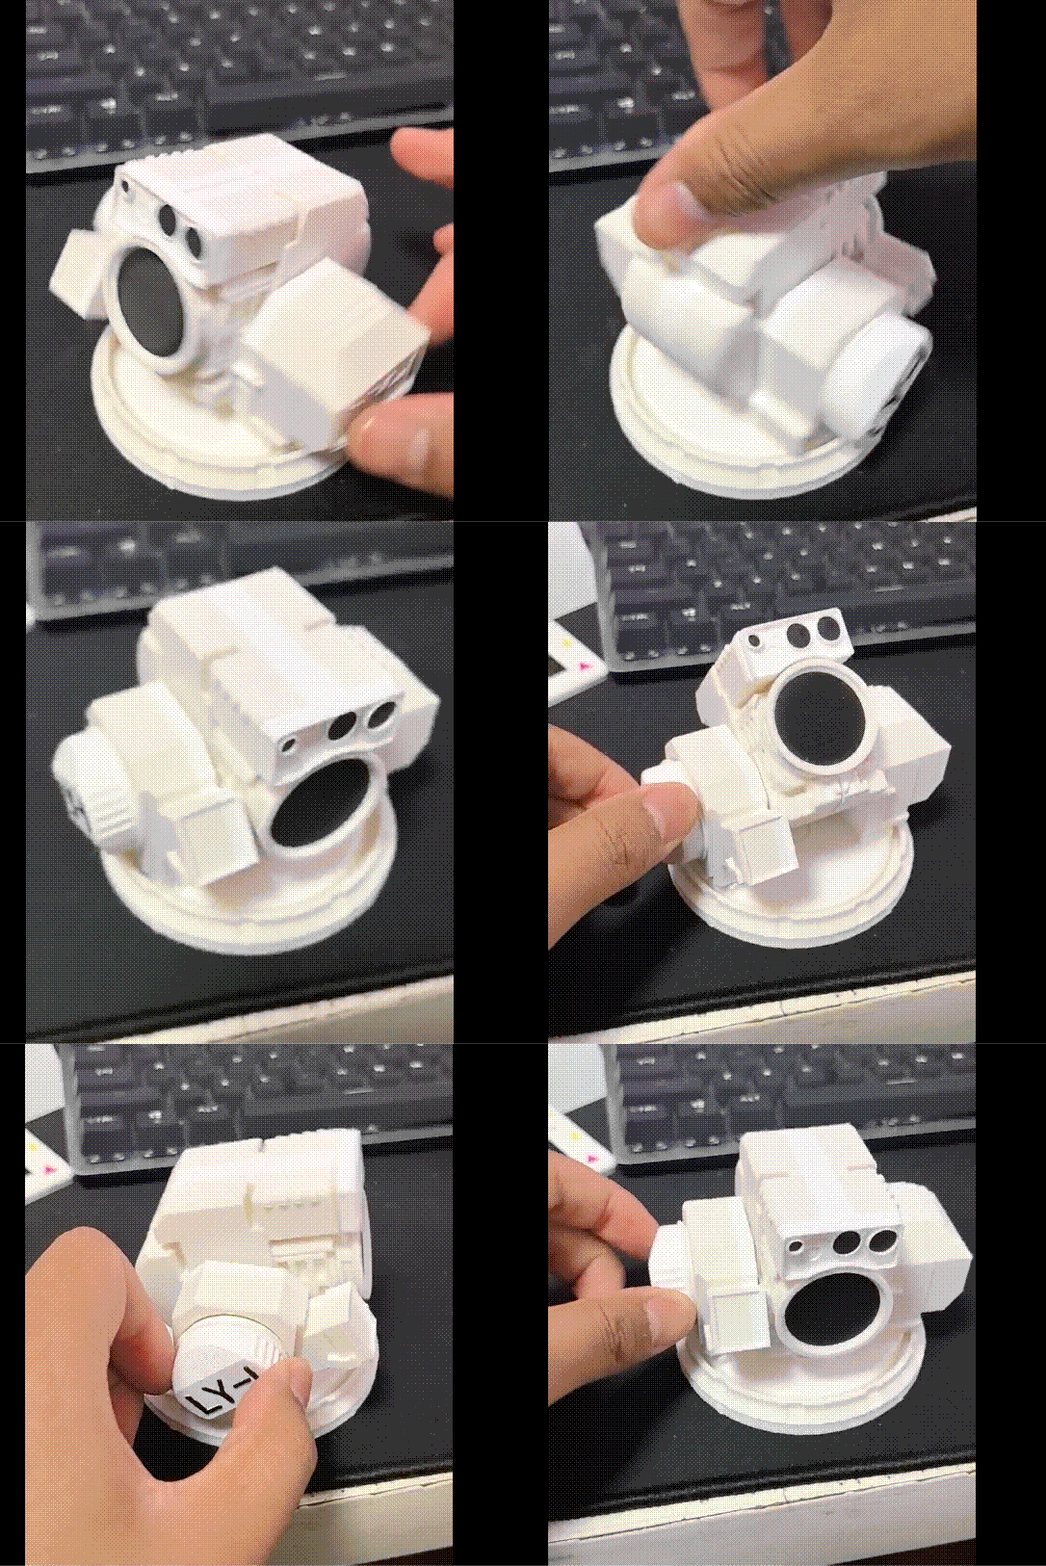
This kit is a fully 3D-printed model, with no metal parts, no glue, and no supports throughout the entire process. It is printer-friendly, easy to use, and can be quickly assembled in a single print job.
The model features highly accurate reproduction, meticulous detailing, and a compact, aesthetically pleasing structure. After numerous tests and optimizations, the tolerances have been fine-tuned to perfectly match the A1 printer model, ensuring smooth assembly and stable connections.
The turntable incorporates a unique detent damping design, which not only enables precise positioning and secure fixation but also produces a clear “click, click” feedback sound during rotation, accompanied by a distinct tactile feel of incremental resistance. This provides an engaging user experience that combines visual appeal with interactive fun.
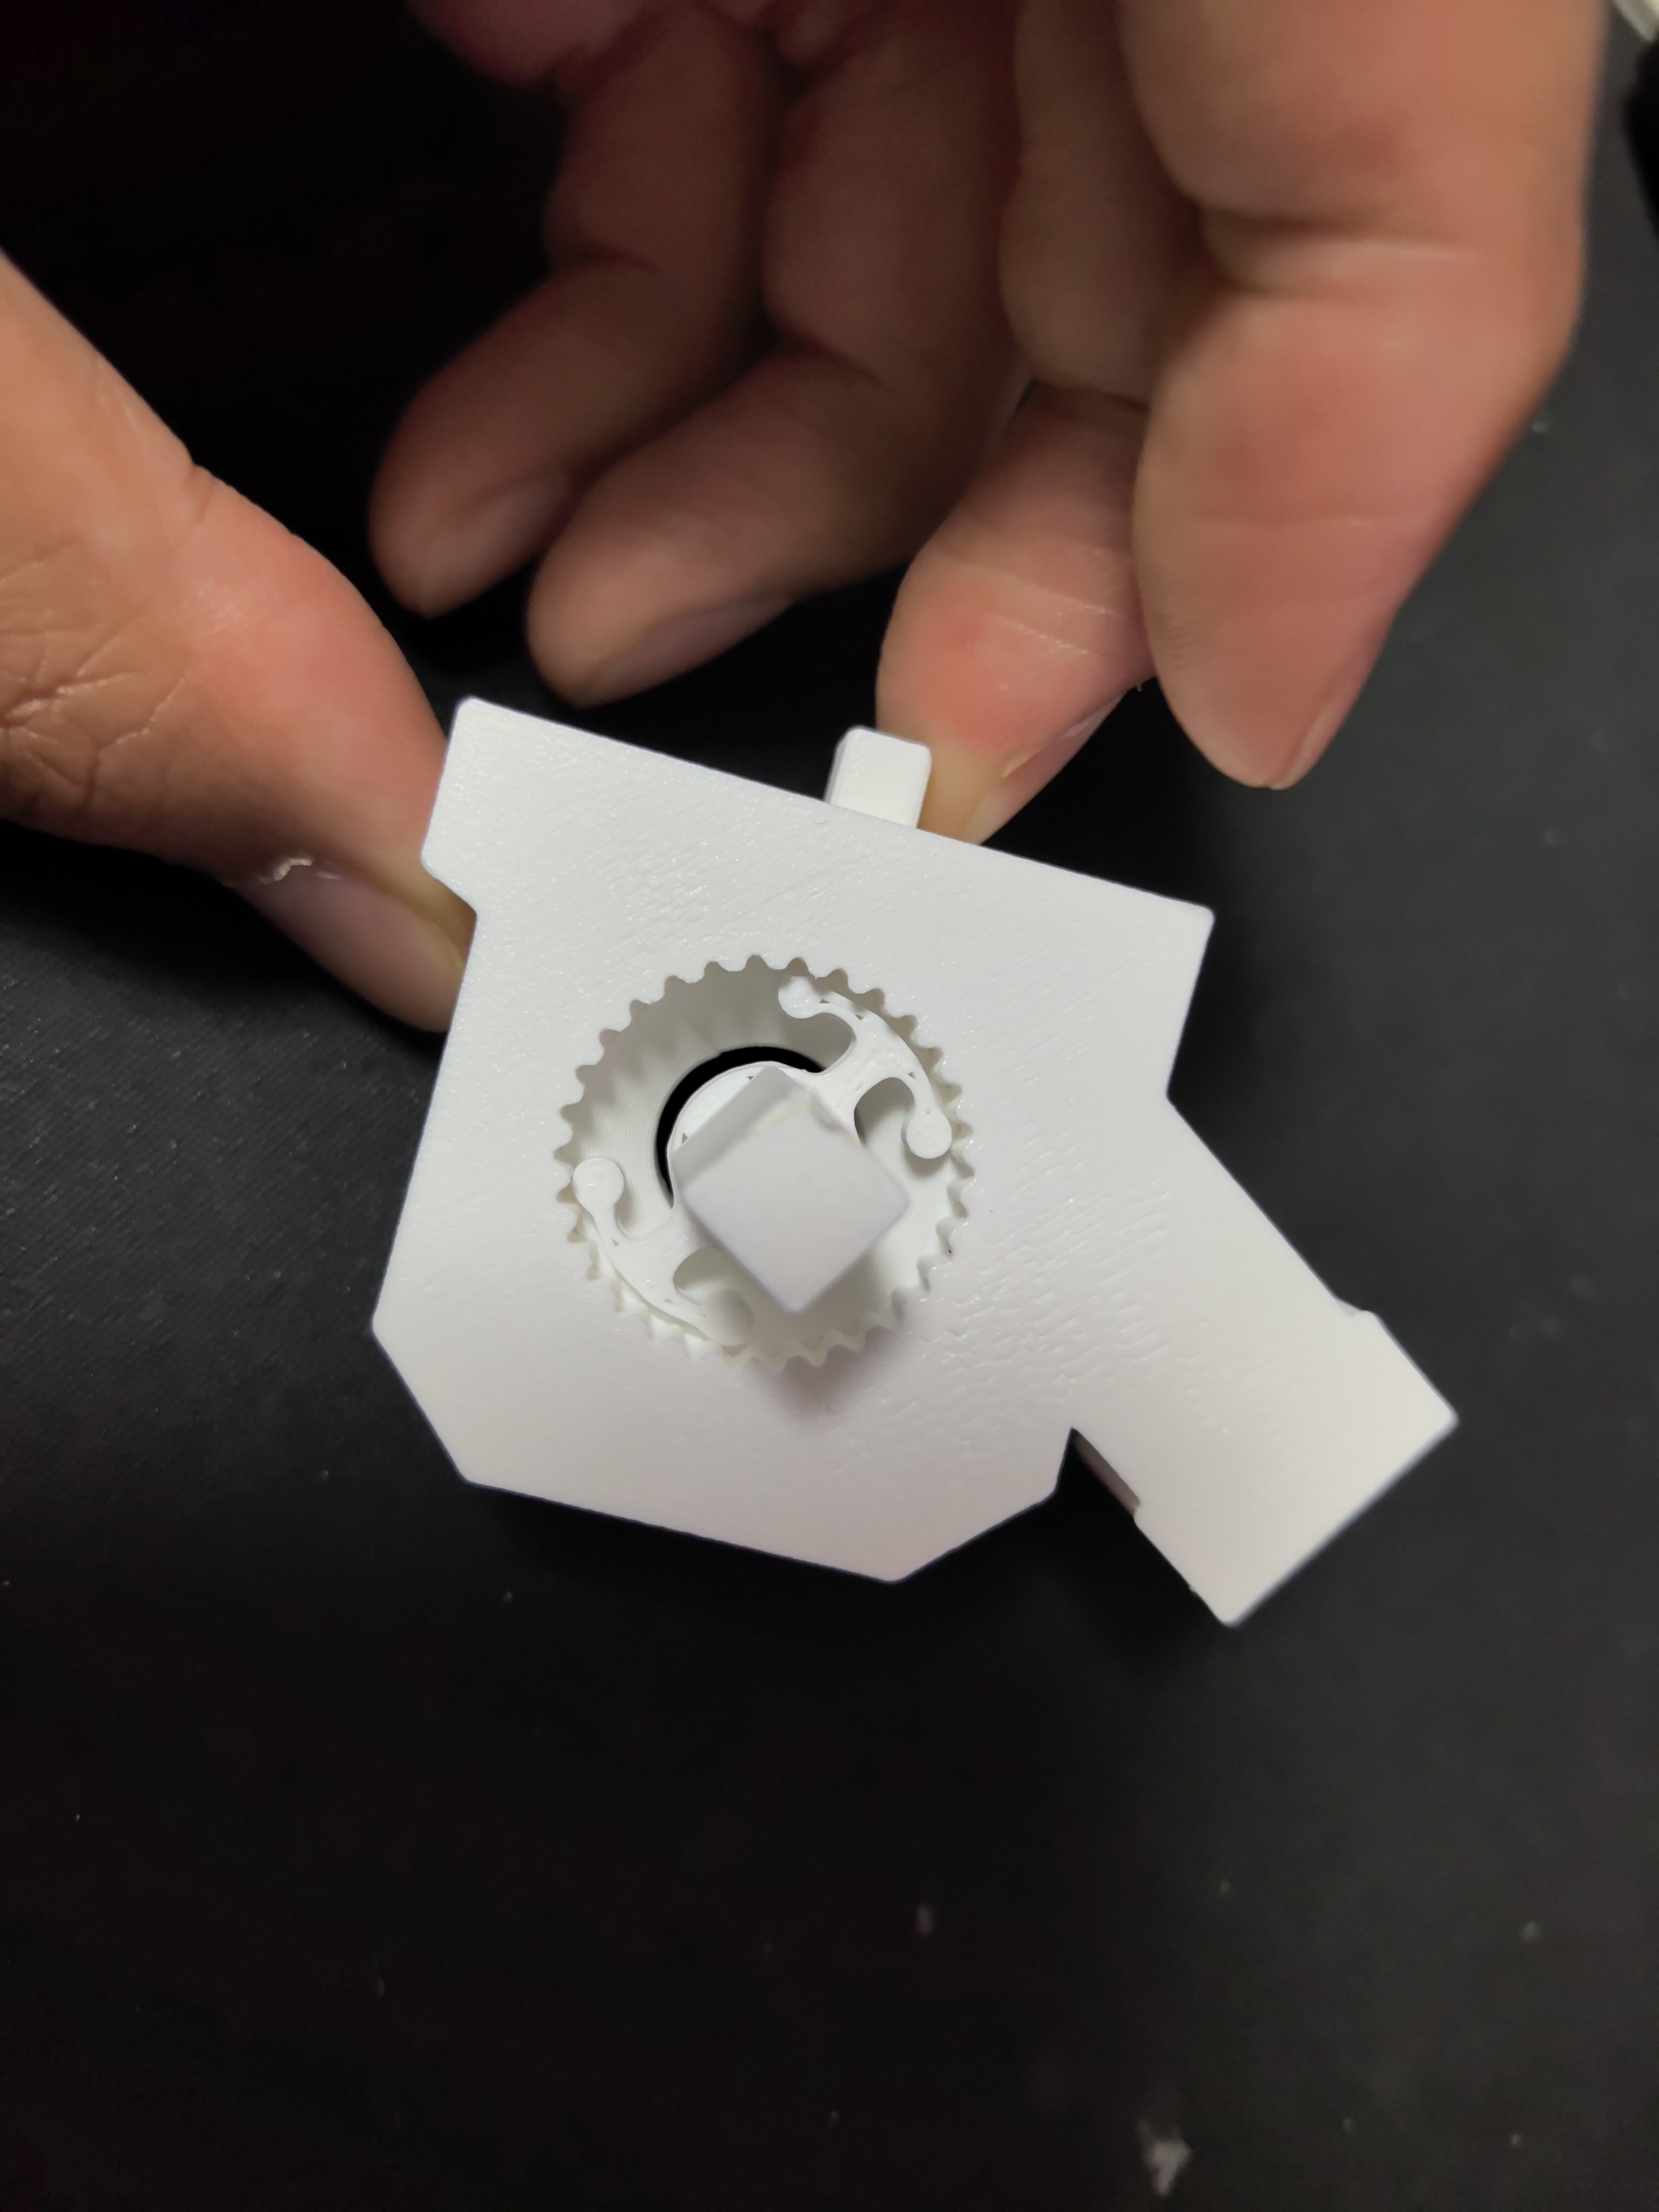
In case of minor fit issues, the cylindrical pins are printed separately on individual trays, allowing for easy adjustment of the outer contour dimensions to achieve optimal assembly results.
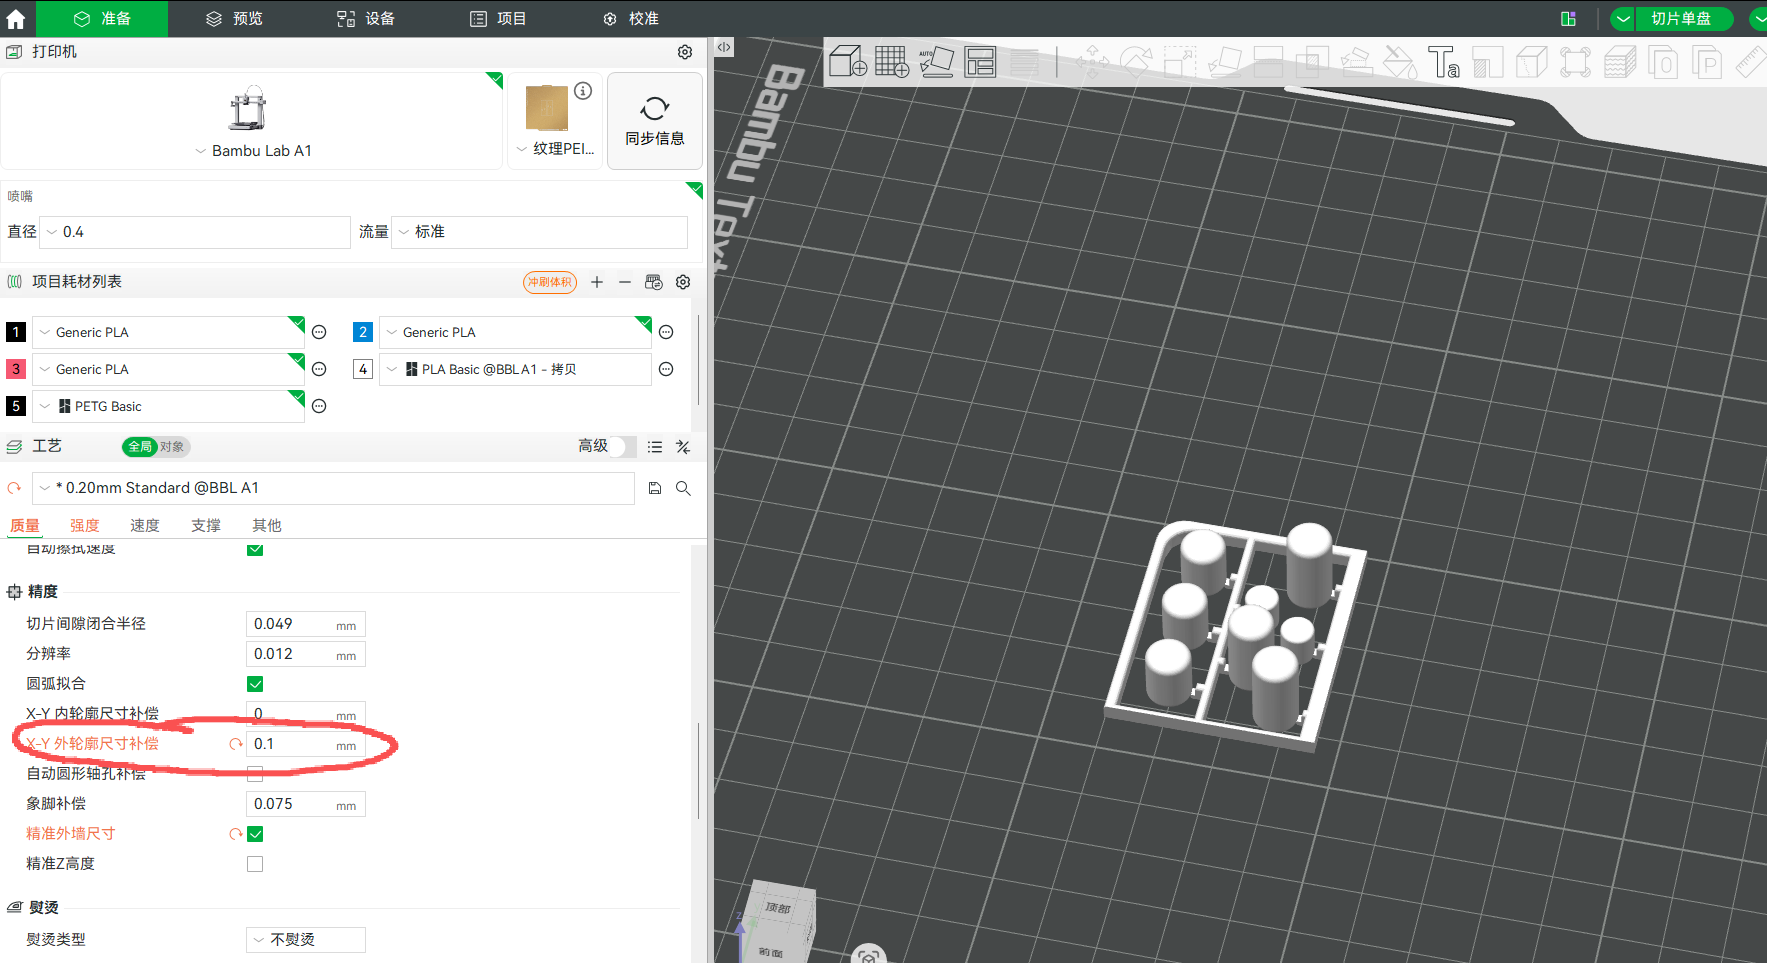 Adjusting the outer contour dimensions
The following are the assembly steps for the model:
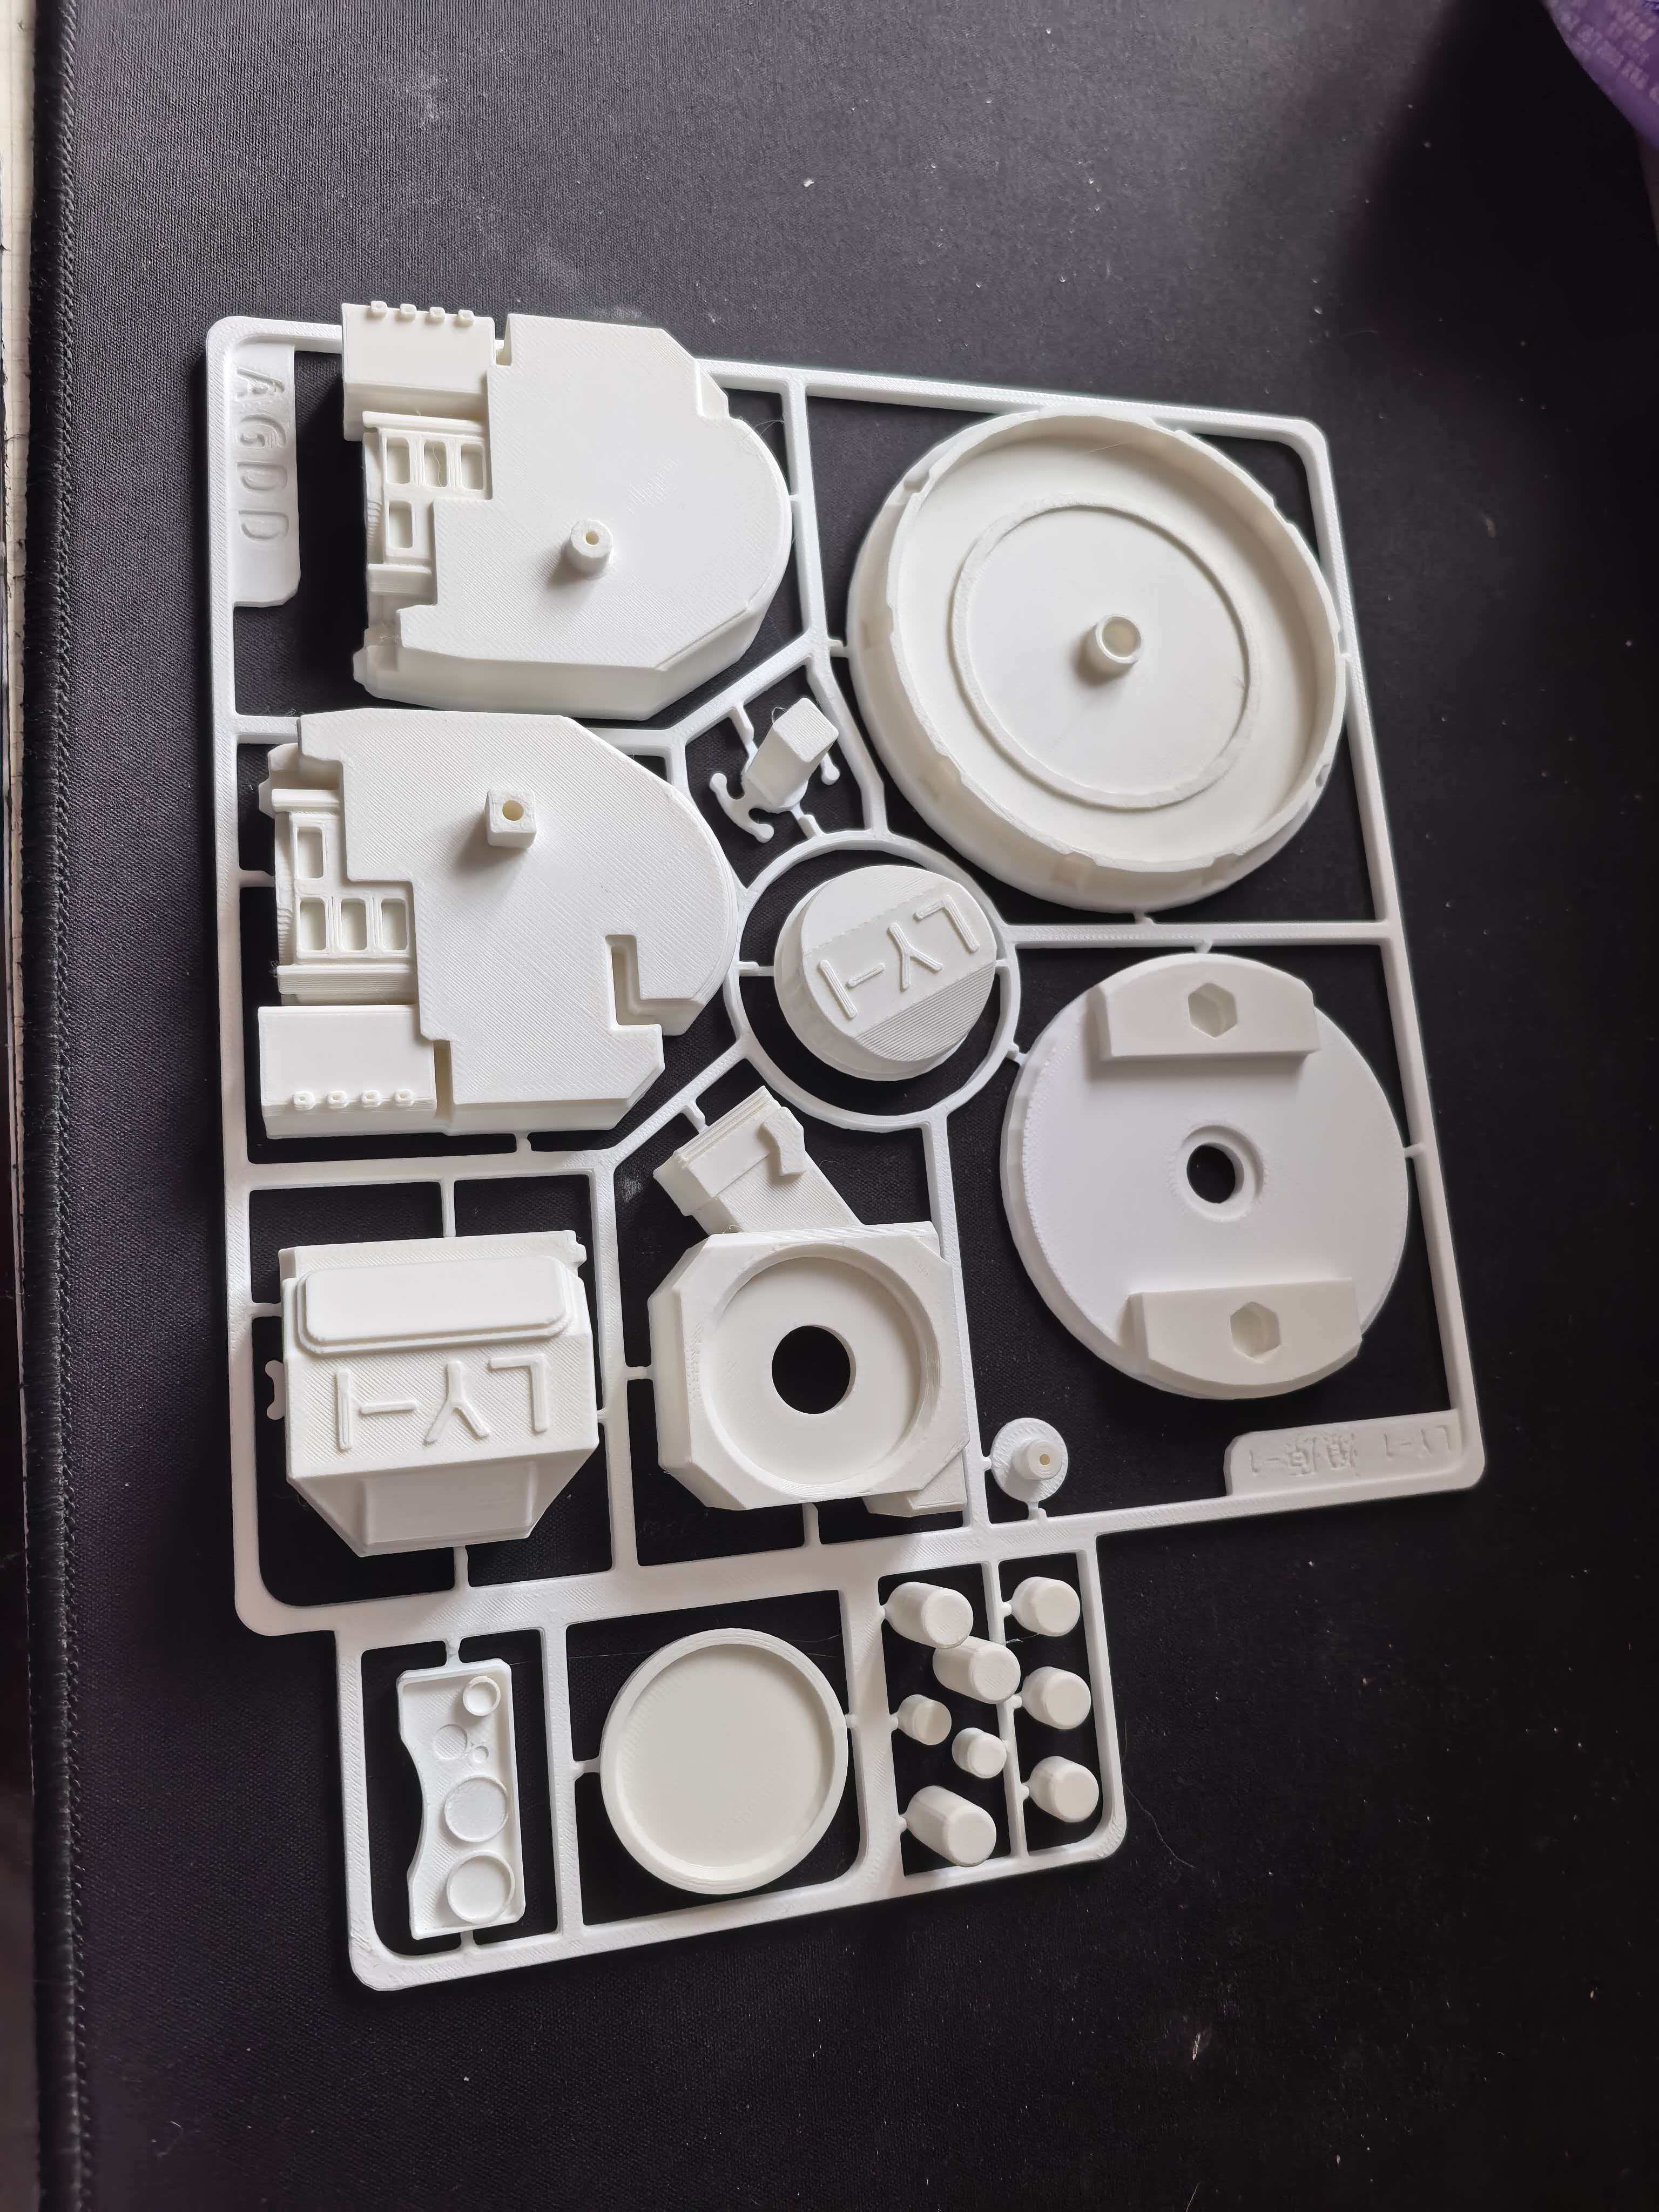
Step 1: Separating and Inspecting the Parts
Gently detach all printed components from the base plate using nipper pliers, applying light pressure to avoid cracking or chipping due to excessive force.
After detachment, carefully count each part against the product diagram to confirm that the model, quantity, and markings match exactly, with no missing parts, defects, or printing imperfections.
If there are burrs or protrusions at the sprue areas, lightly sand them down with fine-grit sandpaper to ensure a smooth surface, preparing the parts for subsequent assembly.
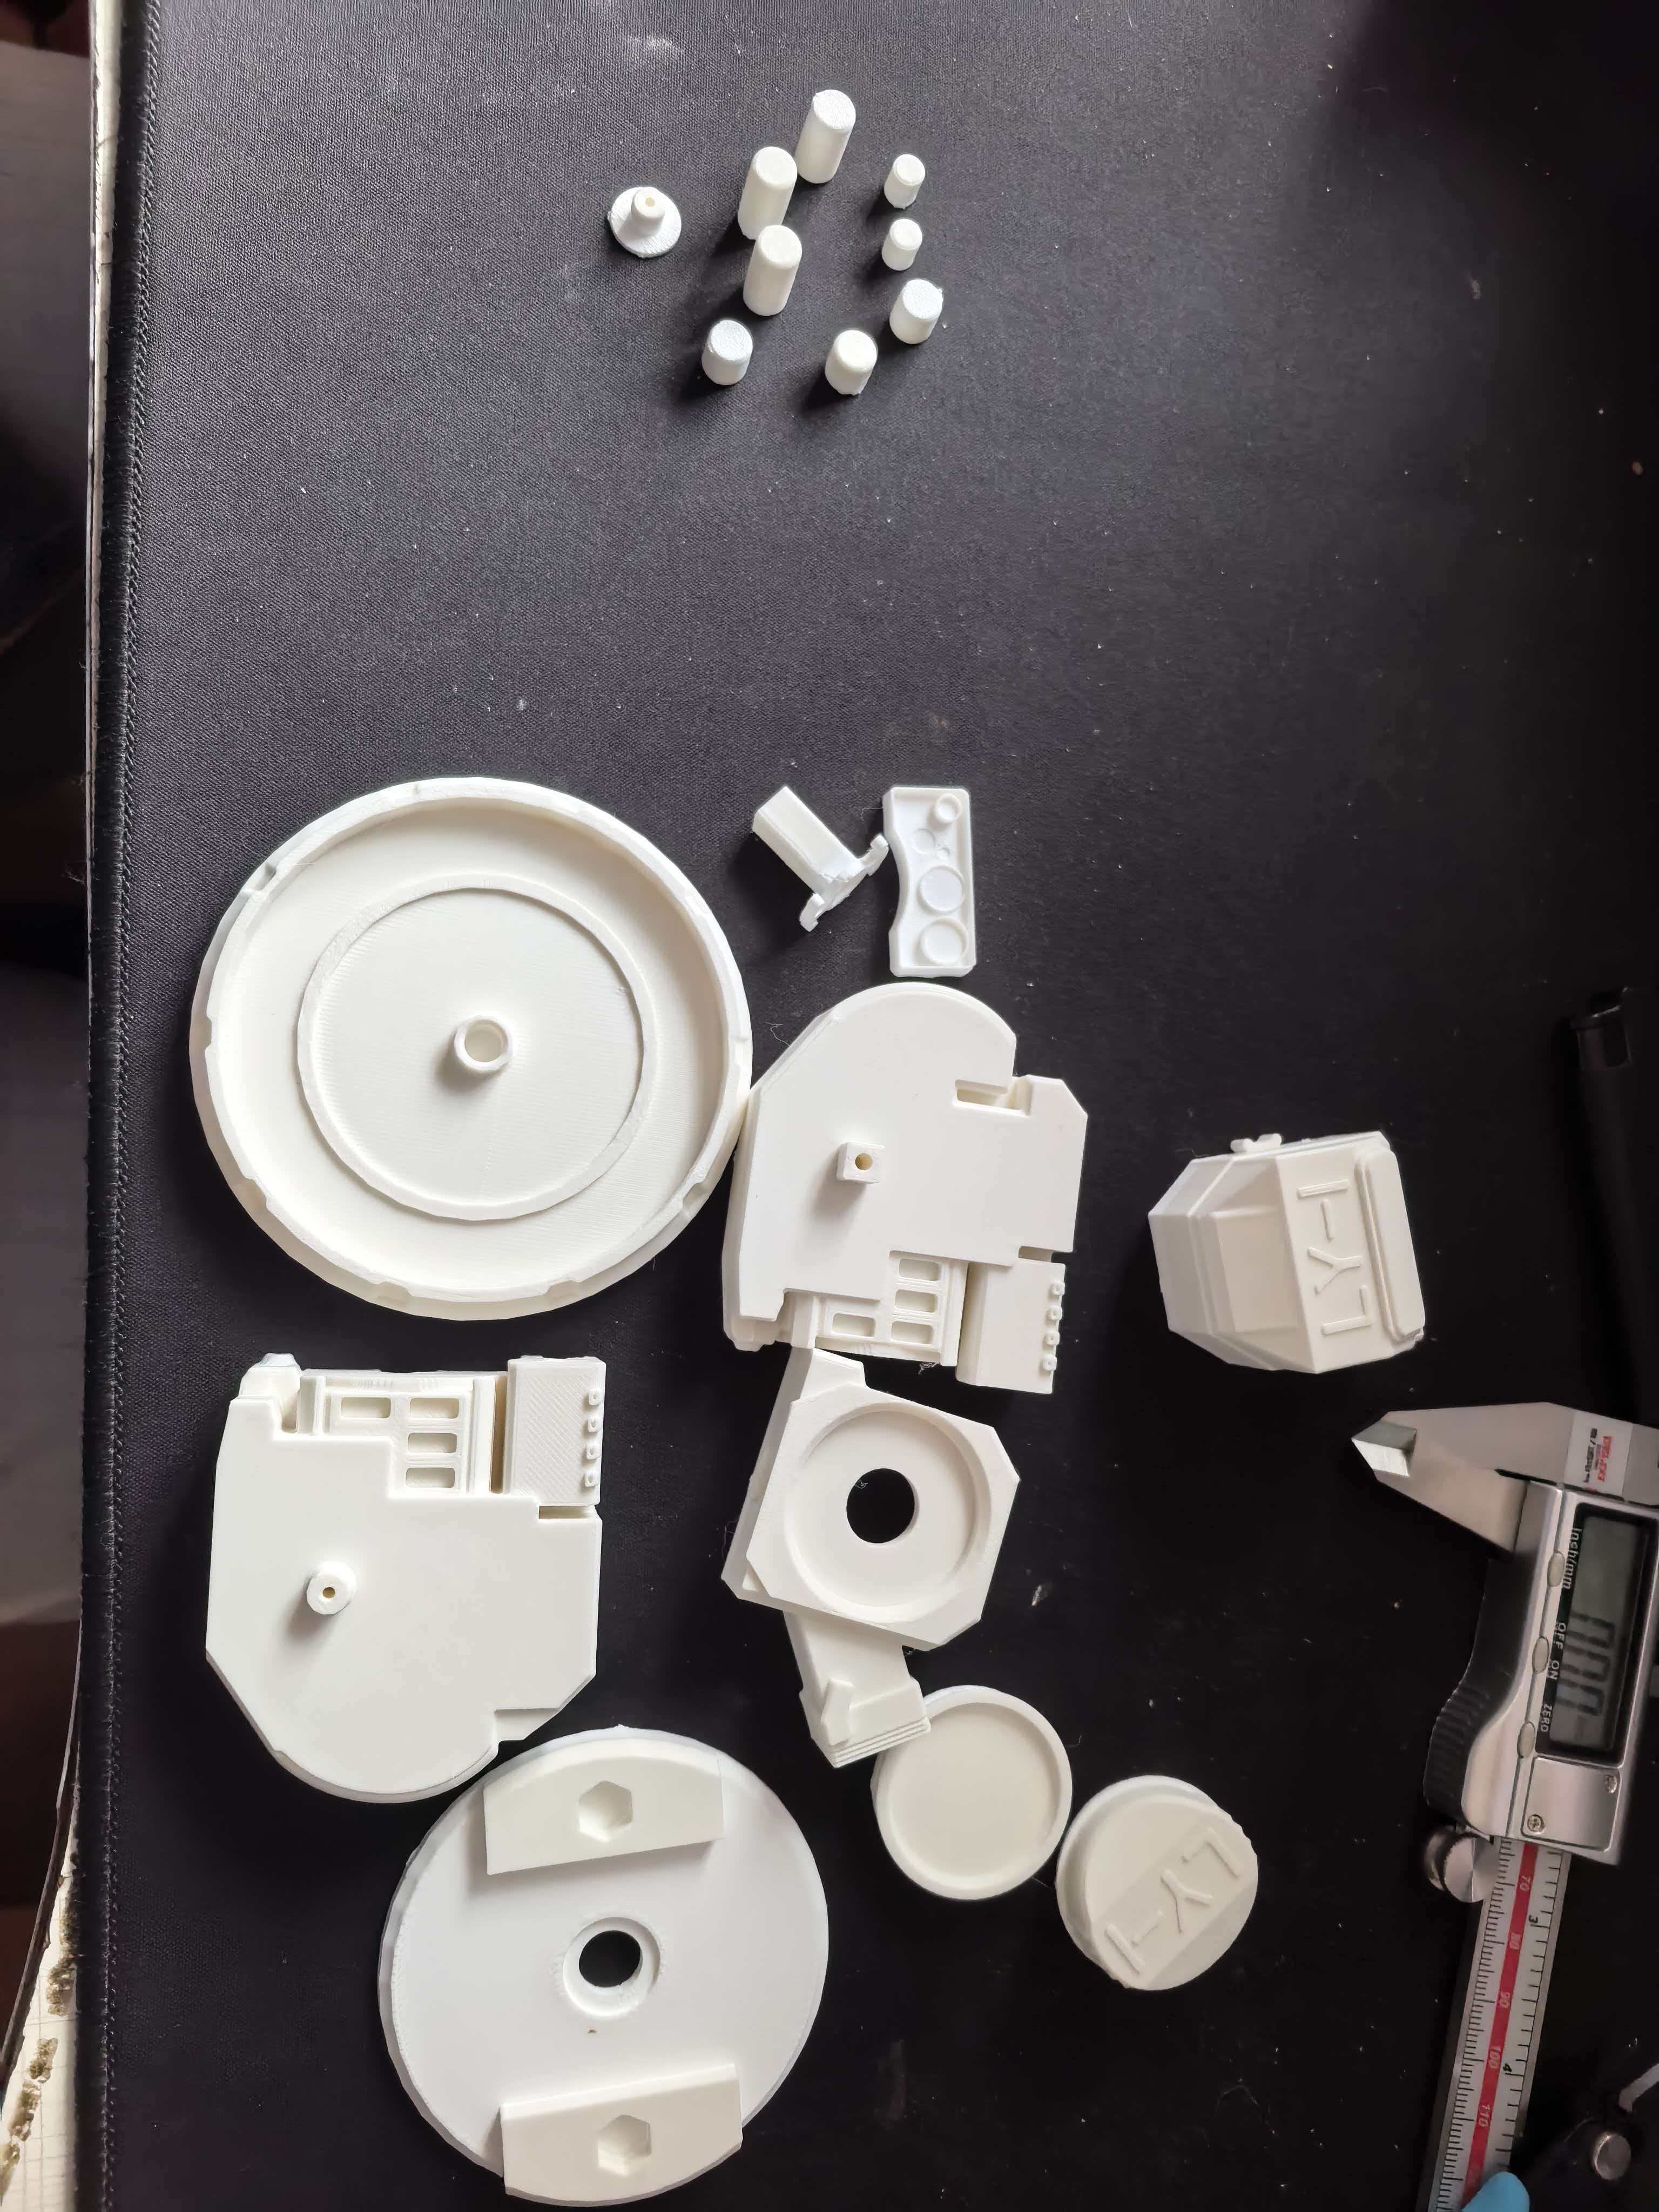 Checking the parts list
Step 2: Installing the Base
- Alignment and Positioning: Refer to the accompanying dynamic assembly diagram to align and join the base components.
- Securing the Assembly: If the actual fit shows a slight gap or looseness at the joints, apply a small amount of specialized adhesive to reinforce the connection and ensure structural stability.
- Functionality Verification: After installation, rotate the base repeatedly to verify smooth, friction-free operation without any sticking or jamming.
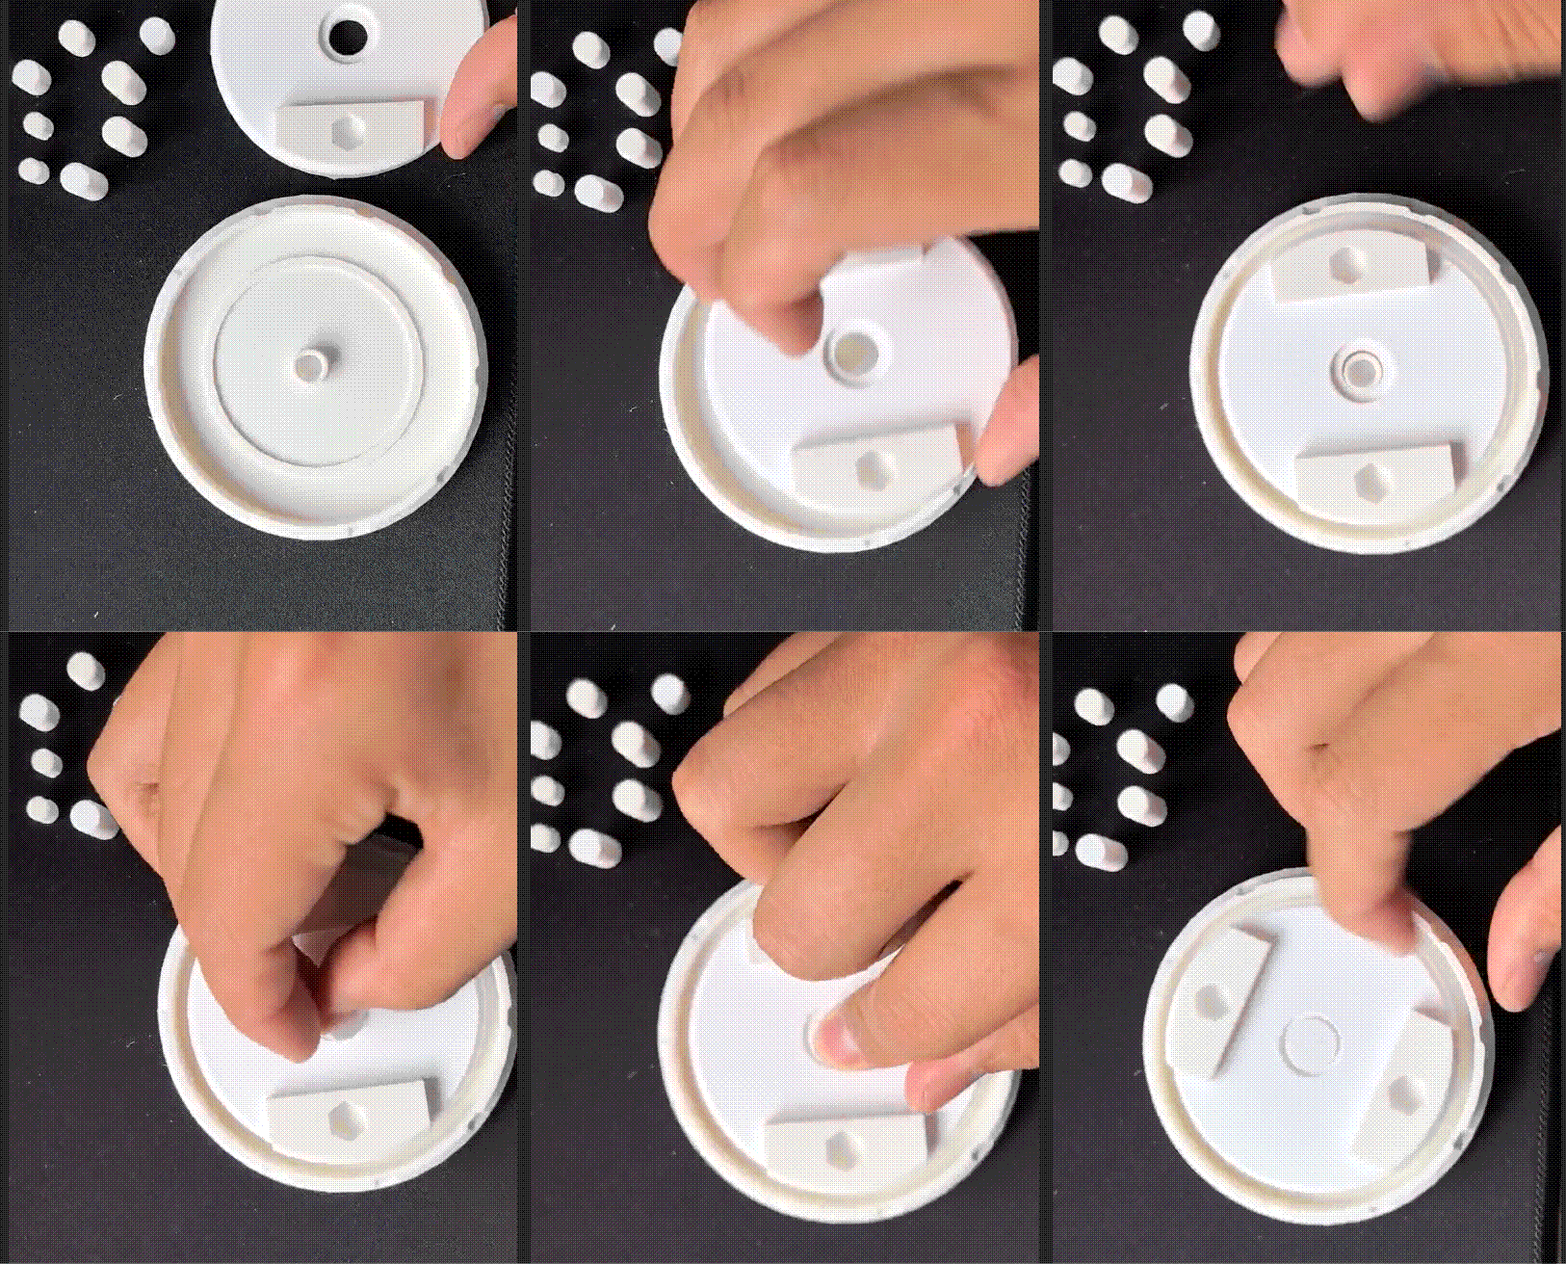 Installing the base
Step 3: Installing the Left Half
- Sequential Assembly: Follow the order specified in the dynamic assembly diagram to sequentially connect the left-half components, ensuring precise alignment of all latches and pins.
- Functionality Verification: Once all parts are connected, rotate the motor cover to test the mechanism. If you hear a clear “click, click” limit sound and feel a noticeable damping effect, it indicates that the left half has been properly installed and the structure is stable.

Step 4: Installing the Right Half
- Pin Alignment: Take out the three longest 15-mm cylindrical pins and insert them precisely into their corresponding holes according to the dynamic diagram.
- Assembly Completion: Align the right-half components with the completed left-side body and base structure, then gently snap them together.
- Assembly Inspection: Confirm that all pins are fully inserted and that the left and right shells fit tightly without any looseness or misalignment, preparing the way for detailed final assembly.

Step 5: Completing the Overall Assembly
- Remove the base pins and the right-half bracket, then gently insert the right half into its corresponding hole on the bracket.
- Align the assembled bracket as a whole with the base interface and secure it in place.
- Check that all structures are firmly fitted and rotate smoothly; at this point, the assembly is complete.
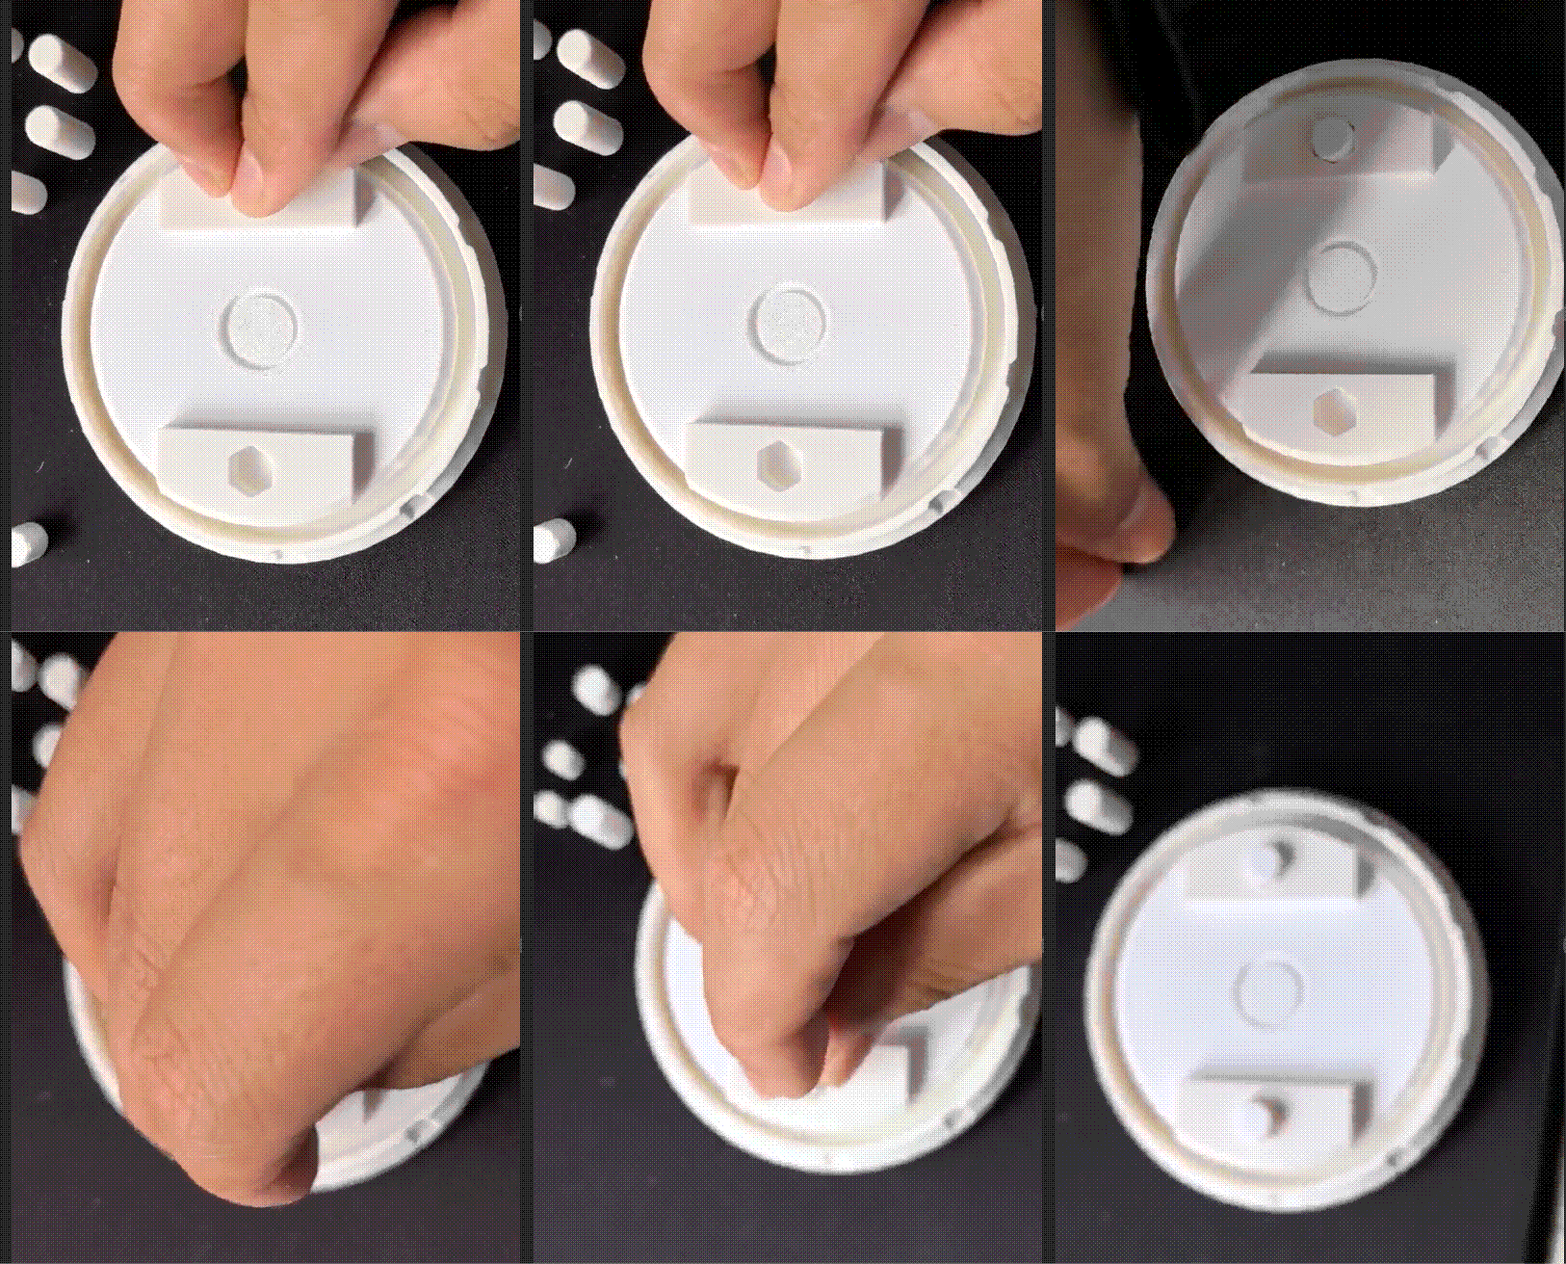

Interested friends, come and try assembling it yourself!
Originality of the Model
The author declares that this work is their personally original model
This model is licensed under the following terms:
Credit must be given to the creator
Models(1)
- LY-1套卡版.3mfDesigner

698.89 KB

2026-03-30


