










♻️Spool Reborn
Material tray utilization
Parent‑Child DIY Crafts
3D‑printed toys
DIY assembly model
Walker
Children's balance bike
Children’s walking aid

- Color separation printing

6-disc
PLA
Designer

240

11
Important Update!!! v1.1
The handle has been redesigned—previous versions were too brittle. We’ve directly updated the original print settings and included an installation animation for the new handle:

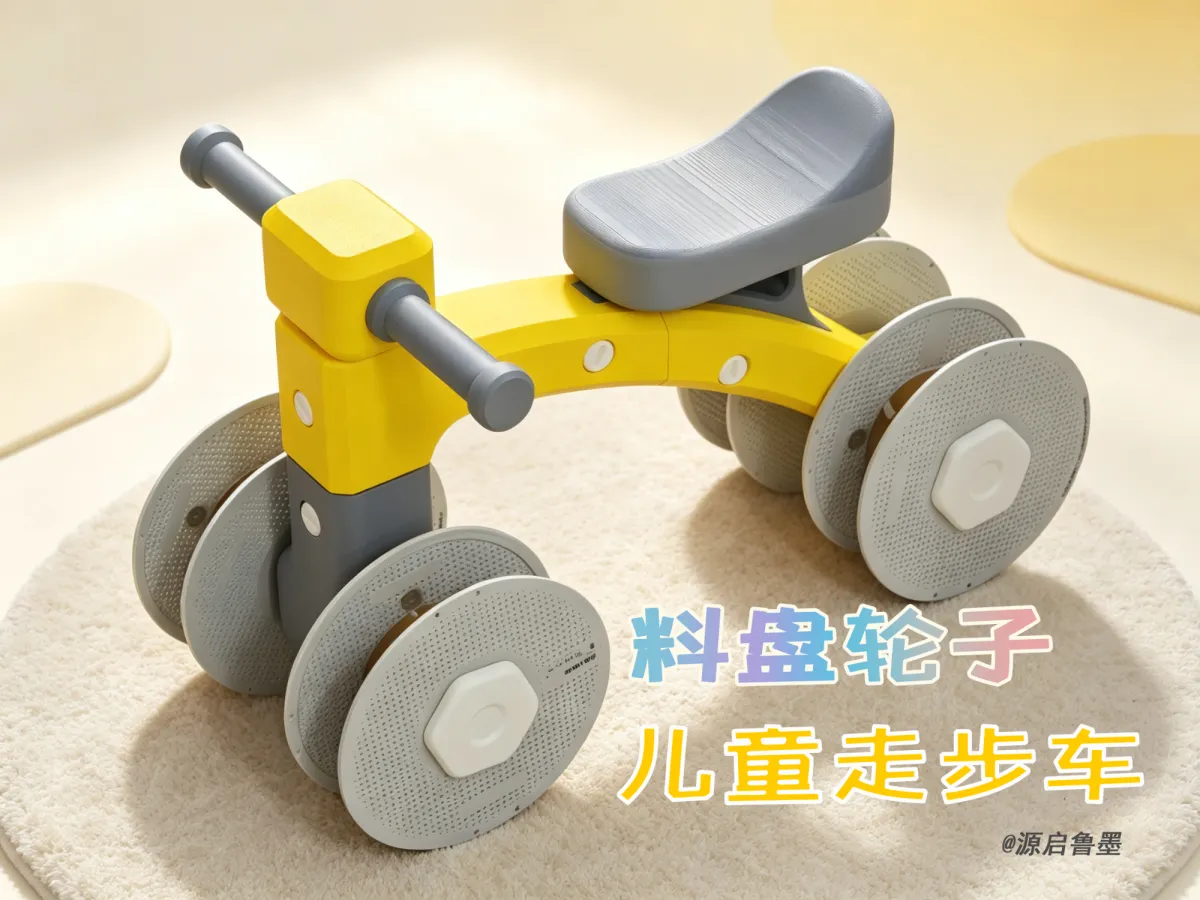
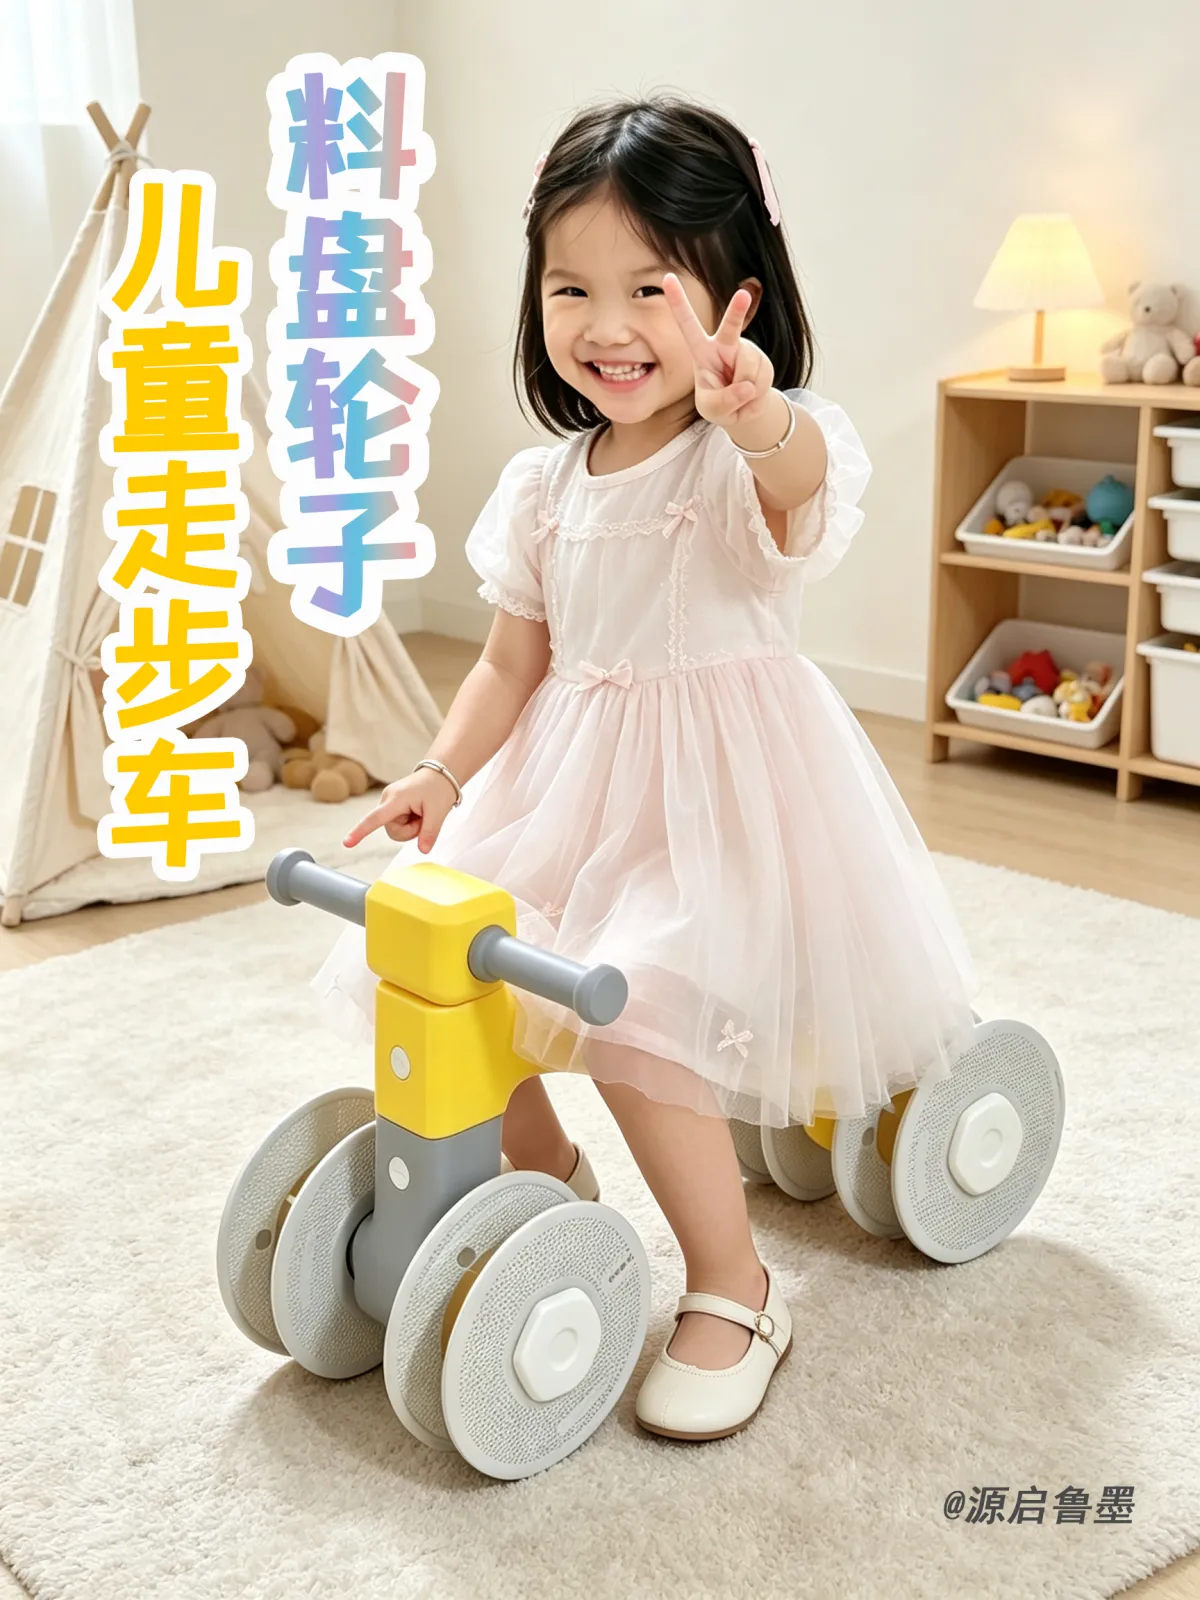
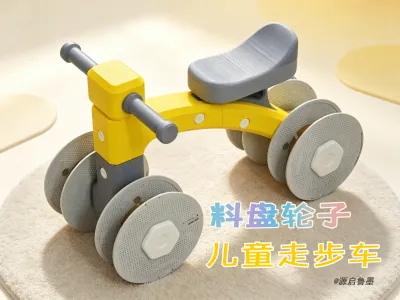
Material Tray Wheel Children’s Walker | 3D Printing Model Overview
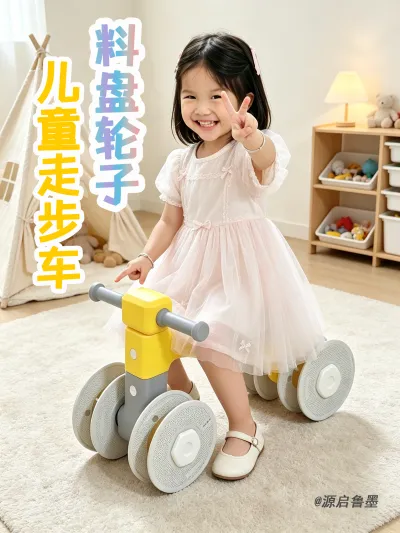
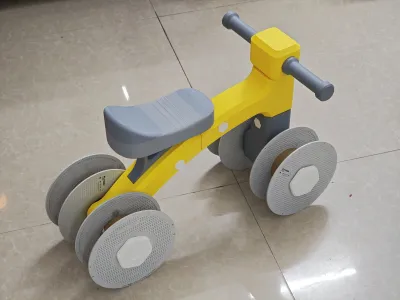
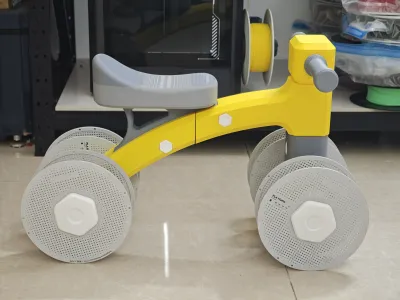
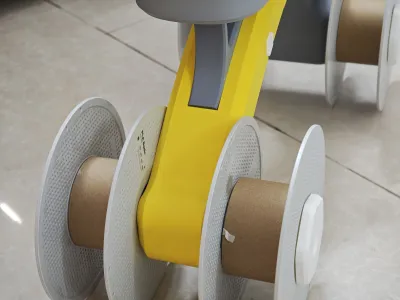
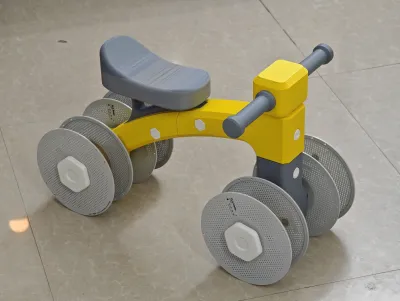
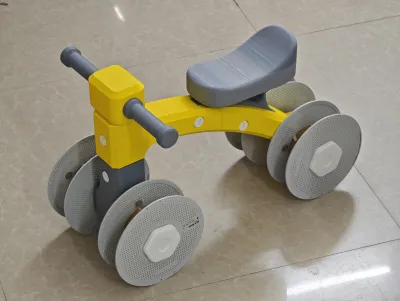
This creative children’s walker ingeniously repurposes 3D-printed material trays as wheels, turning waste into treasure—a cleverly designed DIY toy for kids.
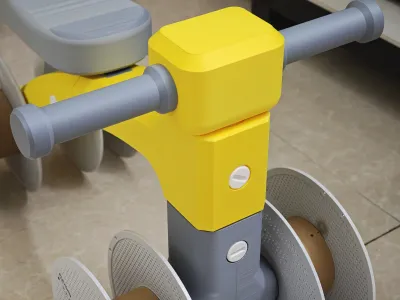
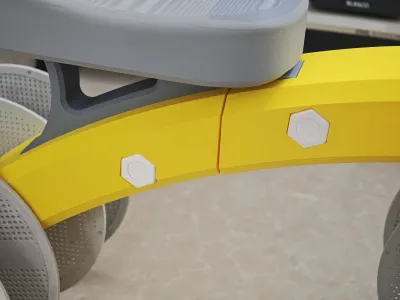
The model employs a modular slicing-and-printing approach, relying on built-in threaded connections, printed bolts and nuts, and pin‑type joints to complete assembly. No additional hardware is required, so you can simply assemble it after printing. The entire unit supports free color customization, allowing you to mix and match frame, seat, handle, and connectors in any colors you like, creating a truly personalized little vehicle.
📦 Material Requirements: Assembly requires four 3D-printed material trays as wheels.
⚠️ Material and Load Capacity Notes:
- When printed with PLA, this design is suitable only for young children weighing around 15 kg or less.
- For heavier children, we strongly recommend using PETG, various CF‑carbon fiber filaments, or other high‑toughness materials to enhance structural strength and impact resistance, ensuring safe use.
The overall design features rounded, adorable shapes, making it a fun, hands-on 3D‑printing project perfect for parents and kids. Once printed and assembled, it makes an excellent balance‑training walker for children.
The model was created from scratch by me in Fusion 360—this is not an AI‑generated product!!

Sectional Diagram Illustration:

Here’s the Installation Animation:
1. Join the body parts—just tighten the bolts and nuts; the fit is quite loose.

2. Install the rear wheels.

3. Install the front wheel steering axle, handlebar, limit bolts, and seat cushion.

4. Install the front wheels.

The installation sequence isn’t rigid—you can arrange it however feels most convenient. Just be sure to pay attention to the differing thicknesses of the two bolts and nuts on the frame and the steering axle.
💡 Additional Tips
Under standard printing tolerances, the pin‑type interference fit is tight enough to prevent loosening during normal use. If precision issues or filament shrinkage cause tolerance deviations: if too tight, lightly sand the outer surface of the pin; if too loose, gently tap it into place with a soft wooden hammer or reinforce it slightly with glue.
Originality of the Model
The author declares that this work is their personally original model
This model is licensed under the following terms:
Credit must be given to the creator
Only noncommercial uses of the work are permitted
Remixes must be shared under the same license
Models(1)
- 料盘儿童走步车-ELEGOO-分色打印.3mfDesigner

3.60 MB

2026-09-07


