

Centaurus
Centaurus 2
cc2
cc
Active Chamber Temperature

- 0.2 mm layer height, 4‑layer walls, 15% infill density

4-disc
ABS
Designer

2.7k

90
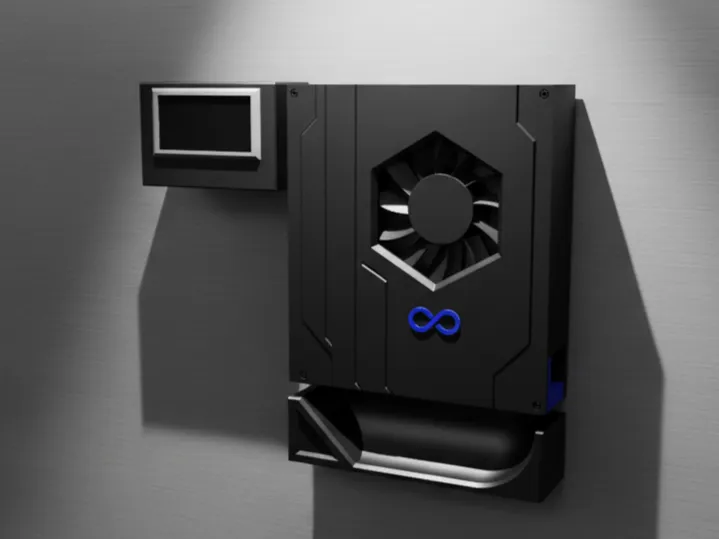
The active chamber temperature control system is perfectly tailored for the CC2, delivering exceptionally quiet operation while maintaining an outlet air temperature of up to 65°C. Featuring comprehensive temperature protection and supporting both remote control and scheduled operation functions.
All components can be printed using the CC2 without requiring chamber temperature adjustments. To ensure dimensional stability and prevent warping during use, M4 screws are employed for secure fastening—refer to the bill of materials for detailed hardware and accessory specifications.
Wiring for 220V power is required; some basic electrical knowledge is essential. If you lack such expertise, we strongly advise against attempting installation.
The total cost is approximately RMB 100. By opting out of Wi-Fi connectivity, you can further reduce costs by around RMB 50.
The system comprises three primary components:
1. The Active Chamber Temperature Control Unit
2. The Controller Module
3. The Air Duct Assembly
Assembly Instructions:
1. Active Chamber Temperature Control Unit:
The base requires the installation of 11 thermally conductive nuts: 3 for securing the fan, 4 for mounting the PTC heater, and 4 for attaching the top cover. After connecting the fan and heater in parallel—note that neither wire has a dedicated live or neutral terminal—tuck any excess cable ends into the cable management groove on the left side and route them through a single main cable. A small cylindrical spacer is used to securely fix the power cord in place.
The back of the active chamber temperature control unit can be fitted with soft magnetic material, or alternatively, it can be directly affixed to the inner right-hand chamber wall of the CC2 using nano‑adhesive.
The specific installation sequence is illustrated in the diagram below.

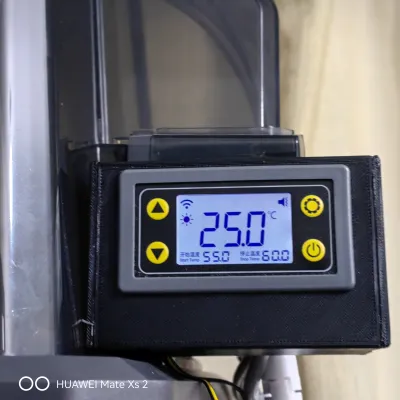
2. Controller Enclosure:
The enclosure includes both the panel backplate and the controller body itself. The backplate features two mounting holes: the larger hole is reserved for the power cable, while the smaller hole accommodates the sensor and Wi‑Fi module connections.
If any components become loose, 502 adhesive can be used to secure them in place; for maintenance purposes, the enclosure can be easily disassembled.
Before wiring, avoid permanently sealing the components in place.

3. Air Duct Assembly:
The air duct serves to guide airflow—and when the magnetic adhesion strength of the backing is insufficient, it also provides crucial support for the entire heater assembly.
Cable Routing & Installation:
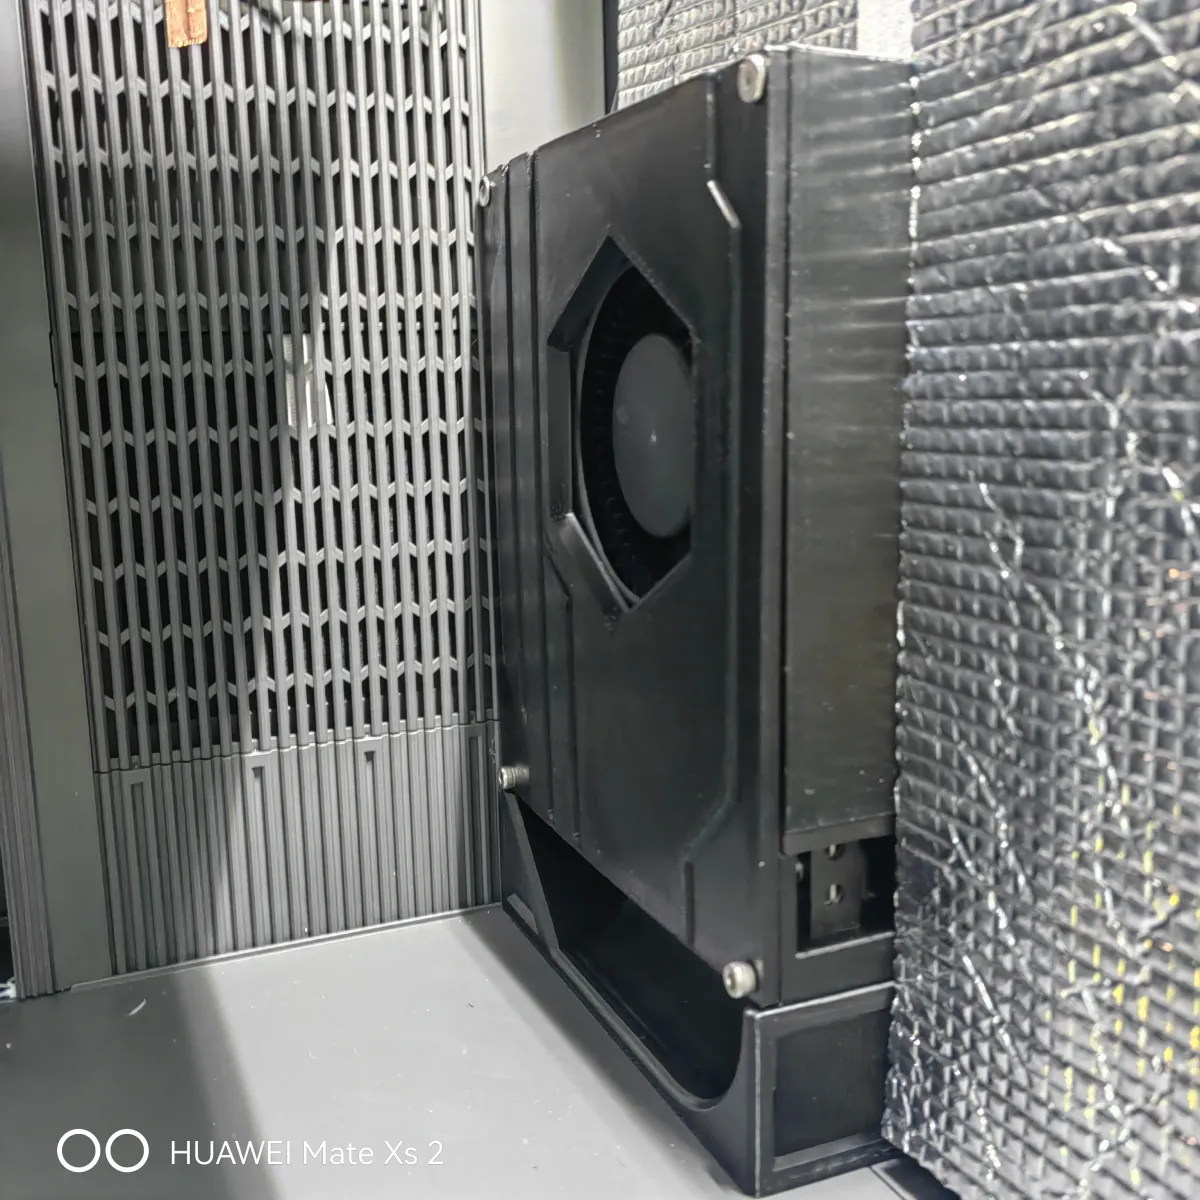
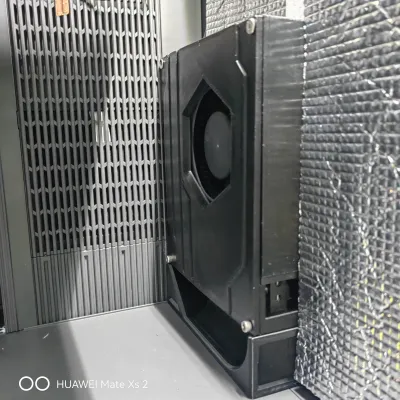
Mount the chamber temperature control unit via magnetic attachment or adhesive to the right-hand chamber wall of the CC2. Position the air duct along the lower edge to provide structural support and direct airflow toward the control unit; ideally, the duct should rest snugly atop the unit.

The power cable should be routed closely along the inner right-hand corner of the CC2, ascending vertically and exiting through the hole located to the left of the right-hand motor (this hole measures 6mm wide, perfectly suited for accommodating 220V wiring). Meanwhile, the sensor cable is fed through the hole on the right side of the motor, then secured to the outlet air grille.

The controller’s output terminals can accept either live or neutral wires—no polarity distinction is required—but the input terminals must be wired according to proper live–neutral connections. Once all connections are made and confirmed free of short-circuit risk, carefully seal the controller within its enclosure.
The controller can be mounted flush against the side of the CC2’s multi‑color module, facing directly toward the front of the CC2. Route the cables beneath the multi‑color module and connect them to the data cable on the back of the module—this approach effectively conceals the controller while maintaining easy access for future maintenance.
You can also completely hide the controller behind the CC2, placing it out of sight altogether—after all, the controller boasts built‑in Wi‑Fi functionality.

Additional Notes:
Thanks to the CC2’s robust heat dissipation capabilities—and the exceptional thermal performance of its all‑aluminum chassis—it’s highly recommended that if you need to maintain consistently high chamber temperatures, you seal the gaps in the CC2’s top cover with sealing tape, then wrap the entire top surface with insulating materials such as blankets. Finally, apply additional insulation inside the CC2 itself to maximize thermal retention, just as shown in the illustration above.
Bill of materials
- NameQuantityNotes
- 1M4热熔螺母115mm以内
- 2M4x8mm螺丝(杯头或平头皆可)9
- 3m4x40mm螺丝(杯头或平头皆可)2
- 4220v 300w ptc加热器(带支架温控)1https://e.tb.cn/h.7apqqrkJpUzSwFz?tk=mhCnfqsPMOu
- 5AC220v 12032离心鼓风机1https://e.tb.cn/h.SAAVA79opnUmYLl?tk=ciLNfqtZY6F
- 6温控器(可选wifi)1https://e.tb.cn/h.SABtZp81y5Rf4sX?tk=jjWEfqsngS1
- 71mm背胶软磁(可选)1
- 8带插头电线1
Originality of the Model
The author declares that this work is their personally original model
This model is licensed under the following terms:
Credit must be given to the creator
Only noncommercial uses of the work are permitted
No derivative works or remixes of this model allowed
Models(1)
- 主动仓温.3mfDesigner

247.31 KB

2025-12-04